Are you ready to whip up a dish that’s fresh, tasty, and full of nutrition? My Mediterranean Chickpea Salad is packed with vibrant flavors and simple ingredients that you’ll love. In this blog post, I’ll share the complete recipe, tips for choosing the best ingredients, and even a few fun variations. Whether you’re planning a picnic or just a light lunch, this salad will be your go-to choice!You can make it in just 15 minutes. It’s perfect for a quick lunch or a side dish.
Complete List of Ingredients
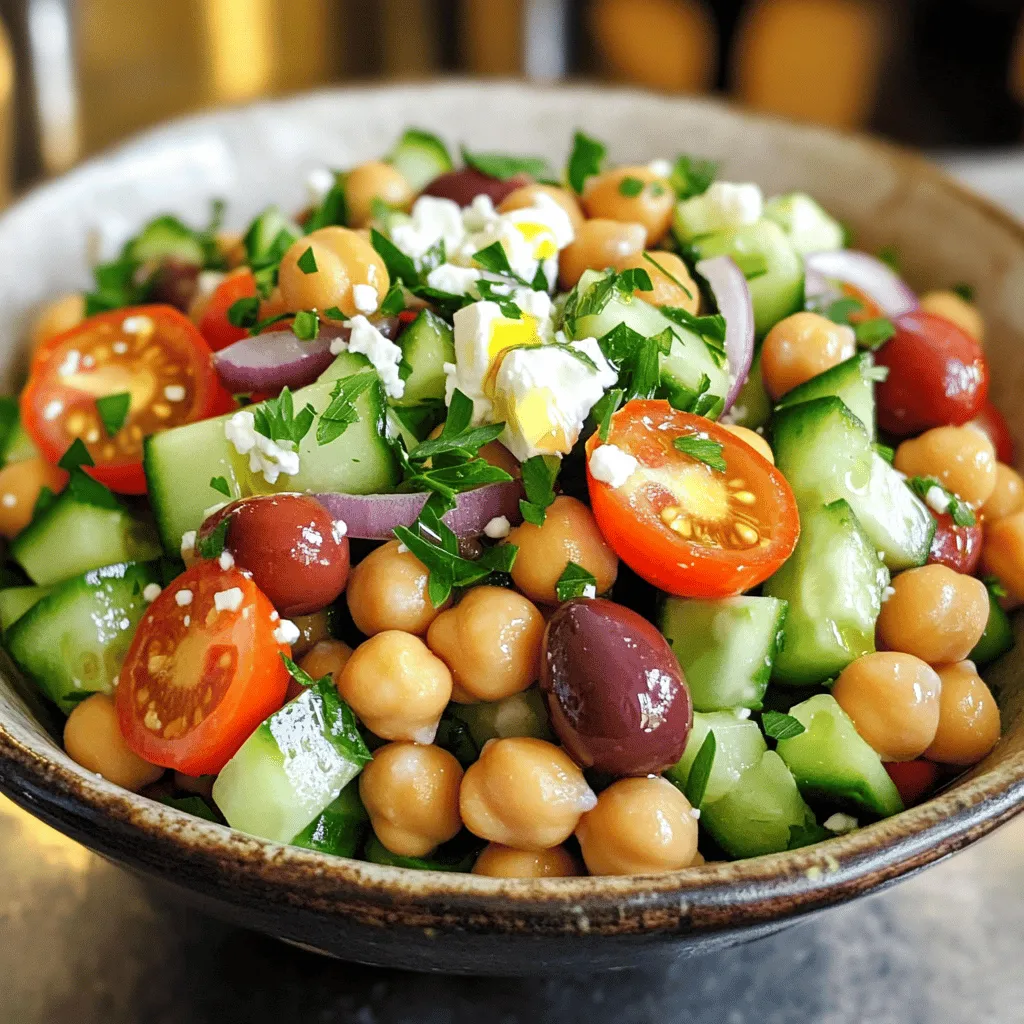
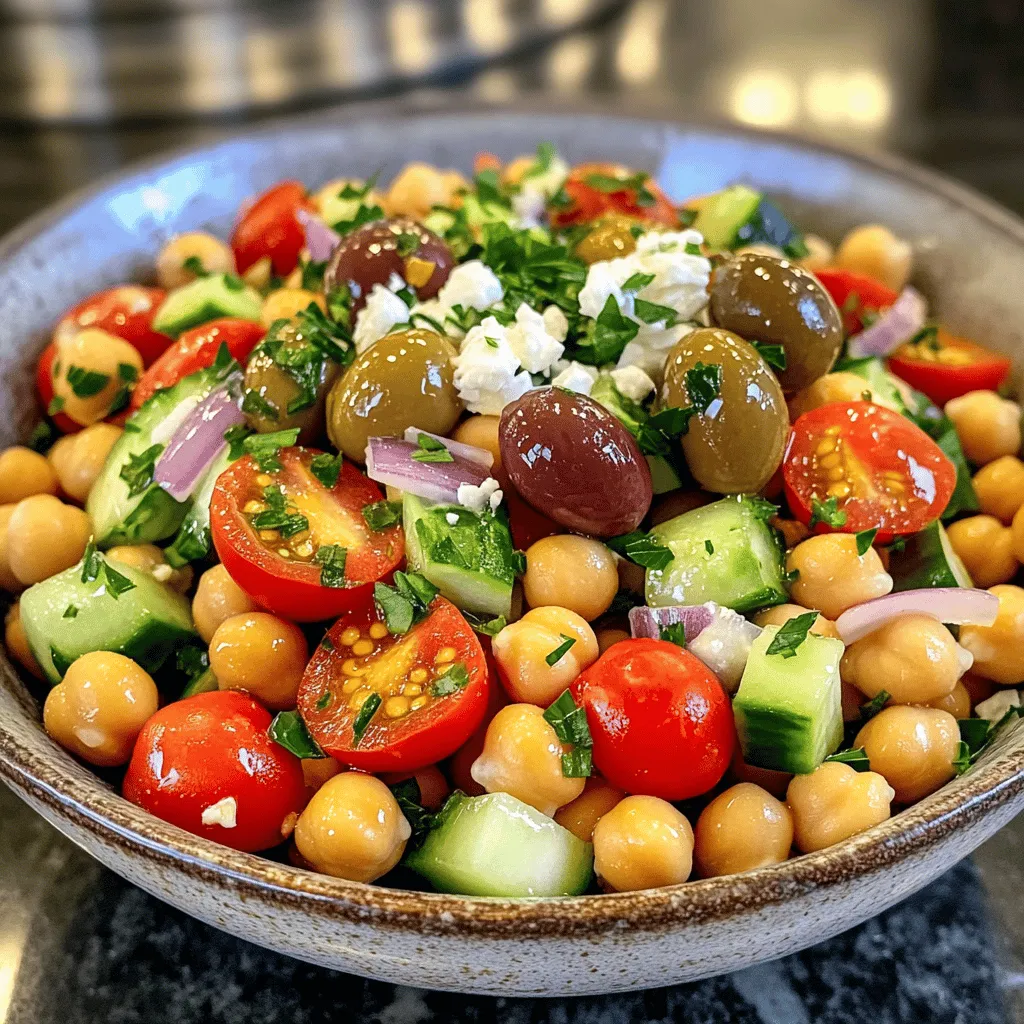
Here are the ingredients you will need:
– 1 can (15 oz) chickpeas, drained and rinsed
– 1 cup cherry tomatoes, halved
– 1 cucumber, diced into bite-sized pieces
– 1/2 red onion, finely chopped
– 1/3 cup Kalamata olives, pitted and sliced
– 1/4 cup feta cheese, crumbled
– 2 tablespoons fresh parsley, chopped
– 2 tablespoons extra virgin olive oil
– 2 tablespoons fresh lemon juice
– 1 teaspoon dried oregano
– Salt and freshly ground black pepper to taste
Tips for Choosing Fresh Ingredients
When you pick your ingredients, look for bright colors and firm textures. For tomatoes, choose ones that feel heavy for their size. A ripe cucumber should be smooth and firm. When selecting red onion, avoid any that have soft spots. For olives, pick a jar that looks full and well-sealed. Fresh herbs should smell fragrant and look vibrant. Always choose extra virgin olive oil for the best flavor. Finally, opt for feta that is creamy and not too dry.
Step-by-Step Instructions
Preparing the Base
First, grab a large mixing bowl. Add the drained and rinsed chickpeas to the bowl. Next, toss in the halved cherry tomatoes and diced cucumber. Chop the red onion finely and add that too. Finally, include the sliced Kalamata olives. Gently mix everything to blend well.
Adding Cheese and Herbs
Now, it’s time for cheese and herbs. Sprinkle the crumbled feta cheese over the chickpea mix. Then, add the chopped fresh parsley. This will give the salad a nice pop of color and flavor.
Making the Dressing
In a small bowl, whisk together the extra virgin olive oil and fresh lemon juice. Add the dried oregano, salt, and freshly ground black pepper. Mix until everything is well combined. This dressing will bring the salad to life.
Combining and Tossing
Pour the dressing over the chickpea mixture. Use a spatula or large spoon to toss gently. Make sure all the ingredients are well coated with the dressing. This step helps every bite taste amazing.
Adjusting Seasoning
Take a moment to taste your salad. If it needs more flavor, add more salt, pepper, or lemon juice. Adjust the seasoning until it suits your taste. This is your salad, so make it yours!
Chilling for Flavor
Cover the bowl with plastic wrap or a lid. Place the salad in the fridge for at least 30 minutes. Chilling allows the flavors to meld beautifully. This step is key for a refreshing salad.
Serving and Garnishing
Once chilled, it’s time to serve. You can serve it straight from the fridge or at room temperature. For a special touch, garnish with more crumbled feta and parsley. This adds a nice finish and makes it look inviting.
Tips & Tricks
Best Practices for Preparation
When making Mediterranean Chickpea Salad, always use fresh ingredients. Fresh herbs and ripe tomatoes make a big difference. Rinse your chickpeas well to remove any canning liquid. This helps improve flavor and texture. Cut your vegetables into similar sizes for even bites. It makes the salad look nice and taste better.
How to Make Ahead of Time
You can prepare this salad a day in advance. Just follow the recipe and chill it in the fridge. The flavors will blend well overnight. If you make it ahead, wait to add the feta and parsley until right before serving. This keeps them fresh and tasty.
Serving Suggestions
Serve this salad as a light lunch or as a side dish. It pairs nicely with grilled chicken or fish. You can also serve it with pita bread or hummus for a fun twist. For extra crunch, add some toasted nuts or seeds on top. Feel free to experiment with your favorite ingredients!
Variations
Ingredient Substitutions
You can change some ingredients if you want. For example, swap feta cheese for avocado. This adds creaminess and healthy fats. If you don’t like olives, try capers instead. They bring a nice tangy flavor. You can also use any fresh herbs you like, such as mint or cilantro.
Different Diet-Friendly Options
This salad fits many diets. It’s already vegan if you skip the feta cheese. For low-carb eaters, reduce chickpeas and add more veggies. You can make it gluten-free by using only safe ingredients. This salad is hearty, making it perfect for those on a plant-based diet.
Seasonal Variations
You can change the salad with the seasons. In spring, add fresh peas or asparagus. In summer, include bell peppers or zucchini. In fall, roasted squash adds warmth. In winter, use kale for a hearty twist. You can mix and match as you like for a fresh vibe each time.
Storage Info
How to Store Leftovers
Store any leftover Mediterranean Chickpea Salad in an airtight container. This keeps it fresh. Place the container in the fridge. The cold air helps maintain flavor and texture.
Freezing Instructions
While I don’t recommend freezing this salad, you can freeze the chickpeas. Drain and rinse them first. Place them in a freezer-safe bag. Squeeze out the air before sealing. They can last up to three months in the freezer.
Shelf Life and Best Practices
The salad lasts about three days in the fridge. After that, the veggies may get soggy. To keep it fresh longer, store the dressing separately. Combine it right before serving. This keeps all the flavors bright and tasty.
FAQs
Can I use dried chickpeas instead of canned?
Yes, you can use dried chickpeas. Just soak them overnight. Cook them until tender. This method takes longer but adds great flavor.
What can I serve with Mediterranean Chickpea Salad?
This salad pairs well with grilled chicken or fish. You can also serve it with pita bread or quinoa. It makes a tasty side dish or a light main meal.
How long does the salad keep in the fridge?
The salad can stay fresh in the fridge for about three days. Keep it in a sealed container. The flavors will deepen as it sits.
Can I make this salad vegan?
Absolutely! Just skip the feta cheese. You can replace it with vegan cheese or leave it out. The salad still tastes great without it.
Is this salad gluten-free?
Yes, this Mediterranean Chickpea Salad is gluten-free. All the ingredients are safe for a gluten-free diet. Enjoy it without worry!
This blog post covers how to make a delicious Mediterranean Chickpea Salad. We started with key ingredients and then went through step-by-step instructions. You learned valuable tips for prep and how to store leftovers. Variations allow for personal taste and dietary needs.
In conclusion, with simple steps and fresh ingredients, you can create a tasty dish. Enjoying this salad can be fun and healthy. Experiment with it to make it your own!


