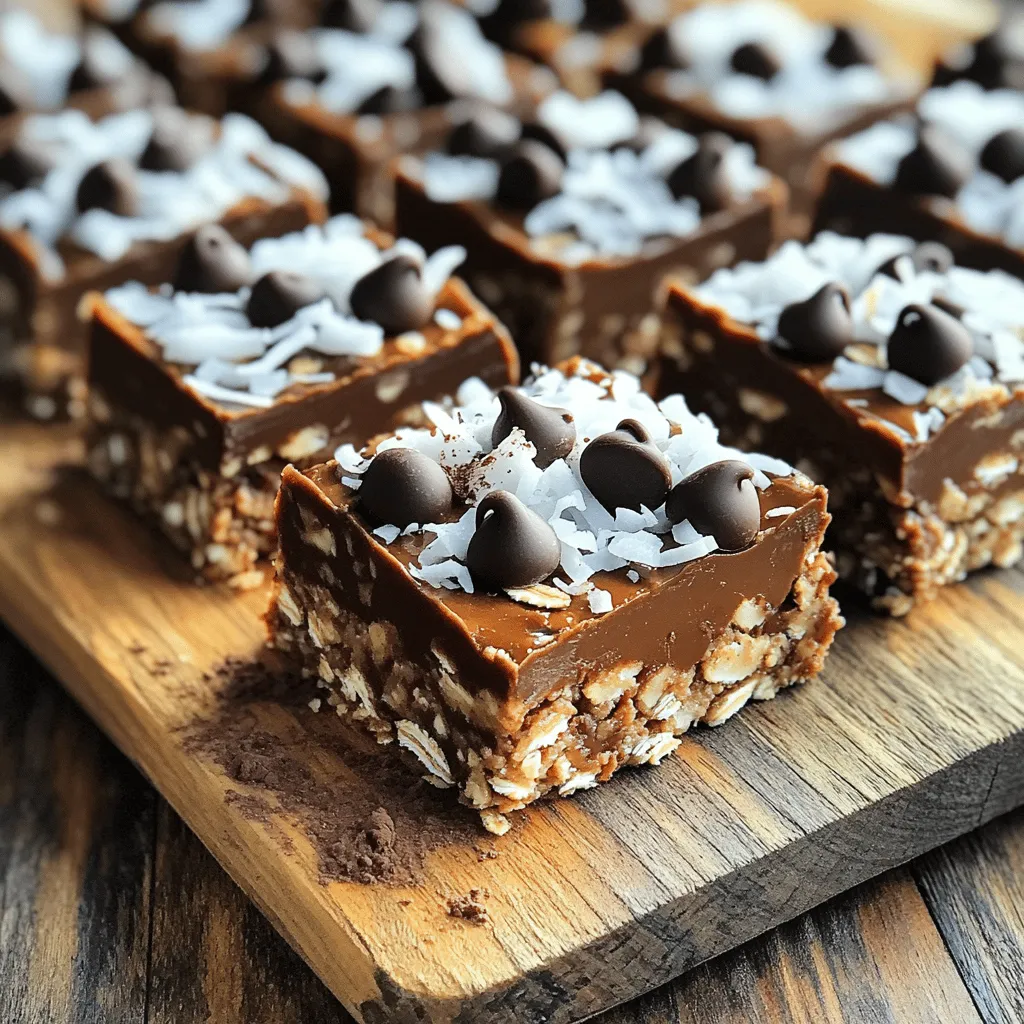
Are you craving a tasty treat that’s quick to make and healthy? These No-Bake Chocolate Oat Bars are crunchy, sweet, and packed with energy. With just a few simple ingredients, you can whip these up in no time! I’ll share how to create this delicious snack, plus tips for adding your own twist. Get ready to enjoy a delightful combination of flavor and texture in every bite!
Ingredients
To make these No-Bake Chocolate Oat Bars, you need simple ingredients that pack a punch. Here’s what you’ll need:
– 2 cups rolled oats
– 1 cup almond butter (or peanut butter)
– 1/2 cup honey or maple syrup
– 1/4 cup unsweetened cocoa powder
– 1/2 cup dark chocolate chips
– 1/4 cup shredded coconut (optional)
– 1/4 teaspoon salt
– 1 teaspoon vanilla extract
– Handful of chopped nuts (optional)
These ingredients work together to create a chewy, crunchy, and tasty treat. The oats provide great texture, while the nut butter gives a rich flavor. Honey or maple syrup adds just the right sweetness. Cocoa powder and dark chocolate chips bring that chocolatey goodness you love. You can even add shredded coconut or nuts if you want an extra crunch!The best part? You don’t need to bake anything! Just mix, press, and chill. Enjoy your delicious bars as a snack or dessert.
Step-by-Step Instructions
Preparation of Dry Mixture
To start, grab a large mixing bowl. Combine 2 cups of rolled oats, 1/4 cup of unsweetened cocoa powder, and 1/4 teaspoon of salt. Stir these dry ingredients well. If you like, add 1/4 cup of shredded coconut to the mix. This gives a nice flavor and crunch.
Heating the Wet Ingredients
Next, take a microwave-safe bowl. Warm 1 cup of almond butter and 1/2 cup of honey for about 20-30 seconds. This makes it easy to mix. After warming, add 1 teaspoon of vanilla extract. Stir until smooth.
Combining Ingredients
Now, pour the warm almond butter mix over the dry ingredients. Mix everything thoroughly. Ensure the dry ingredients get coated well. Then, gently fold in 1/2 cup of dark chocolate chips and a handful of chopped nuts if you want some extra crunch.
Setting the Mixture
Prepare an 8×8 inch square baking dish by lining it with parchment paper. Let some paper hang over the edges. This helps with easy removal later. Transfer the oat mixture into the dish. Press it down firmly with a spatula to create an even layer.
Chilling Process
Finally, place the baking dish in the refrigerator. Let it chill for at least 1 hour. This helps the bars firm up. After chilling, lift the bars out using the parchment paper. Cut them into squares or bars as you like.
Tips & Tricks
Perfecting Texture and Flavor
Using fresh ingredients makes a big difference in taste. Fresh oats and nut butter add rich flavor. If you want a twist, try different nut butters like cashew or sunflower. Each one brings its own unique taste. This keeps your treats exciting and new.
Presentation Ideas
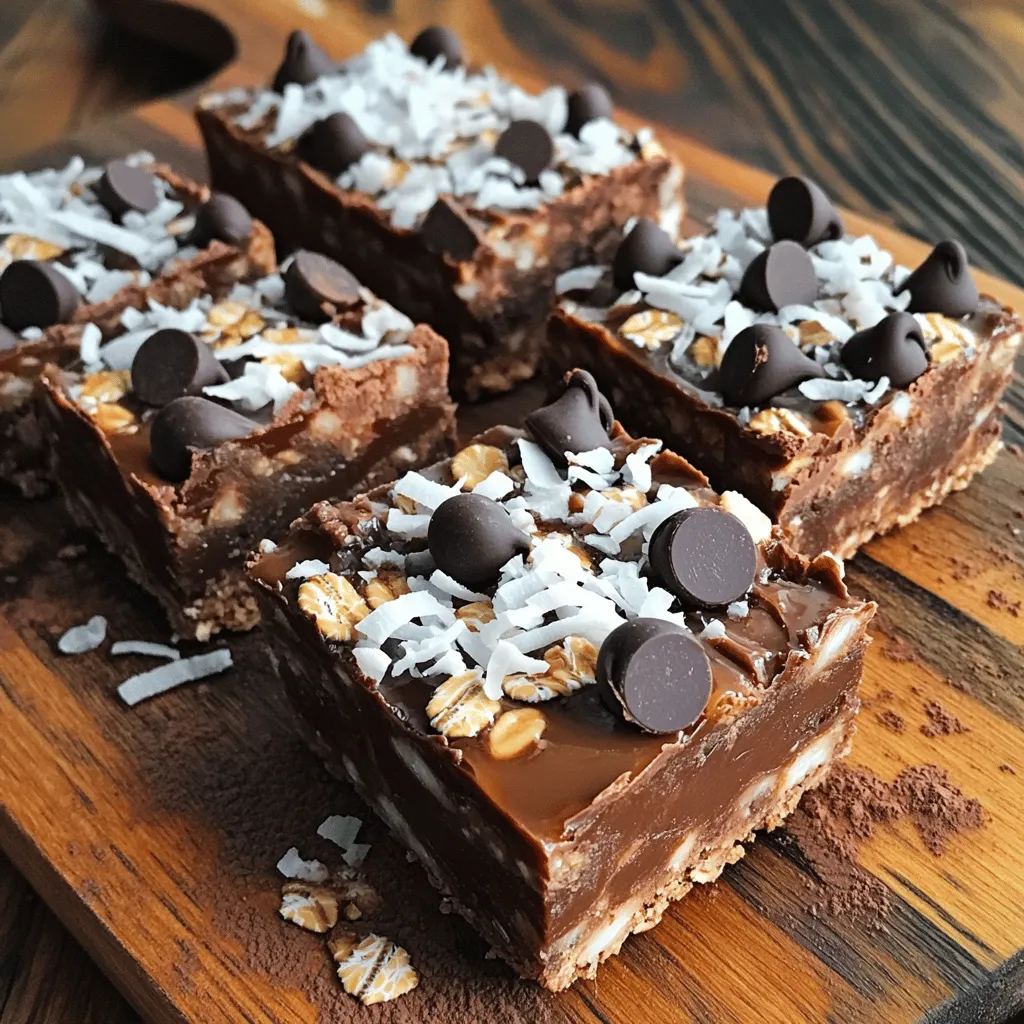
For a lovely touch, dust your bars with cocoa powder or coconut before serving. This adds a nice look and extra flavor. Arrange the bars on a decorative platter. Pair them with tea or coffee for a cozy snack time. This small detail elevates your treat’s appeal.
Common Mistakes to Avoid
One key mistake is not pressing the mixture firmly enough into the dish. This can lead to crumbly bars. Make sure you press down hard to help them stay together. Another mistake is overheating the almond butter mixture. Heat it just enough to mix well. Too much heat can change the texture, making it less smooth. Following these tips ensures your no-bake chocolate oat bars turn out perfectly every time.
Variations
Flavor Customizations
You can change the taste of your No-Bake Chocolate Oat Bars easily. First, try adding dried fruits like cranberries or raisins. They give a sweet, chewy bite. You can also mix in spices like cinnamon or sea salt. Cinnamon adds warmth, while sea salt enhances the chocolate flavor.
Dietary Alternatives
If you need a vegan version, use maple syrup instead of honey. This will keep it sweet and tasty. For those with nut allergies, substitute almond butter with sunflower seed butter. This keeps the bars creamy and adds a nice nutty flavor. Explore these options to make the bars fit your needs!
Storage Information
How to Store Leftovers
To keep your no-bake chocolate oat bars fresh, store them in an airtight container in the fridge. This helps maintain their texture and flavor. If you want to keep them longer, you can freeze them. Just wrap each bar tightly in plastic wrap before placing them in a freezer-safe bag.
Shelf Life
These bars taste best when eaten within one week if kept in the fridge. If you freeze them, they can last up to two to three months. Just remember to let them thaw in the fridge before enjoying. This way, you will always have a tasty treat ready for snacking!
FAQs
Can I use quick oats instead of rolled oats?
Yes, but the texture will differ slightly. Quick oats are more processed. They will blend in better but may lose that chewy bite. Rolled oats give a nice, hearty crunch.
How to make No-Bake Chocolate Oat Bars gluten-free?
Use certified gluten-free oats and ensure all other ingredients are gluten-free. Check labels closely. Not all honey or sweeteners are gluten-free, so be cautious.
Can I modify the sweetener used?
Absolutely, you can use agave nectar or other liquid sweeteners. Brown rice syrup works too. Each sweetener has its own flavor, so feel free to experiment!
What are some serving suggestions for these bars?
Pair them with yogurt or serve with fresh fruit for a balanced snack. They also taste great with a glass of milk. You can even crumble them over ice cream for a treat!
You learned how to make tasty no-bake chocolate oat bars. Gathering simple ingredients like oats, nut butter, and cocoa powder is easy. Following step-by-step instructions helps you mix and chill the bars perfectly. Remember to press the mixture firmly for the best texture. Don’t forget about fun flavor variations and clever storage tips! Enjoy these bars as snacks or desserts, and feel free to share them with friends and family. Making these bars can add joy to your day.


