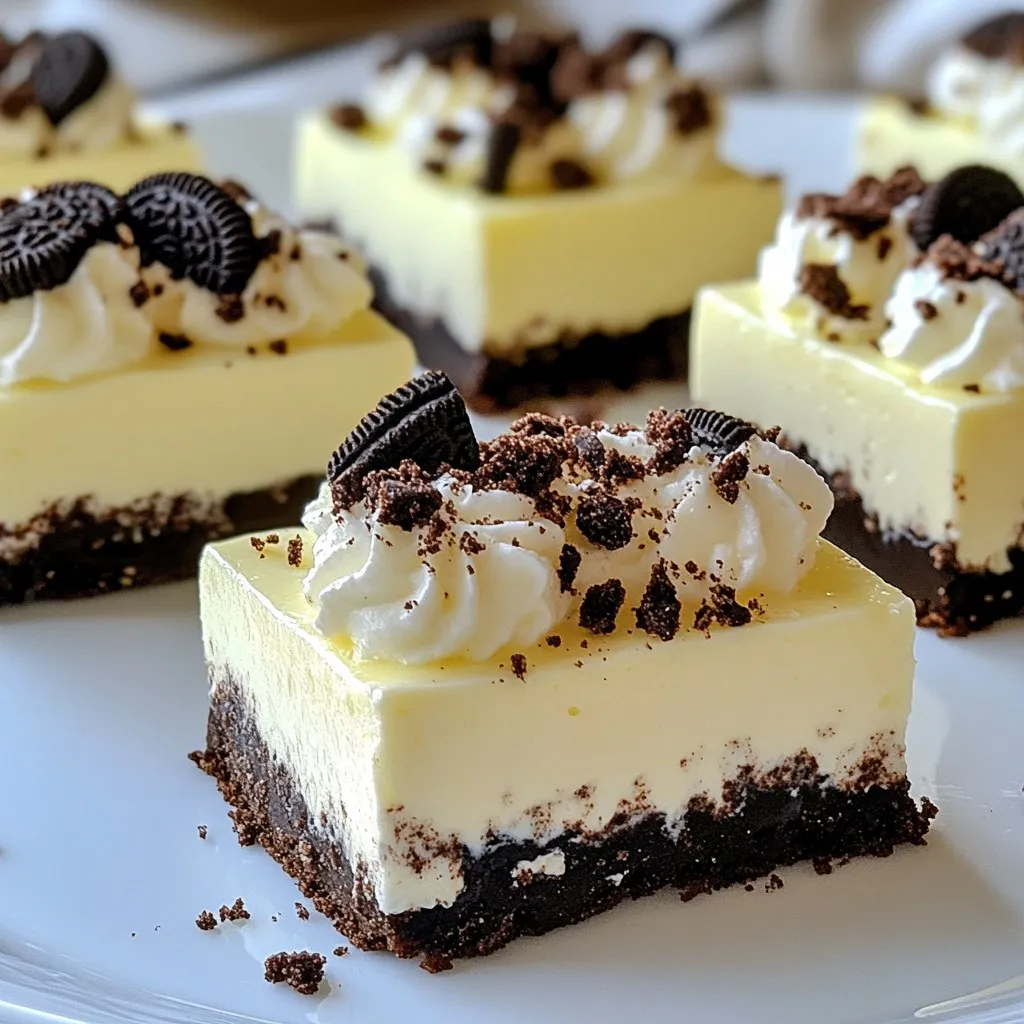
Love delicious treats that are quick and easy? Look no further! These No-Bake Oreo Cheesecake Bars are a perfect choice. You’ll love how simple they are to whip up, with just a handful of ingredients and no baking required. In this post, I’ll guide you step by step, ensuring you’ll make a creamy, chocolatey delight that everyone will enjoy. Let’s dive in and make dessert magic happen!
Why I Love This Recipe
- Decadent Flavor: This cheesecake bar combines the rich flavor of cream cheese with the beloved taste of Oreo cookies, making each bite a delicious indulgence.
- No-Bake Convenience: No need to turn on the oven! This recipe is perfect for hot days or when you want a quick dessert without the hassle of baking.
- Easy Preparation: With just a few simple steps and minimal ingredients, this recipe is accessible for bakers of all skill levels.
- Customizable Toppings: Feel free to get creative with toppings! Add chocolate sauce, whipped cream, or even fresh berries for an extra flair.
Ingredients
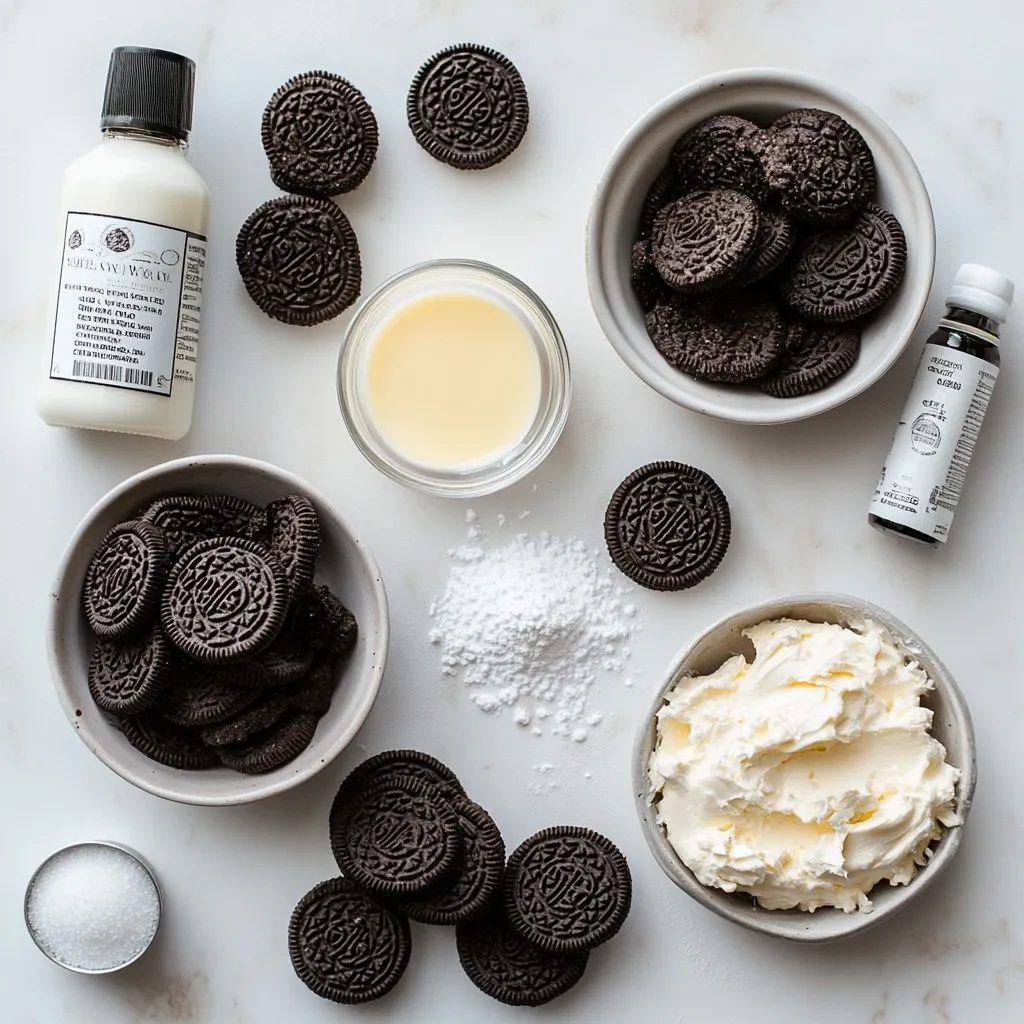
When making No-Bake Oreo Cheesecake Bars, you need simple ingredients. Here’s the list:
– 20 Oreo cookies, finely crushed
– 4 tablespoons unsalted butter, melted
– 2 (8 oz) packages of cream cheese, softened to room temperature
– 1 cup powdered sugar
– 1 teaspoon vanilla extract
– 1 cup heavy whipping cream
– 10 Oreo cookies, coarsely chopped (for the cheesecake filling)
– Extra Oreo cookies for topping
Each ingredient plays an important role. The crushed Oreos and melted butter create a rich, tasty crust. Cream cheese adds creaminess and flavor. Powdered sugar provides sweetness and helps the filling set. Vanilla extract gives a hint of warmth.
Whipping cream brings lightness and fluffiness to the mix. The coarsely chopped Oreos add a nice crunch in every bite. Finally, extra Oreos on top make the bars look great and taste even better.
Remember, using room-temperature cream cheese is key. It mixes smoothly and helps avoid lumps. Follow these tips, and you’ll have a delicious dessert that everyone will love!
Step-by-Step Instructions
Preparing the Oreo Crust
To start, gather your 20 Oreo cookies and crush them finely. You can use a food processor or place them in a zip-top bag and smash them with a rolling pin. Next, melt 4 tablespoons of unsalted butter in a microwave-safe bowl. Combine the crushed cookies with the melted butter in a medium-sized mixing bowl. Stir until the Oreo crumbs are fully coated with butter.
Now, take the Oreo mixture and transfer it into a lined 9×9 inch baking dish. Press the mixture firmly into the bottom to form an even crust. Make sure it’s packed tightly. Set it aside while you prepare the filling.
Making the Cream Cheese Filling
In a large mixing bowl, beat 2 packages of softened cream cheese with an electric mixer on medium speed. Mix until it is smooth and creamy, free of lumps. Gradually add 1 cup of powdered sugar and 1 teaspoon of vanilla extract. Keep mixing until the mixture is velvety and all ingredients are blended well.
Whipping the Cream
In a separate bowl, pour in 1 cup of heavy whipping cream. Use a hand mixer or a stand mixer on high speed to whip the cream until stiff peaks form. This should take a few minutes, so be patient. Once the cream is whipped, carefully fold it into the cream cheese mixture using a spatula. Do this gently to keep the whipped cream light and fluffy.
Assembling the Cheesecake Bars
Next, fold in 10 coarsely chopped Oreo cookies into the cream cheese mixture. This adds cookie bits and extra flavor. Pour the cheesecake filling over the prepared crust in the baking dish. Use a spatula to spread it evenly to the edges.
To finish, crumble some extra Oreo cookies on top of the cheesecake layer for a nice crunch and decoration.
Setting and Serving
Cover the dish with plastic wrap and refrigerate for at least 4 hours, or until the cheesecake is set. You will know it’s ready when it feels firm to the touch. When it’s time to serve, take a sharp knife and cut the cheesecake into even bars. For a nice touch, serve each slice on individual dessert plates. You can garnish with chocolate shavings or a drizzle of chocolate sauce for a little extra flair.
Tips & Tricks
Perfecting the Texture
To get a smooth cheesecake, always start with softened cream cheese. Cold cream cheese will not blend well. Let it sit at room temperature for at least 30 minutes. This makes mixing easy and gives you a creamy filling.
When whipping heavy cream, the technique matters. Use a clean bowl and beaters for best results. Start on low speed, then increase to high. Whip until stiff peaks form. This means the cream holds its shape well. Be patient; it takes a few minutes.
Serving Suggestions
For a fun garnish, top each slice with crushed Oreo cookies. A drizzle of chocolate sauce adds a nice touch, too. Serve the bars on dessert plates for a fancy look. They look great paired with coffee or a glass of milk.
Common Mistakes to Avoid
One common mistake is overmixing the whipped cream. This can make your cheesecake dense. Mix gently when adding it to the cream cheese. Just fold it in until combined.
Another mistake is not chilling long enough. The bars need at least four hours in the fridge. This helps them set properly. If you cut them too soon, they may fall apart.
Pro Tips
- Chill Your Tools: For best results, chill your mixing bowl and beaters before whipping the cream. This helps achieve stiffer peaks more quickly.
- Use Room Temperature Cream Cheese: Ensure that your cream cheese is softened to room temperature for a smoother filling. Cold cream cheese can lead to lumps in your cheesecake.
- Don’t Overmix: When folding the whipped cream into the cream cheese mixture, be gentle. Overmixing can deflate the whipped cream and result in a denser cheesecake.
- Let It Set: For the best texture and flavor, allow the cheesecake bars to chill for at least 4 hours, or even overnight if possible. This helps the flavors meld beautifully.
Variations
Flavor Variations
You can change the flavor of your Oreo cheesecake bars. Try using Golden Oreos instead of regular ones. They add a nice twist with their vanilla taste. You can also mix in other flavors. For a minty touch, add mint extract to the filling. If you love peanut butter, stir in some peanut butter for a rich flavor.
Dietary Adjustments
If you have dietary needs, there are easy swaps. For a gluten-free crust, use gluten-free cookies instead of Oreos. Many brands offer great options. If you want a vegan version, use dairy-free cream cheese and whipped cream. These options allow everyone to enjoy this sweet treat.
Adding Additional Ingredients
You can make your bars even more fun by adding extras. Consider mixing in fruits like strawberries or blueberries for a fresh taste. Chocolate chips also work great if you want some extra sweetness. For more flavor, try drizzling chocolate or caramel sauce on top. These little touches can make your cheesecake bars even more special.
Storage Info
Best Practices for Storing Leftovers
To keep your no-bake Oreo cheesecake bars fresh, store them in the refrigerator. Use an airtight container to protect them from air and moisture. This helps maintain their creamy texture and flavor.
– Place bars in a single layer in the container.
– If you stack them, add parchment paper between layers to avoid sticking.
Freezing Instructions
You can freeze these cheesecake bars for longer storage. To freeze, wrap the bars tightly in plastic wrap. Then, put them in an airtight container or a freezer bag. This shields them from freezer burn.
– Thawing tips: When you’re ready to eat them, remove the container from the freezer. Let it sit in the fridge overnight. This slow thawing keeps the texture nice.
Shelf Life
In the refrigerator, your no-bake Oreo cheesecake bars stay fresh for about 5 days. If you freeze them, they can last for up to 3 months. For the best taste and texture, enjoy them within a month of freezing.
FAQs
Can I make these bars ahead of time?
Yes, you can make these bars ahead of time. I recommend chilling them for at least 4 hours. If you want to prepare them a day early, that works too! Just cover the dish with plastic wrap to keep it fresh in the fridge.
How do I know when the cheesecake is set?
The cheesecake is set when it feels firm to the touch. If it jiggles a bit in the center, it needs more time. A well-chilled cheesecake should hold its shape when you cut it. Look for a smooth, creamy surface, free of cracks.
Can I use low-fat cream cheese?
You can, but it may change the texture. Low-fat cream cheese may not whip as well. This can lead to a denser filling. If you want a lighter texture, full-fat cream cheese is the best option.
What type of heavy whipping cream should I use?
Use heavy whipping cream with at least 36% fat content. This will give you the best whipped cream. Look for labels that say “heavy cream” or “heavy whipping cream.” This ensures it whips well and stays fluffy in your cheesecake.
You learned how to make easy Oreo cheesecake bars. We covered all the key steps. From the crust to the creamy filling, each part plays an important role. Remember to chill the bars well for the best texture. You can also try fun variations to suit your tastes. Store any leftovers properly to keep them fresh. Enjoy sharing these treats with friends and family. They will love them as much as you do! Make these bars, and you will impress anyone who tries the


