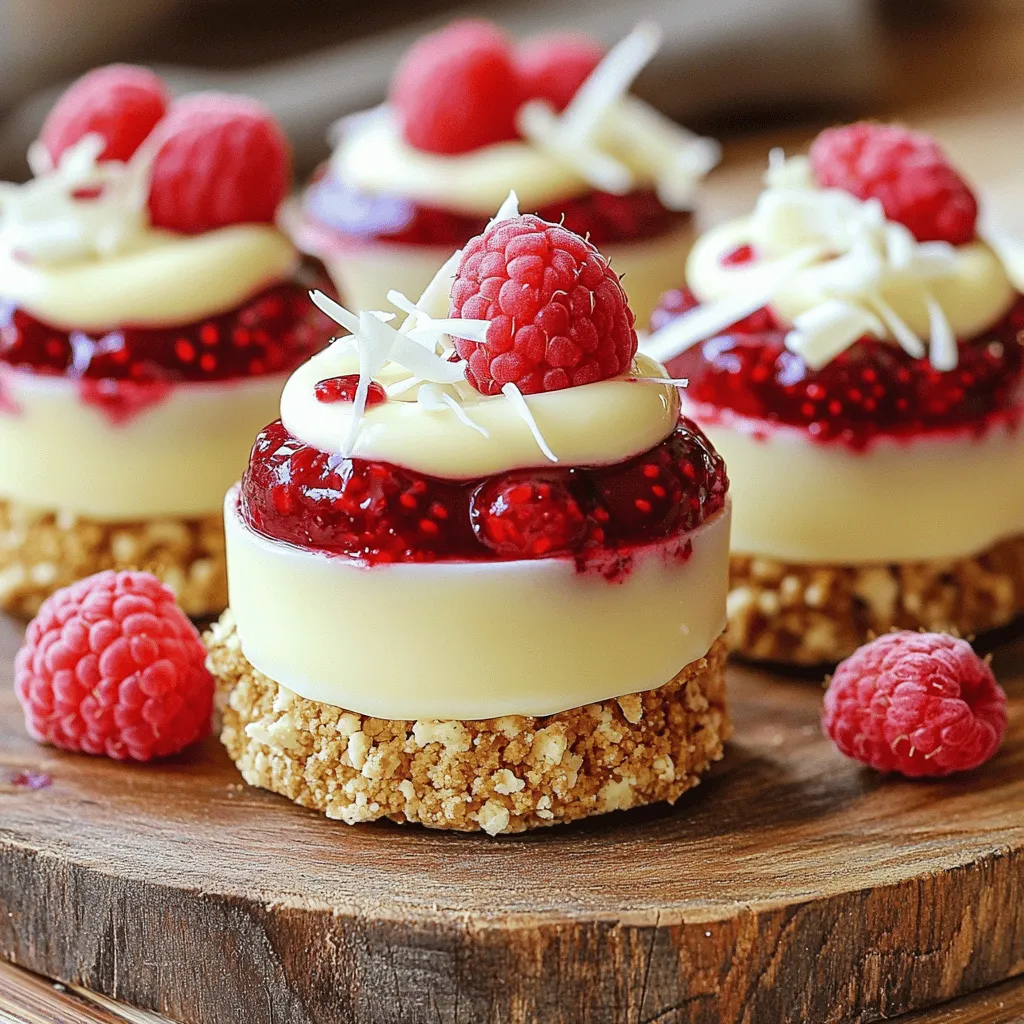
Who doesn’t love a sweet treat that’s easy to make? My No-Bake White Chocolate Raspberry Cups are the perfect blend of rich chocolate and tart berries. No oven required! In this post, I’ll guide you through every step—from picking fresh raspberries to creating your own flavor twists. Ready to impress your friends and family? Let’s dive into this delightful recipe that suits every occasion!
Ingredients
Detailed Ingredient List
To make these no-bake white chocolate raspberry cups, gather these simple ingredients:
– 1 cup white chocolate chips
– 1/4 cup coconut oil
– 1/2 cup fresh raspberries (plus extra for garnish)
– 1/2 cup crushed digestive biscuits or graham crackers
– 1 tablespoon powdered sugar
– 1 teaspoon vanilla extract
– Pinch of salt
– White chocolate shavings (for garnish)
Each ingredient plays a key role. The white chocolate chips provide sweetness and creaminess. Coconut oil gives a smooth texture. Fresh raspberries add a tart contrast. Crushed biscuits form the crunchy base. Powdered sugar sweetens and blends well. Vanilla extract enhances flavor. A pinch of salt balances the sweetness.
Substitutions for Key Ingredients
You can swap some ingredients if needed. Here are a few ideas:
– White chocolate chips: Use milk chocolate or dark chocolate chips for a different taste.
– Coconut oil: Substitute with butter or vegetable oil for a similar texture.
– Fresh raspberries: Strawberries, blueberries, or cherries can work well too.
– Digestive biscuits: Graham crackers, Oreos, or any favorite cookie can be used.
These swaps help fit your taste and what you have at home.
Tips for Choosing Fresh Raspberries
Choosing the best raspberries is key for flavor. Here’s how to find the freshest ones:
– Look for bright color: Ripe raspberries are deep red and shiny.
– Check for firmness: They should feel plump and firm, not mushy.
– Inspect for mold: Avoid containers with mold or squished berries.
– Smell: Fresh raspberries have a sweet, fruity smell.
Using fresh, high-quality raspberries elevates your treats. Enjoy the burst of flavor they bring!
Step-by-Step Instructions
Preparing the Molds
Start by lining a muffin tin with cupcake liners or silicone molds. This makes it easy to pop the treats out later. Ensure each liner is secure and ready for filling. This step is key for a neat presentation.
Melting the Chocolate
In a microwave-safe bowl, add the white chocolate chips and coconut oil. Microwave this mix in 30-second bursts. Stir it well after each time. Keep going until the chocolate is smooth and shiny. This will give your cups a rich flavor and perfect texture.
Mixing Flavorings
Once your chocolate is melted, stir in the powdered sugar, vanilla extract, and a pinch of salt. Mix it well until everything is blended. This step enhances the chocolate’s taste and adds depth to your cups.
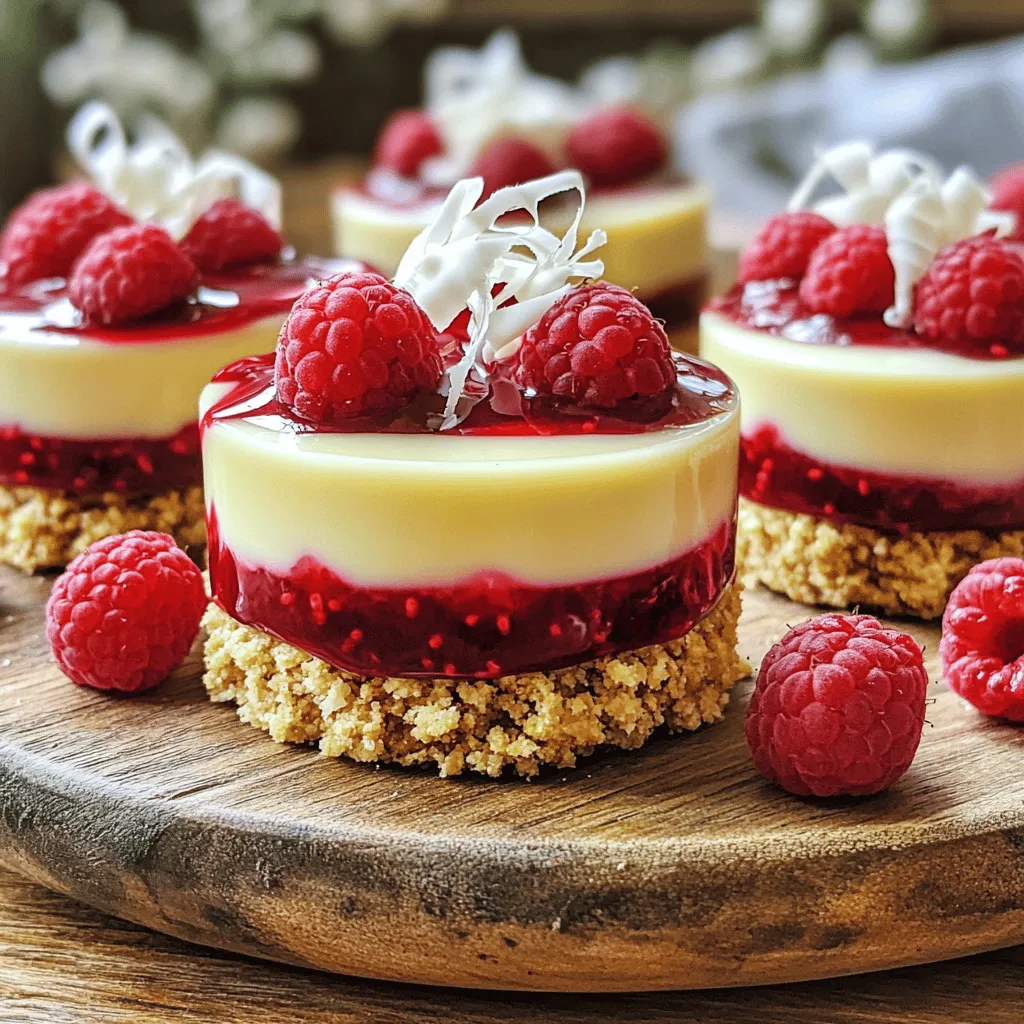
Assembling the Cup Layers
Begin by scooping about 1 tablespoon of the melted chocolate mixture into each lined cup. This forms your base layer. Next, place a few fresh raspberries on top. Then, take your biscuit mix and add a spoonful over the raspberries. Press it down gently to make a firm layer.
Chilling and Serving Instructions
Pour another layer of melted white chocolate over the biscuit mix. Ensure it covers the raspberries completely. Keep layering until the cups are full. Place the muffin tin in the fridge for at least 2 hours. This step is vital for the chocolate to set.
Once they are firm, gently take the cups out of their molds. For a nice touch, add more fresh raspberries and sprinkle white chocolate shavings on top. Enjoy these chilled for a refreshing treat!
Tips & Tricks
Common Mistakes to Avoid
When making no-bake white chocolate raspberry cups, avoid these common mistakes:
– Not using fresh raspberries: Old raspberries can ruin the taste.
– Overheating the chocolate: This can make it grainy.
– Not chilling long enough: Cups need time to set.
Tips for Perfectly Melted Chocolate
To melt your chocolate smoothly, follow these tips:
– Use low power: Microwave in 30-second bursts.
– Stir often: This helps the chocolate melt evenly.
– Add coconut oil: This keeps the chocolate smooth and shiny.
Alternative Serving Suggestions
Give your cups a twist with these ideas:
– Top with whipped cream: This adds extra creaminess.
– Use different fruits: Strawberries or blueberries also work well.
– Serve with ice cream: This makes a fun dessert combo.
Variations
Alternative Fruit Additions
You can swap raspberries for other fruits. Strawberries, blueberries, or blackberries work great. Each fruit brings its own taste. Strawberries add sweetness. Blueberries bring a nice tartness. Blackberries offer a bold flavor. Simply layer the fruit as you would with raspberries. This keeps your cups fresh and exciting.
Different Types of Chocolate to Use
While this recipe uses white chocolate, you can try others too. Dark chocolate gives a rich taste. Milk chocolate offers a creamier flavor. You can even blend chocolates for a unique twist. Remember to adjust any sweeteners if you use dark chocolate. Each type will change the cups’ flavor profile.
Gluten-Free Adaptations
To make these cups gluten-free, choose suitable biscuits. Look for gluten-free digestive biscuits or graham crackers. You can also use crushed nuts for a crunchy base. Just mix them with the melted chocolate like the original recipe. This way, everyone can enjoy these tasty treats without worry.
Storage Info
How to Store Leftover Cups
To store leftover cups, place them in an airtight container. This keeps them fresh and tasty. Line the container with parchment paper for extra care. Make sure the cups do not touch each other to avoid sticking.
Best Practices for Freezing
If you want to freeze your cups, wrap each one in plastic wrap. Then, place them in a freezer-safe bag. This stops freezer burn and keeps the flavor. When ready to eat, let them thaw in the fridge overnight.
Shelf Life Considerations
These no-bake cups can last about five days in the fridge. After that, they may lose taste and texture. If frozen, they can stay good for up to three months. Always check for any changes in smell or look before eating.
FAQs
Can I use dark chocolate instead of white chocolate?
Yes, you can use dark chocolate. It will change the flavor. Dark chocolate adds a rich taste. It pairs well with raspberries. The sweetness of the raspberries will balance the dark chocolate. Just remember that it will not be as sweet.
How long can these cups be stored in the fridge?
Store them in the fridge for up to five days. Keep them in an airtight container. This helps keep them fresh and tasty. If you want to enjoy them later, check for any signs of spoilage. The chocolate may lose some creaminess over time.
What other fruits can I incorporate into this recipe?
You can use many fruits! Strawberries, blueberries, or even bananas work well. Each fruit gives a unique flavor. Try mixing different fruits for fun. Just make sure they are fresh and ripe for the best taste.
This blog post covered everything you need to make delicious raspberry chocolate cups. You learned about key ingredients and how to choose fresh raspberries. I provided clear steps for preparation and tips to avoid common mistakes. Variations offered fun ideas for personal touches, and I outlined how to store leftovers properly.
Remember, experimenting makes cooking fun. Enjoy making these treats your way!


