Looking for a delicious and simple dish? Oven-Baked Chicken Fajitas are the perfect choice! With vibrant flavors and minimal prep, you’ll have a meal that pleases everyone. In this blog, I’ll share easy-to-follow steps, tips, and variations to make your fajitas shine. Get ready to spice up your dinner routine and impress your family with this tasty recipe!
Ingredients
Main Ingredients for Oven-Baked Chicken Fajitas
To make oven-baked chicken fajitas, you will need:
– 1 lb boneless, skinless chicken breasts, sliced into thin strips
– 1 red bell pepper, sliced into thin strips
– 1 yellow bell pepper, sliced into thin strips
– 1 medium onion, sliced into thin wedges
– 3 tablespoons extra virgin olive oil
– 2 teaspoons chili powder
– 1 teaspoon ground cumin
– 1 teaspoon smoked paprika
– 1 teaspoon garlic powder
– 1 teaspoon onion powder
– Salt and freshly ground black pepper to taste
– 8 small flour or corn tortillas
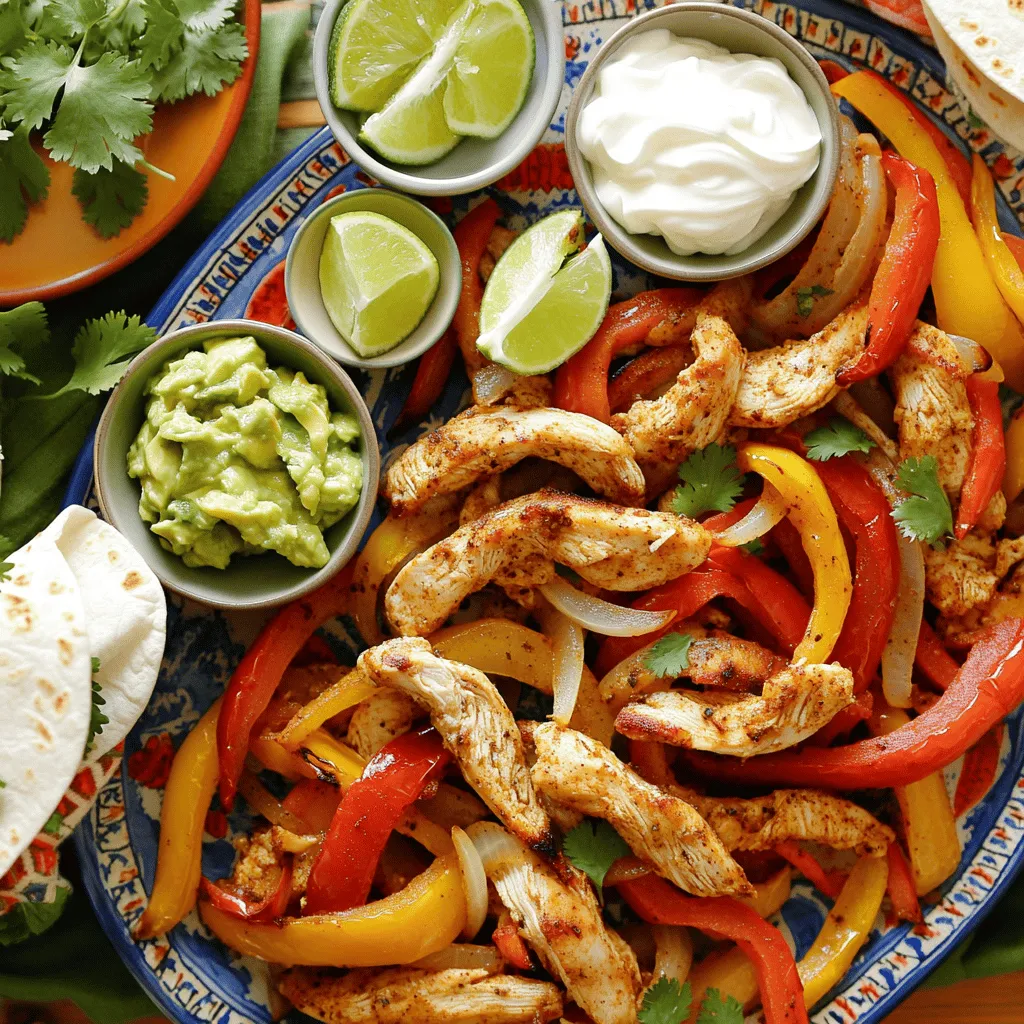
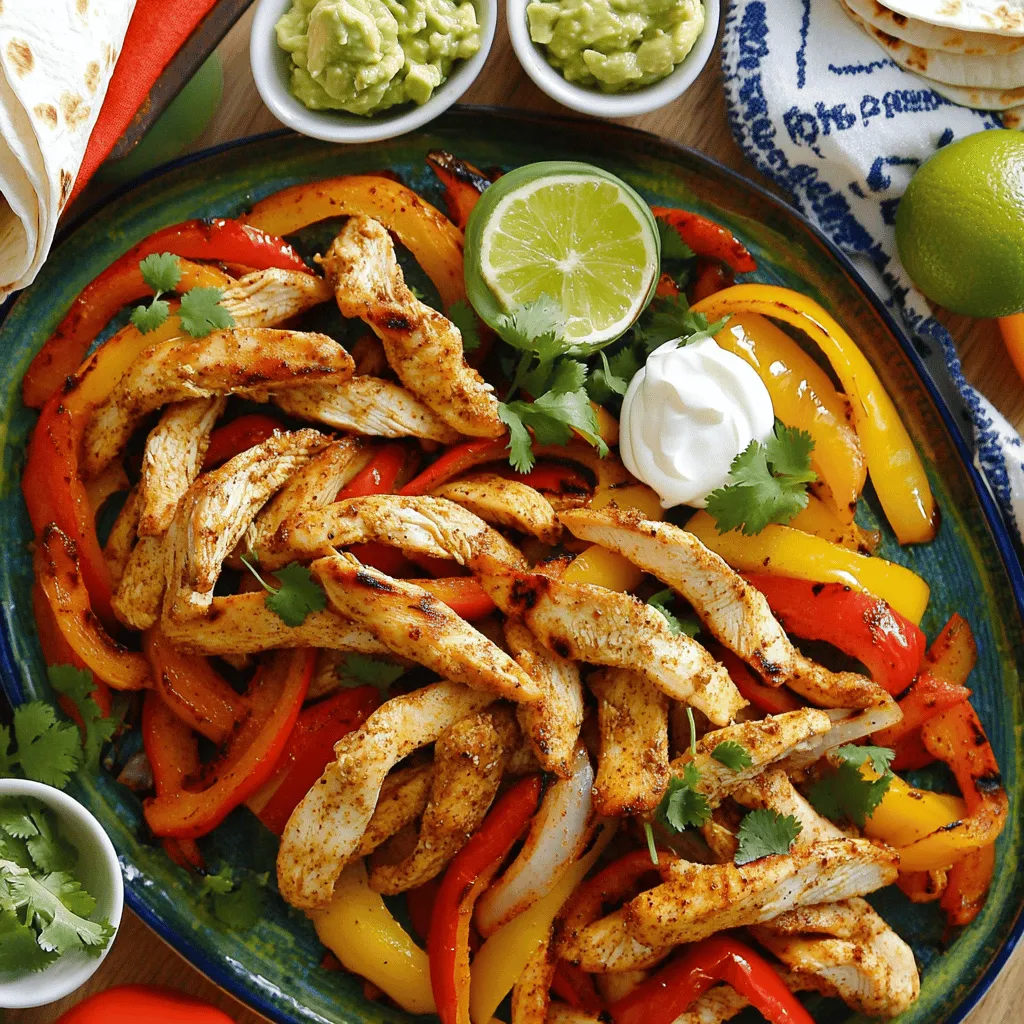
These ingredients come together to create a burst of flavors. The chicken brings protein, while the peppers and onion add color and crunch. Seasonings like chili powder and cumin enhance the taste, making every bite exciting.
Optional Toppings and Garnishes
You can elevate your fajitas with these optional toppings:
– Sour cream
– Guacamole
– Freshly chopped cilantro
– Lime wedges
These toppings add creaminess, freshness, and zest. Feel free to mix and match based on your preference.
Suggested Cooking Tools and Equipment
Here are the tools you need to prepare your fajitas:
– Large baking sheet
– Parchment paper
– Mixing bowl
– Spatula or your hands for mixing
– Knife and cutting board
Using these tools makes the cooking process smooth. The baking sheet helps in even cooking, while the mixing bowl keeps things clean.
Step-by-Step Instructions
Prepping the Ingredients
To start, gather your ingredients. You will need:
– 1 lb boneless, skinless chicken breasts, sliced into thin strips
– 1 red bell pepper, sliced into thin strips
– 1 yellow bell pepper, sliced into thin strips
– 1 medium onion, sliced into thin wedges
– 3 tablespoons extra virgin olive oil
– 2 teaspoons chili powder
– 1 teaspoon ground cumin
– 1 teaspoon smoked paprika
– 1 teaspoon garlic powder
– 1 teaspoon onion powder
– Salt and freshly ground black pepper to taste
– 8 small flour or corn tortillas
– Optional toppings: sour cream, guacamole, freshly chopped cilantro, lime wedges
Begin by preheating your oven to 400°F (200°C). Line a large baking sheet with parchment paper. This helps with easy cleanup.
Mixing and Seasoning the Chicken and Vegetables
In a big mixing bowl, combine all the sliced chicken and veggies. Drizzle the olive oil over them. Add the spices: chili powder, cumin, smoked paprika, garlic powder, onion powder, salt, and pepper.
Now, mix everything well. Use your hands or a spatula to toss the chicken and veggies. Make sure every piece gets coated in oil and spices. This step is key for flavor.
Baking the Fajitas
Spread the chicken and veggies evenly on the prepared baking sheet. Ensure there’s space between pieces for even cooking. Bake in the oven for 25 to 30 minutes. Halfway through, stir the mixture.
Check that the chicken reaches an internal temperature of 165°F (75°C). The veggies should be tender and slightly caramelized. After baking, let the mixture rest for a few minutes.
While it rests, warm your tortillas. You can microwave them wrapped in a damp paper towel or heat them in a skillet.
To serve, place a generous scoop of the chicken and veggie mix in each tortilla. Add sour cream, guacamole, and cilantro. A squeeze of lime juice adds a nice touch! Enjoy this easy yet delicious meal.
Tips & Tricks
How to Ensure Perfectly Cooked Chicken
To get juicy chicken, use thin strips. Thin pieces cook faster and stay tender. Always check the internal temperature. It should reach 165°F (75°C) for safety. If you have time, marinate the chicken in spices and olive oil for a few hours. This adds flavor and keeps it moist.
Best Practices for Roasting Vegetables
Cut the vegetables into uniform sizes. This helps them cook evenly. Use a large baking sheet. Spread the veggies out to avoid steaming. Stir them halfway through baking. This promotes even browning and caramelization. Aim for a tender texture with some charred edges for extra flavor.
Preparing Tortillas for Serving
Warm the tortillas before serving. You can use a microwave or a skillet. For the microwave, wrap them in a damp paper towel. Heat them in short bursts for a soft finish. If using a skillet, heat on medium until they become pliable. This makes them easier to fold and fill.
Variations
Alternative Proteins (e.g., Shrimp, Tofu)
You can switch chicken for shrimp or tofu. Shrimp cooks fast and adds a sweet taste. Just adjust the cooking time to around 15-20 minutes. Tofu is great for a plant-based meal. Use firm tofu for the best texture. Press it to remove excess water. Then, cut it into strips and season like chicken.
Switching up the Vegetables
Feel free to mix in other veggies. You can add zucchini, mushrooms, or even corn. Each veggie brings its own flavor and texture. Try using fresh jalapeños for a spicy kick. You can also use frozen veggies if fresh ones aren’t available. Just ensure they are thawed and well-drained before mixing.
Creative Seasoning Blends
Get creative with your spices! You can try taco seasoning for a different taste. Or, mix in some lime zest for brightness. If you like heat, add cayenne pepper or chipotle powder. Experimenting with these flavors makes each meal unique. Don’t be afraid to try unusual combinations. This is your chance to explore new tastes.
Storage Info
Storing Leftovers Properly
After enjoying your oven-baked chicken fajitas, you may have some leftovers. To store them well, let the fajitas cool down to room temperature. Then, place them in an airtight container. This keeps the flavors fresh and prevents sogginess. You can store them in the fridge for up to three days. If you want to keep them longer, consider freezing.
Reheating Tips for Optimal Taste
When you are ready to eat your leftovers, reheating them properly is key. For the best results, use an oven. Preheat your oven to 350°F (175°C). Spread the fajitas on a baking sheet and cover them with foil. Heat for about 10 to 15 minutes, or until warmed through. This method keeps the chicken juicy and the veggies crisp. You can also use a microwave, but this may make the tortillas soft.
Freezing Instructions
If you want to save your fajitas for later, freezing is easy. First, make sure they are completely cool. Then, place your fajitas in a freezer-safe bag or container. Remove as much air as possible before sealing. Label the bag with the date. You can freeze them for up to three months. When ready to enjoy, thaw the fajitas in the fridge overnight before reheating. This way, they taste just as good as when you first made them.
FAQs
How to Make Oven-Baked Chicken Fajitas Healthier?
To make your oven-baked chicken fajitas healthier, you can swap some ingredients. Use skinless chicken thighs instead of breast for more flavor. Add more veggies like zucchini or mushrooms for extra fiber. You can also replace olive oil with cooking spray to cut calories. Use whole grain tortillas rather than white flour ones. This change boosts fiber and nutrients. Finally, skip the sour cream or use a low-fat version.
Can I Make Fajitas Ahead of Time?
Yes, you can prepare fajitas ahead of time. Just season the chicken and veggies the night before. Store them in the fridge in a sealed container. This helps the flavors blend nicely. Bake them when you are ready to eat. If you want to save time, you can also cook the fajitas fully. Store the cooked fajitas in the fridge for up to three days. Reheat them in the oven for best results.
What are the Best Tortillas to Use?
The best tortillas for fajitas depend on your taste. Flour tortillas are soft and easy to fold. They are a classic choice. Corn tortillas have a nice flavor and are gluten-free. They can be a bit more fragile but pair well with fajitas. You can also try whole wheat tortillas for a healthier option. Choose the type you enjoy most, and your fajitas will shine.
In this article, we explored how to make delicious oven-baked chicken fajitas. We covered the main ingredients, cooking steps, and helpful tips for perfect results. You also learned about fun variations to customize your dish and smart ways to store leftovers.
Now, you can enjoy tasty fajitas at home. Get creative with your toppings and enjoy sharing this meal with friends and family. The key is to have fun and make it your own. Happy cooking!


