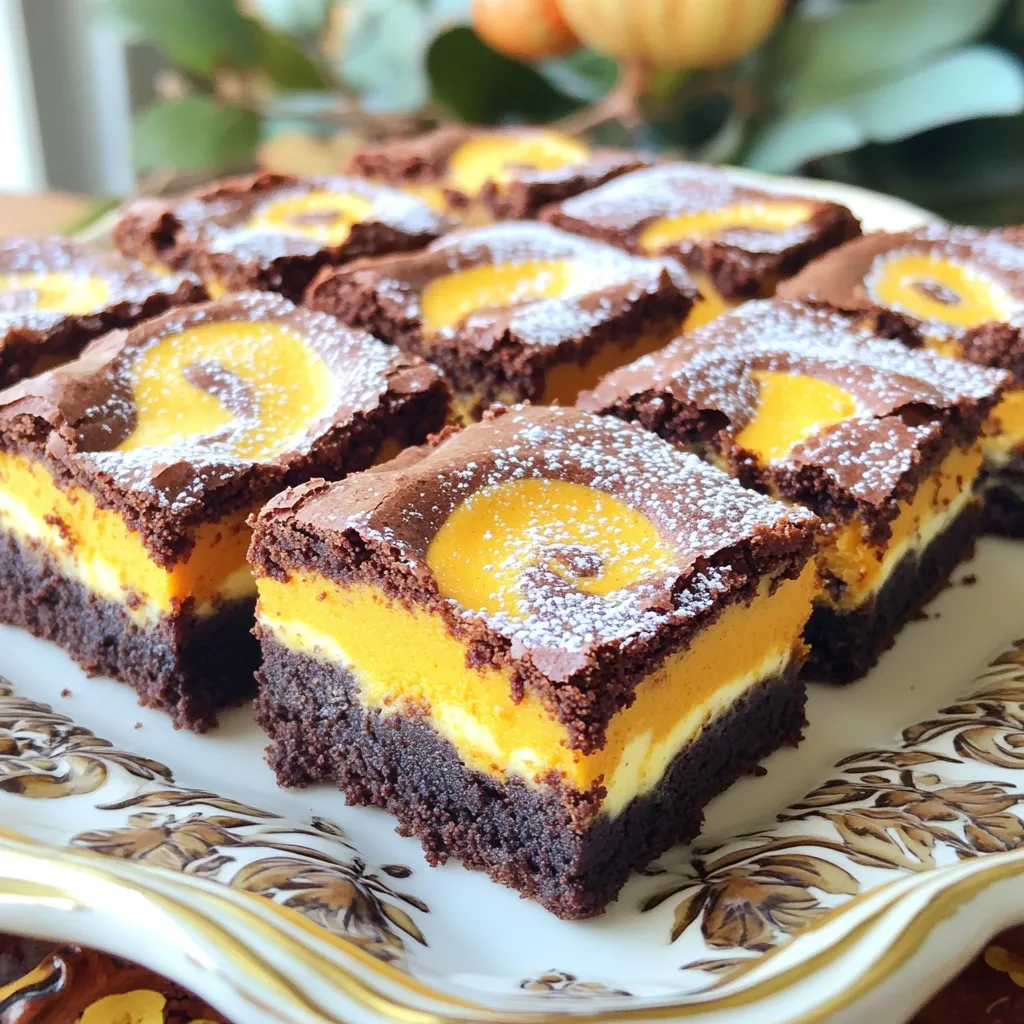
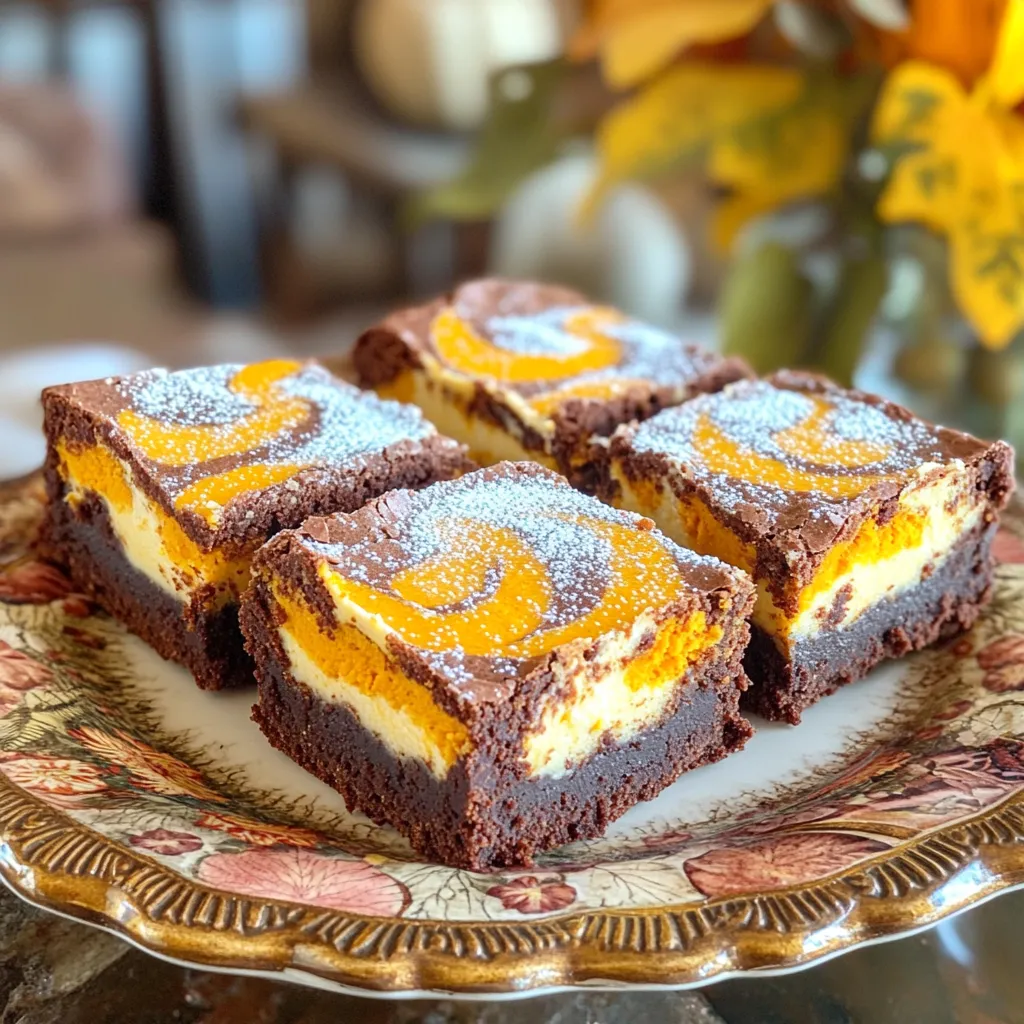
Indulge in the cozy flavors of fall with my Pumpkin Cheesecake Swirl Brownies! These rich, fudgy brownies mix chocolate and pumpkin cheesecake for a treat that’s hard to resist. You’ll love how easy they are to make, and they’re perfect for sharing at gatherings or enjoying at home. Let’s dive into the deliciousness of this recipe that combines the best of both worlds—pumpkin and cheesecake, all swirled together!
Ingredients
To make Pumpkin Cheesecake Swirl Brownies, you need the following ingredients:
– 1 cup unsalted butter, melted
– 2 cups granulated sugar
– 4 large eggs
– 1 cup all-purpose flour
– 1 cup unsweetened cocoa powder
– 1 teaspoon vanilla extract
– 1/2 teaspoon baking powder
– 1/4 teaspoon salt
– 1 cup pumpkin puree
– 8 oz cream cheese, softened to room temperature
– 1/2 cup powdered sugar
– 1 teaspoon ground cinnamon
– 1/2 teaspoon ground nutmeg
These ingredients create a rich and creamy dessert. The butter adds moisture, while the sugar sweetens the mix. Eggs bind everything together and give the brownies a nice lift.
Next, the flour and cocoa powder form the base. The pumpkin puree adds flavor and a creamy texture. Cream cheese, sugar, and spices create the cheesecake swirl.
Using fresh spices like cinnamon and nutmeg makes a big difference. They enhance the cozy, autumn feel of the brownies.
Gather these ingredients before you start your baking adventure. This helps make the process smooth and fun. Enjoy the mix of flavors as you create this tasty treat!
Step-by-Step Instructions
Preheat and Prepare the Baking Pan
First, preheat your oven to 350°F (175°C). While it warms up, grab a 9×13 inch baking pan. Lightly grease it or line it with parchment paper. This step helps the brownies come out easily after baking.
Combine Wet Ingredients
In a medium bowl, mix 1 cup of melted unsalted butter with 2 cups of granulated sugar. Whisk them until they are smooth. Next, add 4 large eggs one at a time. Mix well after each egg. Stir in 1 teaspoon of vanilla extract until it is all combined.
Mix Dry Ingredients
In another bowl, sift together 1 cup of all-purpose flour, 1 cup of unsweetened cocoa powder, 1 teaspoon of baking powder, and 1/4 teaspoon of salt. Slowly fold this dry mix into your wet ingredients. Stir gently until they are just combined. Do not overmix; a few lumps are fine.
Create Brownie Base Layer
Now, set aside 1 cup of the brownie batter for later. Spread the rest of the batter evenly in the bottom of your prepared pan. This will be the base layer for your delicious brownies.
Prepare Pumpkin Cheesecake Mixture
In a separate bowl, combine 8 oz of softened cream cheese, 1/2 cup of powdered sugar, 1 cup of pumpkin puree, 1 teaspoon of ground cinnamon, and 1/2 teaspoon of ground nutmeg. Mix this with an electric mixer or whisk until it is smooth and creamy. Make sure there are no lumps.
Swirl and Bake
Dollop generous spoonfuls of the pumpkin cheesecake mixture over your brownie base. Next, add dollops of the reserved brownie batter on top of the pumpkin mix. Take a knife or skewer and gently swirl the batters together. Aim for nice swirls without overmixing. Place your pan in the preheated oven and bake for 30-35 minutes. To check if they are done, insert a toothpick in the center. It should come out with a few moist crumbs.
Once baked, remove the pan from the oven and let it cool for at least 15 minutes. Then, transfer the brownies to a wire rack to cool completely before slicing. Enjoy your tasty creation!
Tips & Tricks
Prepping the Ingredients
Start with all your ingredients ready. This makes cooking smooth. Measure out:
– 1 cup unsalted butter, melted
– 2 cups granulated sugar
– 4 large eggs
– 1 cup all-purpose flour
– 1 cup unsweetened cocoa powder
– 1 teaspoon vanilla extract
– 1/2 teaspoon baking powder
– 1/4 teaspoon salt
– 1 cup pumpkin puree
– 8 oz cream cheese, softened
– 1/2 cup powdered sugar
– 1 teaspoon ground cinnamon
– 1/2 teaspoon ground nutmeg
Have everything at room temperature. This helps the mixtures blend well.
Achieving the Perfect Swirl
Swirling is key for a great look. Use a knife or skewer for this. After dolloping both batters, make gentle swirls.
– Avoid overmixing; keep distinct layers.
– Aim for a nice marbled effect.
Too much mixing makes it muddy. You want to see the brownie and pumpkin cheesecake.
Testing for Doneness
To check if your brownies are done, use a toothpick. Insert it in the center.
– It should come out with a few moist crumbs.
– If it’s wet, it needs more time.
Bake for about 30-35 minutes. Don’t rush this step; it makes a big difference in texture. Let them cool before slicing for perfect squares!
Variations
Chocolate Chip Addition
Adding chocolate chips can take these brownies to the next level. You can mix in about one cup of semi-sweet chocolate chips into the brownie batter. This adds extra sweetness and a rich chocolate flavor. You can also sprinkle some on top before baking. The chocolate creates a delightful contrast with the pumpkin cheesecake swirl.
Swapping Pumpkin with Other Purees
If you want to switch things up, you can replace pumpkin with other purees. Consider using sweet potato or butternut squash for a similar texture. These options provide a unique twist while keeping the taste rich and creamy. You may need to adjust spices slightly to match the new puree.
Gluten-Free Option
To make these brownies gluten-free, swap the all-purpose flour for a gluten-free blend. Many blends work well in baking, so choose one that you like. Make sure to check that all other ingredients are gluten-free. This way, everyone can enjoy these tasty treats without worry.
Storage Info
Best Ways to Store Brownies
To keep your pumpkin cheesecake swirl brownies fresh, store them in an airtight container. This method preserves their moisture and flavor. You can keep them at room temperature for up to three days. If you want to store them longer, refrigerating them is a great option. Just remember to wrap them well to prevent drying out.
Freezing Pumpkin Cheesecake Swirl Brownies
You can freeze these brownies for up to three months. First, let them cool completely. Then, cut them into squares. Wrap each piece tightly in plastic wrap and place them in a freezer-safe bag. Label the bag with the date to keep track. When you’re ready to enjoy, simply thaw them in the fridge overnight.
Reheating Instructions
For a warm treat, reheat your brownies in the microwave. Place a brownie on a microwave-safe plate and heat for about 10-15 seconds. You can also warm them in the oven. Preheat the oven to 350°F (175°C) and place the brownies on a baking sheet. Heat them for about 5-10 minutes. Enjoy the gooey texture that comes with warmth!
FAQs
Can I make this recipe ahead of time?
Yes, you can make these brownies ahead of time. Bake the brownies and let them cool completely. After that, cover them well with plastic wrap or foil. They can stay fresh in the fridge for up to five days. You can also freeze them for up to three months. Just thaw them in the fridge overnight before serving.
How can I make these brownies more festive?
To make these brownies more festive, you can add toppings. Try crushed nuts, chocolate chips, or whipped cream. You can also sprinkle some seasonal spices, like extra cinnamon or nutmeg, on top. For special occasions, use festive cookie cutters to shape the brownies. Another fun idea is to drizzle melted chocolate over the top for a finishing touch.
What’s the best way to cut brownies for neat slices?
Cutting brownies can be tricky, but a few simple tips help. First, use a sharp knife for clean cuts. You can warm the knife in hot water, then dry it before cutting. This way, the knife slides through easily. After each cut, wipe the knife to remove any sticky bits. For even slices, score the brownies lightly before cutting all the way through.
This blog post covered the key ingredients, detailed steps, and useful tips for making pumpkin cheesecake swirl brownies. You learned how to blend flavors and create a unique treat. Remember, you can personalize with chocolate chips or other purees. Store leftovers well for future enjoyment. Baking should be fun, so try new ideas and enjoy every bite. Happy baking, and may your brownies turn out delicious!


