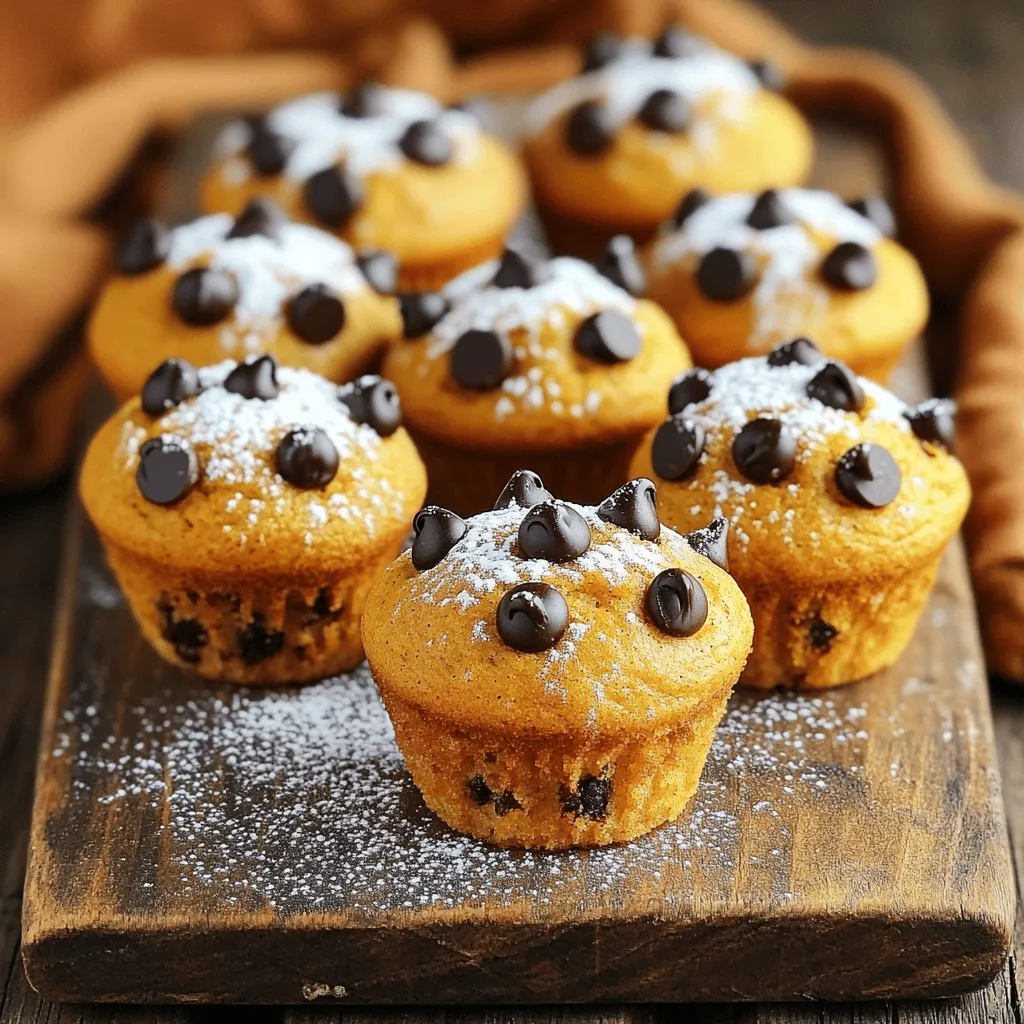
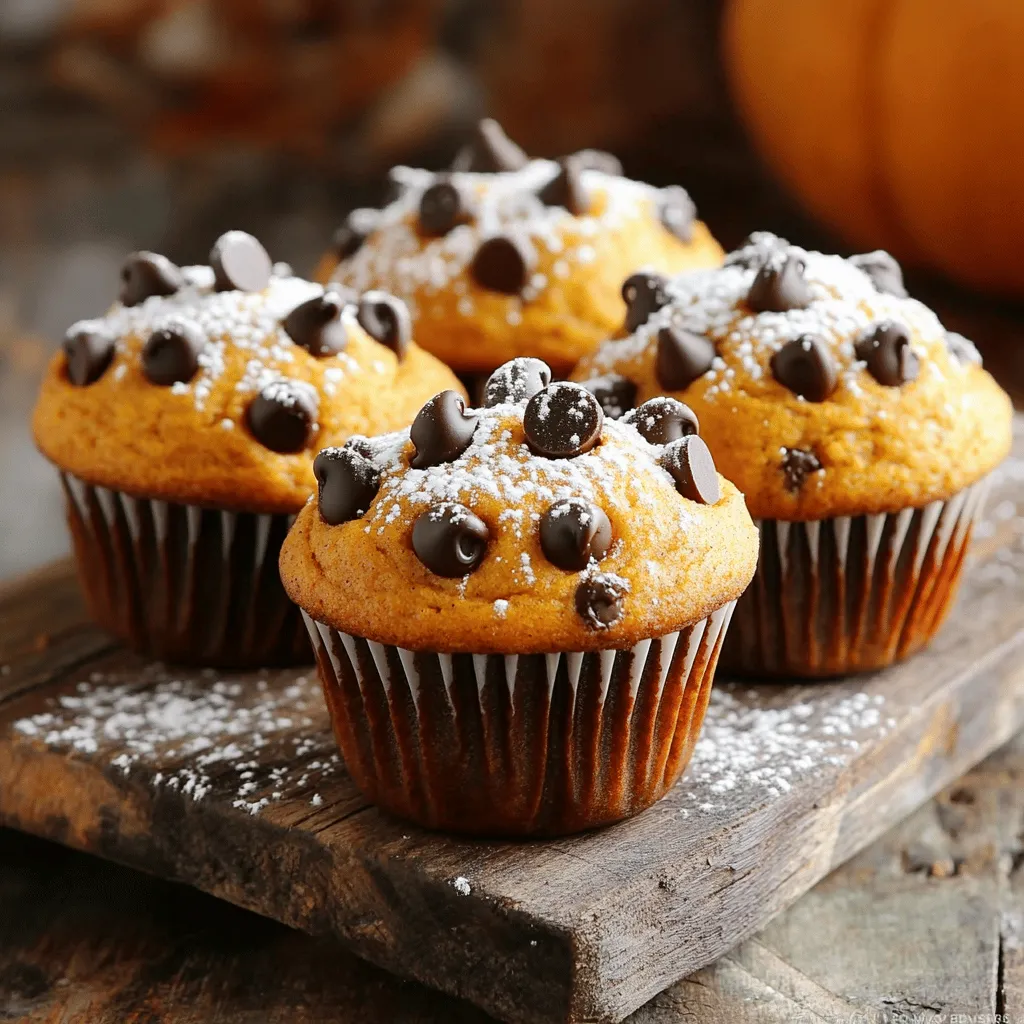
Are you craving a warm, cozy treat that’s both soft and packed with flavor? Look no further than these Pumpkin Chocolate Chip Muffins! With just the right balance of spice and sweet chocolate, they are perfect for any time of the year. In this guide, I’ll share simple ingredients, easy steps, and helpful tips for baking your own delicious muffins. Get ready to impress your family and friends with this irresistible recipe!
Ingredients
List of Ingredients
To make these tasty pumpkin chocolate chip muffins, you need the following ingredients:
– 1 cup pure pumpkin puree (canned or homemade)
– ½ cup packed brown sugar
– ½ cup granulated sugar
– ½ cup vegetable oil (or melted coconut oil)
– 2 large eggs, at room temperature
– 1 teaspoon high-quality vanilla extract
– 1 ½ cups all-purpose flour (or whole wheat flour)
– 1 teaspoon baking powder
– 1 teaspoon baking soda
– ½ teaspoon fine sea salt
– 1 teaspoon ground cinnamon
– ½ teaspoon ground nutmeg
– ½ teaspoon ground ginger
– 1 cup semi-sweet chocolate chips (or dark chocolate)
– ½ cup chopped walnuts (optional)
Measurements and Substitutions
Each measurement in this recipe is important for the best muffins. You can swap the all-purpose flour for whole wheat flour for more fiber. Use melted coconut oil instead of vegetable oil for a hint of coconut flavor. If you want a healthier option, you can use less sugar or substitute with honey.
Optional Add-ins
Get creative with your muffins! Here are some fun add-ins:
– ½ cup chopped walnuts for crunch
– ½ cup dried cranberries for a sweet twist
– ½ teaspoon espresso powder to enhance chocolate flavor
– A pinch of sea salt on top before baking for contrast
Step-by-Step Instructions
Preheating the Oven
First, preheat your oven to 350°F (175°C). This step is key for even baking. While the oven heats, prepare your muffin tin. You can line it with paper liners or lightly grease each cup with cooking spray.
Mixing Wet Ingredients
Next, grab a large mixing bowl. In it, combine 1 cup of pumpkin puree, ½ cup of brown sugar, ½ cup of granulated sugar, and ½ cup of vegetable oil. Add 2 large eggs and 1 teaspoon of vanilla extract. Whisk these until smooth. Make sure there are no lumps. This mix will bring moisture and sweetness to your muffins.
Blending Dry Ingredients
In a separate bowl, sift together 1 ½ cups of all-purpose flour, 1 teaspoon of baking powder, 1 teaspoon of baking soda, and ½ teaspoon of fine sea salt. Add 1 teaspoon of ground cinnamon, ½ teaspoon of ground nutmeg, and ½ teaspoon of ground ginger. Sifting helps to mix the dry ingredients well and adds air, making the muffins light.
Combining the Mixtures
Now, slowly add the dry mix to the wet ingredients. Stir gently with a spatula until just combined. It’s okay if there are small lumps. Do not overmix, or your muffins will be dense. The batter should be thick and creamy at this point.
Filling the Muffin Tin
Using a spoon or an ice cream scoop, fill each muffin cup about ¾ full. This gives your muffins space to rise without spilling over. Keep it even for the best results.
Baking and Cooling
Place the muffin tin in your preheated oven. Bake for 18-20 minutes. Check for doneness by inserting a toothpick into the center of a muffin. It should come out clean or with a few moist crumbs. Once done, take them out and let them cool in the tin for about 5 minutes. Then, transfer the muffins to a wire rack to cool completely. Enjoy the wonderful aroma as they cool!
Tips & Tricks
How to Achieve the Perfect Muffin Texture
To get a soft and fluffy muffin, do not overmix your batter. Mix the wet and dry ingredients just until combined. Small lumps are okay. This keeps the muffins light. Also, make sure to use room temperature eggs. They blend better and help the batter rise.
Enhancing Flavor with Spices
Spices make your muffins really shine! Use ground cinnamon, nutmeg, and ginger to add warmth. These spices enhance the pumpkin flavor. I recommend using fresh spices for the best taste. You can even try adding a pinch of ground cloves for a twist.
Common Baking Mistakes to Avoid
Avoid these mistakes for the best muffins. First, don’t skip the baking powder or baking soda. They help your muffins rise. Second, always measure your ingredients accurately. Too much flour will make them dense. Lastly, always preheat your oven. This ensures even baking and a nice dome shape.
Variations
Gluten-Free Pumpkin Chocolate Chip Muffins
You can make gluten-free pumpkin chocolate chip muffins easily. Use gluten-free flour blends instead of all-purpose flour. Look for blends that include brown rice flour and tapioca starch. These blends work well to keep the muffins light and fluffy. Always check the package for measurements since they can vary.
Healthier Substitutions
If you want to make the muffins healthier, consider using applesauce. Replace half of the oil with unsweetened applesauce. This swap reduces fat and adds moisture. You can also use less sugar. Try cutting the brown sugar to 1/3 cup. It still gives a sweet taste without being too sugary.
Flavor Additions
To change the flavor, think about adding nuts or dried fruit. Chopped pecans or hazelnuts add a nice crunch. Dried cranberries or raisins bring a touch of sweetness. You can even mix in spices like cardamom or cloves for a warm twist. These additions make each muffin unique and fun to bake!
Storage Info
Best Practices for Storing Muffins
To keep your pumpkin chocolate chip muffins fresh, use an airtight container. Place them in a cool, dry spot. This helps prevent them from drying out. You can also use plastic wrap for extra protection. If you store them this way, they can last for about three days on the counter.
Freezing Instructions
You can freeze these muffins for longer storage. Make sure they are completely cool first. Wrap each muffin tightly in plastic wrap. Then, place them in a freezer bag. Label the bag with the date. They will stay good for up to three months in the freezer. To enjoy, just take out a muffin and let it thaw on the counter.
Reheating Tips
To reheat your muffins, use the microwave or oven. For the microwave, place one muffin on a plate and heat for about 15 seconds. If you want a crispy top, use the oven. Preheat your oven to 350°F. Place the muffin on a baking sheet and heat for about 5-10 minutes. This makes them warm and soft again, just like fresh out of the oven!
FAQs
Can I use fresh pumpkin instead of canned?
Yes, you can use fresh pumpkin. Start by roasting a sugar pumpkin. Cut it in half, scoop out the seeds, and roast it until soft. After it cools, mash it or puree it for a smooth texture. This fresh pumpkin can add a great flavor to your muffins.
How long do these muffins stay fresh?
These muffins stay fresh for about 3 days at room temperature. Store them in an airtight container to keep them moist. If you want them to last longer, you can refrigerate them for up to a week.
Can I make the batter ahead of time?
You can make the batter ahead of time. Mix it and store it in the fridge for up to 24 hours. This can save you time in the morning. Just give it a gentle stir before you fill the muffin tin.
What’s the best way to serve Pumpkin Chocolate Chip Muffins?
Serve these muffins warm for the best taste. You can dust them with powdered sugar for a nice touch. Pair them with a cup of coffee or tea for a cozy treat. Enjoy them fresh out of the oven or later in the day!
We explored the key ingredients and steps to make delicious pumpkin chocolate chip muffins. I shared tips for perfecting texture and flavor, along with easy variations and storage methods. Remember, the right mix and careful baking are crucial for great results. Enjoy your baking adventure and share these muffins with friends. You’ll impress everyone with your skills and tasty treats!


