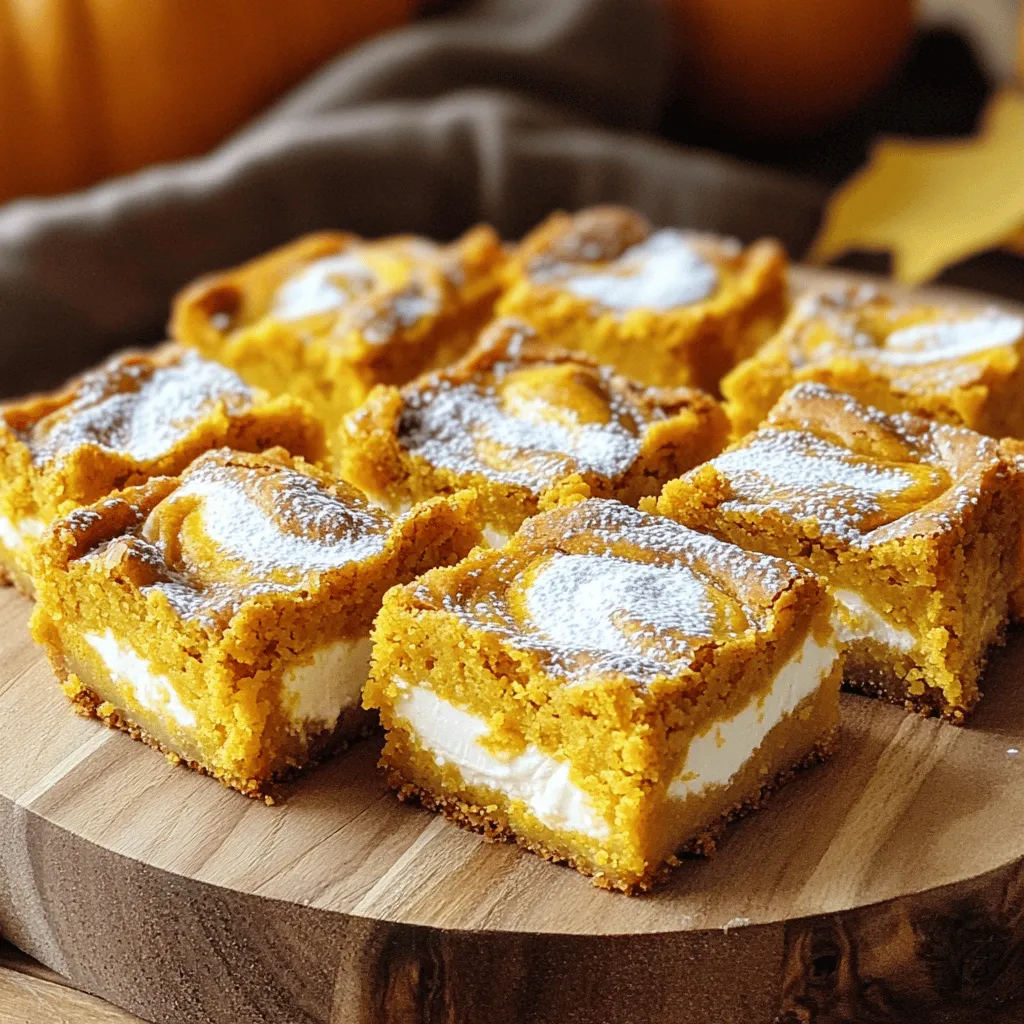
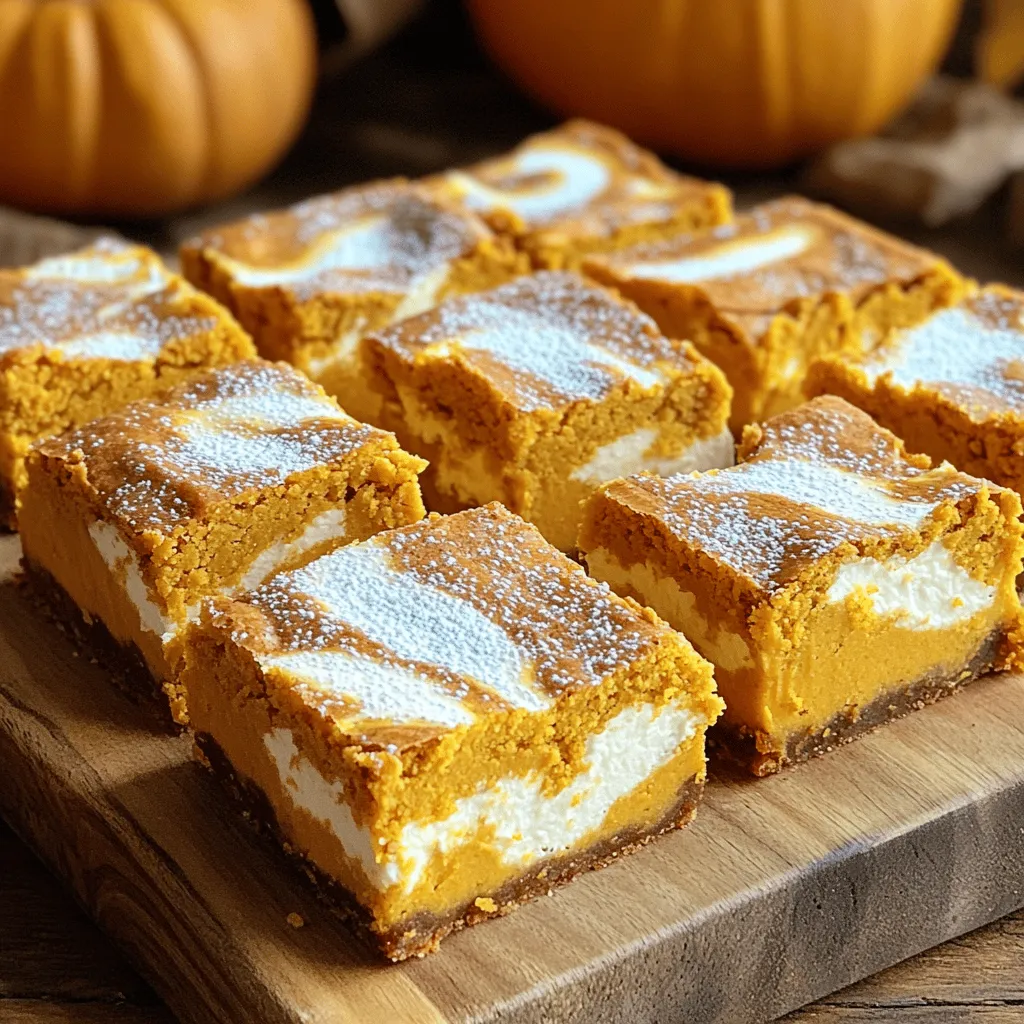
Fall is here, and so are the flavors of pumpkin! If you love rich, sweet treats, I have the perfect recipe for you: Pumpkin Cream Cheese Blondies. These soft, spiced blondies swirl creamy cheese filling for a mouthwatering delight. In this post, I’ll share my simple ingredients, step-by-step baking guide, and helpful tips to make them just right. Get ready to impress your family with this cozy fall treat!
Ingredients
List of Ingredients
– 1 cup pumpkin puree (canned or fresh)
– 1 cup packed brown sugar
– 1/2 cup granulated sugar
– 1/2 cup unsalted butter, melted and slightly cooled
– 2 large eggs, at room temperature
– 1 teaspoon pure vanilla extract
– 1 teaspoon baking powder
– 1/2 teaspoon baking soda
– 1 teaspoon ground cinnamon
– 1/2 teaspoon ground nutmeg
– 1/4 teaspoon sea salt
– 1 1/2 cups all-purpose flour
– 8 oz cream cheese, softened to room temperature
– 1/4 cup powdered sugar
– 1 tablespoon fresh lemon juice
Measurements and Substitutions
Each ingredient plays a key role. If you want to swap the granulated sugar, use coconut sugar for a deeper flavor. You can replace all-purpose flour with a gluten-free blend. For an egg-free option, use flax eggs; mix one tablespoon of flaxseed meal with three tablespoons of water.
Importance of Fresh Ingredients
Using fresh ingredients makes a big difference. Fresh pumpkin puree gives a vibrant flavor. Softened cream cheese blends smoothly into the batter. Fresh spices like cinnamon and nutmeg enhance the taste. Always check the dates on your ingredients, especially baking powder and baking soda. They should be fresh for the best rise and texture in your blondies.
Step-by-Step Instructions
Preparation and Baking Process
Start by preheating your oven to 350°F (175°C). Take a 9×9 inch baking dish and grease it well. Then, line it with parchment paper. Leave some paper hanging over the edges. This helps you lift the blondies out later.
Next, gather your ingredients. You will need pumpkin puree, brown sugar, granulated sugar, melted butter, eggs, and vanilla extract. In a large mixing bowl, mix the pumpkin puree, brown sugar, granulated sugar, and melted butter. Use a whisk and mix until smooth.
Now, add two large eggs and one teaspoon of pure vanilla extract to the bowl. Whisk these in until the batter looks creamy and well combined.
Mixing Dry and Wet Ingredients
In a separate bowl, sift together the dry ingredients. You need baking powder, baking soda, ground cinnamon, ground nutmeg, sea salt, and all-purpose flour. This step helps mix everything evenly, so your blondies rise well.
Now, slowly add the dry mix to the wet mix. Use a spatula to fold them together gently. Be careful not to overmix. It’s okay if the batter has a few lumps. This keeps the texture nice.
Creating the Cream Cheese Swirl
For the cream cheese swirl, take eight ounces of softened cream cheese. Add in a quarter cup of powdered sugar and one tablespoon of fresh lemon juice. Beat these together until it’s smooth and creamy.
Take half of your blondie batter and pour it into the prepared baking pan. Spread it evenly across the bottom. Next, dollop spoonfuls of the cream cheese mixture on top of the batter. Use a knife or skewer to swirl the cream cheese into the blondie batter.
Finally, pour the rest of the blondie batter over the cream cheese layer. Smooth it out carefully. Bake your blondies in the preheated oven for 25-30 minutes. To check if they are done, insert a toothpick into the center. It should come out with a few moist crumbs, but not wet batter.
After baking, let the blondies cool in the pan for about 10 minutes. Use the parchment paper to lift them out. Place them on a wire rack to cool completely. Enjoy the amazing fall flavors!
Tips & Tricks
Achieving the Perfect Texture
To get the best texture for your pumpkin cream cheese blondies, avoid overmixing. When you combine the wet and dry ingredients, mix just until they blend. A few lumps are okay! This keeps the blondies moist and light. You want that soft, chewy bite. Remember, the cream cheese layer adds richness, making each bite even better.
Baking Time and Testing for Doneness
Baking time is key. Set your timer for 25 to 30 minutes. To check if they are done, insert a toothpick into the center. It should come out with a few moist crumbs, not wet batter. If it comes out clean, you might have overbaked them. Keep an eye on them as they bake, and trust your instincts!
Storage Tips for Freshness
Once your blondies cool, store them in an airtight container. They stay fresh for about 3 to 5 days at room temperature. If you want them to last longer, freeze them. Cut them into squares and wrap each one in plastic wrap. Then, place them in a freezer bag. They can last up to three months in the freezer. Enjoy your fall treat anytime!
Variations
Gluten-Free Adaptations
You can easily make these blondies gluten-free. Start by replacing all-purpose flour with a gluten-free blend. Look for a mix that includes xanthan gum, as it helps mimic the texture of regular flour. Almond flour is another option. It gives a nice nutty flavor too. Just remember that almond flour may change the final texture slightly. Also, check your baking powder to ensure it is gluten-free.
Flavor Additions and Mix-Ins
You can jazz up these blondies with fun mix-ins. Try adding chocolate chips for a sweet twist. Butterscotch chips also work well with the pumpkin flavor. You can even fold in chopped nuts like walnuts or pecans for crunch. Dried cranberries or raisins add a nice chewy texture. Feel free to be creative; these blondies are very flexible!
Alternative Frosting Options
If you want a different frosting, there are many options. Cream cheese frosting is classic, but you can try vanilla or maple frosting too. A simple glaze made from powdered sugar and milk can also be great. For a fun twist, mix in some pumpkin spice into your frosting. This extra layer can make your blondies even more special and festive.
Serving Suggestions
Pairing with Beverages
These pumpkin cream cheese blondies shine when paired with the right drinks. For a warm touch, serve them with a cup of spiced chai or a rich hot chocolate. The spices in these drinks match the flavors in the blondies. You can also enjoy them with a light coffee or a sweet latte. The creamy notes of the coffee enhance the cream cheese swirl.
Presentation Ideas
Presentation makes a big difference. Cut the blondies into neat squares for a clean look. Place them on a rustic wooden platter for a cozy vibe. To make them more appealing, dust the tops with powdered sugar. You can also drizzle some cream cheese frosting on top. Adding a few pumpkin seeds or cinnamon sticks can create a charming touch.
Seasonal Serving Themes
These blondies fit perfectly into fall themes. Use autumn leaves as table decor to enhance the season. For gatherings, serve them at harvest festivals or Halloween parties. You can also package them in cute boxes for a festive gift. Sharing these treats makes the season sweeter and more special.
FAQs
Can I use fresh pumpkin instead of canned?
Yes, you can use fresh pumpkin. Just cook and puree it. Make sure to drain excess water. Fresh pumpkin adds a nice flavor. It may change the texture slightly. Canned pumpkin is often more convenient. Both options will work well in this recipe.
How do I store leftovers?
Store leftovers in an airtight container. Keep them in the fridge for best results. This helps keep them fresh and moist. You can also wrap them in plastic wrap. Enjoy them within a week for the best taste.
How long do blondies last?
These blondies last about one week in the fridge. If you freeze them, they can last up to three months. Just make sure they are well-wrapped. Thaw them in the fridge overnight before serving. Enjoy these tasty treats whenever you want!
This blog post explored key ingredients and their role in crafting blondies. I shared step-by-step instructions for a delicious baking process, highlighting texture and storage tips. I also covered variations, from gluten-free options to different flavors and frostings. Lastly, I shared serving ideas and answered common questions.
Enjoying blondies is easy and fun. Use fresh ingredients for the best taste. Make them your own with flavors you love. Happy baking!


