If you’re craving a fun and easy treat this fall, look no further! Pumpkin Cream Cheese Truffles are not just tasty; they pack a punch of flavor and festive spirit. In this guide, I’ll walk you through the simple steps to create these delightful bites, plus tips to make them even better. Let’s dive into the world of sweet and creamy pumpkin goodness! You’ll impress your friends and family in no time!
Ingredients
Detailed List of Ingredients
To make these tasty Pumpkin Cream Cheese Truffles, gather the following ingredients:
– 1 cup pumpkin puree
– 8 oz cream cheese, softened
– 1 teaspoon pure vanilla extract
– 1 cup powdered sugar, sifted
– 1 ½ cups graham cracker crumbs
– 1 teaspoon pumpkin pie spice
– ½ cup dark chocolate chips
– 1 tablespoon coconut oil
– A pinch of sea salt
These simple ingredients come together to create a rich and creamy treat.
Quality Tips for Ingredients
Using high-quality ingredients makes a big difference. Choose pure pumpkin puree, not pumpkin pie filling. This gives you the best flavor. For cream cheese, opt for full-fat versions. They provide a creamier texture. Fresh vanilla extract enhances the taste more than imitation. When selecting chocolate chips, go for dark chocolate with at least 60% cocoa for a richer taste. Lastly, use fresh spices. They add warmth to your truffles.
Substitutes for Key Ingredients
If you need substitutes, here are some great options:
– Pumpkin Puree: Use sweet potato puree for a different flavor.
– Cream Cheese: For a dairy-free option, use vegan cream cheese.
– Powdered Sugar: You can blend granulated sugar into a fine powder if needed.
– Graham Cracker Crumbs: Try crushed cookies like digestive biscuits.
– Pumpkin Pie Spice: Mix cinnamon, nutmeg, and ginger for a similar taste.
These substitutes can help you adapt the recipe to your needs while keeping the truffles delicious.
Step-by-Step Instructions
Preparing the Mixture
First, gather your ingredients. You need pumpkin puree, softened cream cheese, and vanilla extract. In a mixing bowl, combine the pumpkin puree, cream cheese, and vanilla. Use a hand mixer or spatula. Mix until smooth and creamy. Make sure there are no lumps. Next, sift the powdered sugar into the bowl. Add it slowly while blending. Mix until the sugar is fully combined. The mixture should feel thick and creamy. Finally, add the graham cracker crumbs and pumpkin pie spice. Stir gently until all ingredients are mixed well. You’ll have a thick, moldable mixture ready for chilling.
Chilling and Shaping the Truffles
Cover the bowl tightly with plastic wrap. Place it in the refrigerator for about 1 hour. This helps the mixture firm up. After chilling, take the mixture out. Use a tablespoon to scoop out portions. Roll each portion into a small ball using your palms. Place the truffles on a parchment-lined baking sheet. Repeat this until you shape all the mixture into truffles. They should be smooth and round.
Melting and Coating in Chocolate
Now, let’s melt the chocolate. In a microwave-safe bowl, combine dark chocolate chips and coconut oil. Microwave the bowl in 30-second intervals. Stir after each interval. Keep going until the chocolate is smooth and melted. Be careful not to overheat it. Next, use a fork to dip each truffle into the melted chocolate. Make sure they are fully coated. Tap the fork on the bowl’s edge. This removes any extra chocolate. Return the truffles to the baking sheet. Before the chocolate sets, sprinkle a small pinch of sea salt on each truffle. This adds a nice flavor contrast. Let the chocolate firm up at room temperature for about 30 minutes. You can also place them in the fridge for quicker results. Enjoy your tasty treats!
Tips & Tricks
Techniques for Smooth Mixture
To make a smooth mixture, start with room-temperature cream cheese. Soft cream cheese blends easily with pumpkin puree. Use a hand mixer or spatula to mix until there are no lumps. This step is key for creamy truffles. When adding powdered sugar, do it slowly. This helps prevent clumps. Mix until thick and creamy, then add graham cracker crumbs and pumpkin pie spice. Stir gently to keep it smooth.
Best Practices for Truffle Rolling
When rolling the truffles, scoop a tablespoon of chilled mixture. Roll it quickly between your palms. If your hands get sticky, dampen them slightly with water. This makes rolling easier. Place each ball on a parchment-lined baking sheet. Make sure to space them out. This helps prevent sticking. Keep your truffles uniform in size for even coating and a nice look.
Chocolate Melting Tips
For melting chocolate, use a microwave-safe bowl. Combine dark chocolate chips and coconut oil in the bowl. Microwave in 30-second bursts, stirring in between. This helps avoid burning. Stop when the chocolate is almost melted. Stir until smooth; the heat will finish melting it. Use a fork to dip each truffle in the melted chocolate. Tap off excess chocolate before placing it back on the sheet. This gives a nice finish to each truffle.
Variations
Flavor Variations
You can change the flavor of your pumpkin cream cheese truffles by adding nuts or dried fruit. Chopped pecans or walnuts add a nice crunch. Dried cranberries or raisins bring a sweet burst. Mix in about 1/2 cup of your choice. This twist makes each bite a bit different and exciting!
Alternative Coatings
Instead of dark chocolate, try coating your truffles in white chocolate or colorful sprinkles. White chocolate gives a sweet, creamy taste. Simply melt the white chocolate like you did with dark chocolate. For sprinkles, just roll the truffles in them after dipping in chocolate. This adds fun colors and textures to your truffles!
Seasonal Twists for Halloween and Thanksgiving
For Halloween, shape the truffles like pumpkins or ghosts. Use orange and black sprinkles for a festive look. For Thanksgiving, add a hint of nutmeg or cinnamon to the mixture. You can also make them look like mini pies by topping with more graham cracker crumbs. These seasonal touches make your truffles perfect for any fall gathering!
Storage Info
How to Store Pumpkin Cream Cheese Truffles
To keep your truffles fresh, place them in an airtight container. This helps to maintain their taste and texture. Layer parchment paper between truffles to prevent sticking. Store them in the fridge for the best flavor. They will stay fresh for about a week.
Shelf Life and Freezing Tips
Pumpkin cream cheese truffles last for one week in the fridge. If you want to store them longer, freeze them. They freeze well for up to three months. To freeze, make sure they are in a single layer on a tray first. Once frozen, transfer them to a freezer-safe container. When you want to enjoy them, let them thaw in the fridge overnight.
Best Containers for Storage
Use glass or plastic containers with tight lids for storage. These containers keep air out and moisture in. Avoid metal containers, as they may react with the chocolate. If you are freezing, use freezer bags or containers labeled for freezing. This helps you keep track of how long they have been stored.
FAQs
Can I use fresh pumpkin instead of canned?
Yes, you can use fresh pumpkin. Just make sure to cook and puree it first. Roasting the pumpkin brings out its natural sweetness. After cooking, let it cool before mixing with cream cheese. This gives you a fresher taste. However, canned pumpkin is easier and saves time.
How can I make these truffles vegan?
To make these truffles vegan, swap out the cream cheese for a dairy-free version. Use coconut cream or cashew cream to keep it rich and smooth. For the chocolate coating, choose vegan dark chocolate. Make sure all your ingredients are dairy-free. This way, you can enjoy tasty truffles without any animal products.
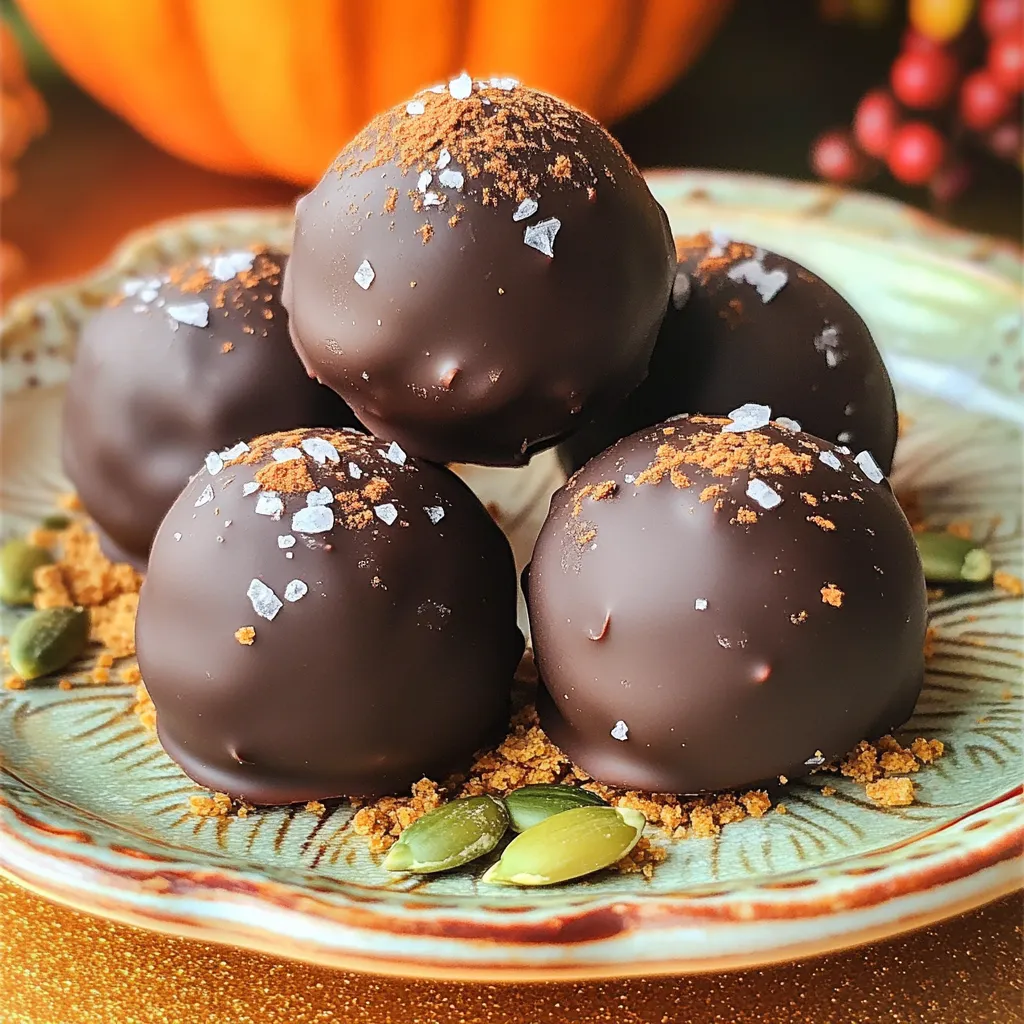
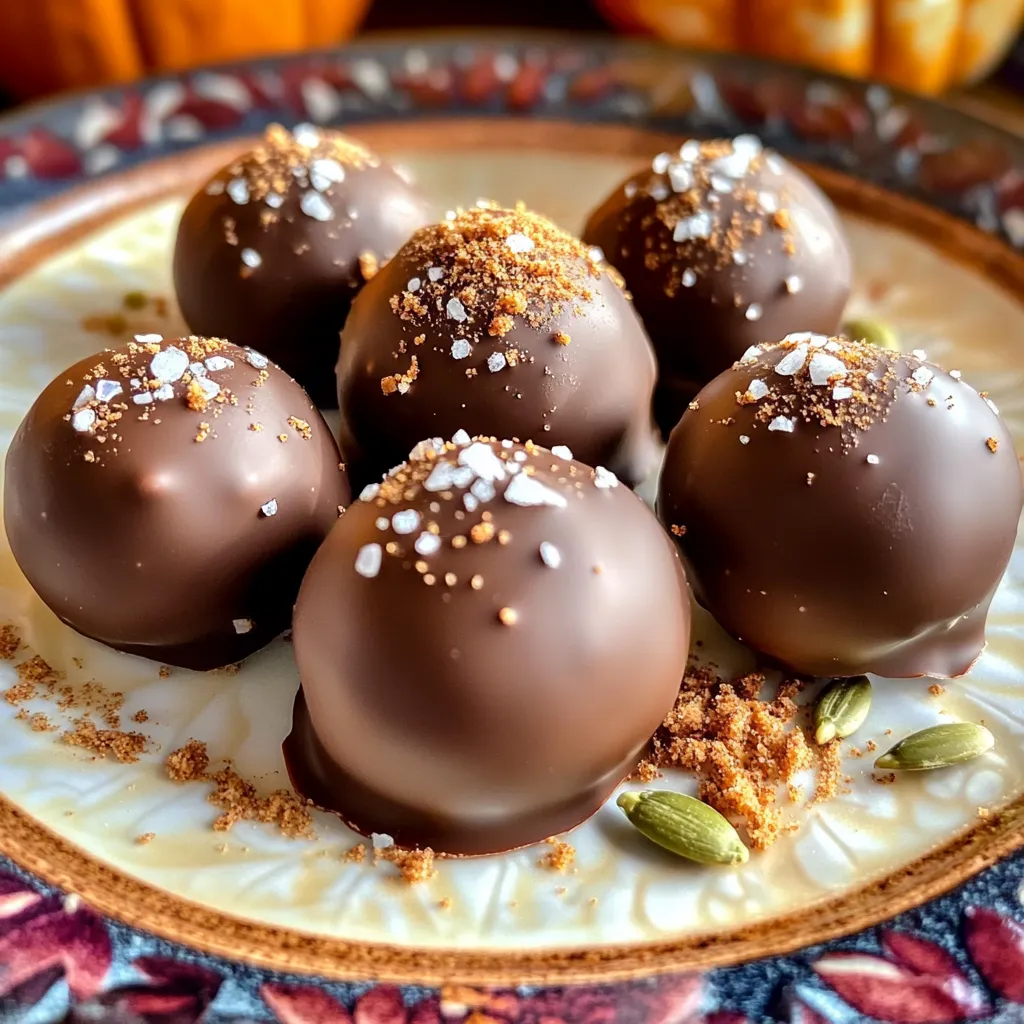
What is the best way to serve Pumpkin Cream Cheese Truffles?
Serve these truffles on a pretty plate. Dust them with graham cracker crumbs for a nice touch. You can also sprinkle a bit of cinnamon on top. For a festive look, add a few pumpkin seeds around the truffles. This adds color and charm to your dessert table.
You now have all the details to make delicious pumpkin cream cheese truffles. We covered key ingredients, step-by-step instructions, and helpful tips. Remember, the right quality of ingredients can improve your truffles. Don’t hesitate to try fun variations or explore storage tips for freshness. These truffles are great for events and holidays, making them a perfect treat. Enjoy the process, and let your creativity shine through with every batch you make!


