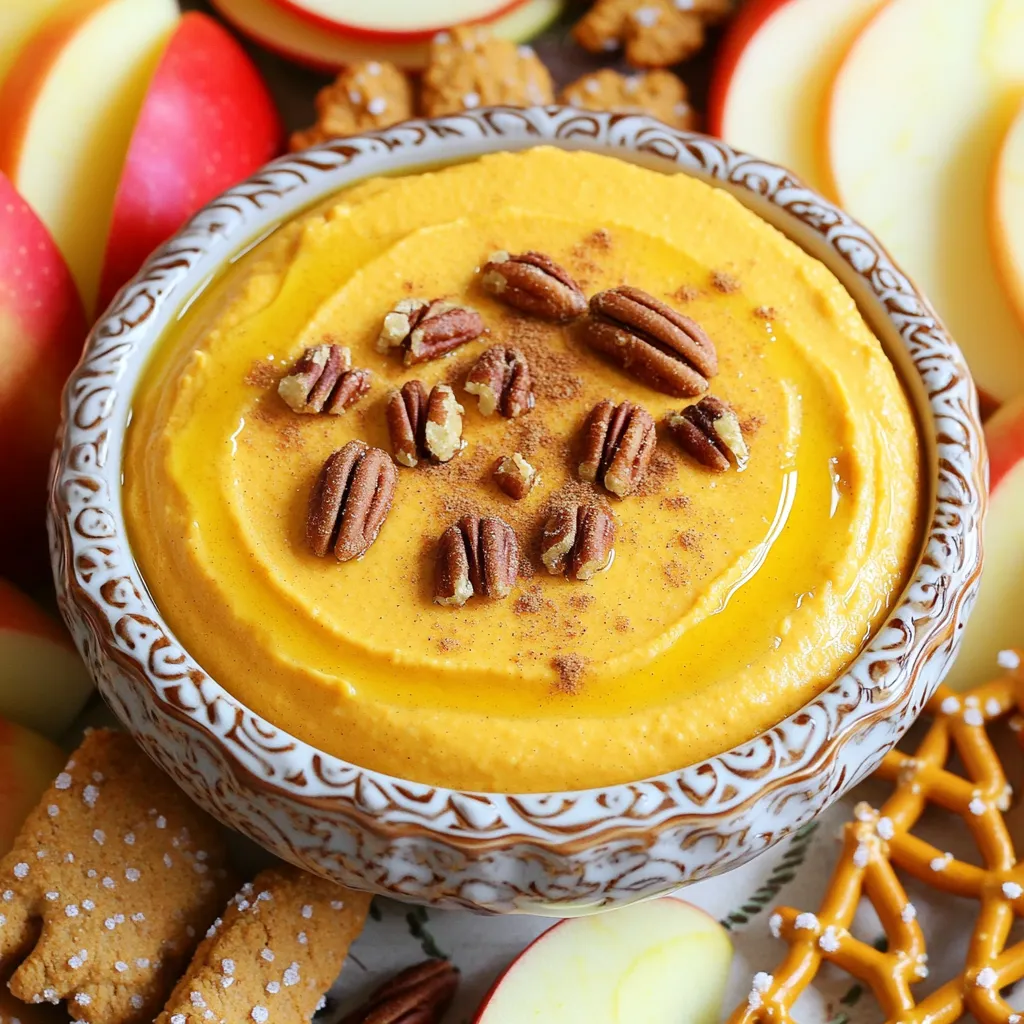
Fall is here, and it’s time to indulge in the rich flavors of pumpkin spice! This Pumpkin Spice Cream Cheese Dip is the perfect blend of sweet and creamy goodness. With easy steps and simple ingredients, you’ll create a delightful treat that pairs perfectly with apple slices, ginger snap cookies, or pretzel sticks. Let’s dive into this satisfying recipe that will make your fall gatherings a hit!
Ingredients
Main Ingredients
– 8 oz cream cheese, softened
– 1 cup pumpkin puree
– 1/2 cup powdered sugar
– 1 teaspoon pure vanilla extract
Flavor Enhancers
– 1 teaspoon pumpkin pie spice blend
– 1/4 teaspoon sea salt
– 1/4 cup sour cream
Optional Garnishes
– 1/4 cup chopped pecans or walnuts
– Serving suggestions: apple slices, ginger snap cookies, pretzel sticks
This Pumpkin Spice Cream Cheese Dip is a treat you will love. The main ingredients create a creamy base. Softened cream cheese blends well with pumpkin puree. The powdered sugar gives sweetness, while vanilla adds depth. Each bite tastes like fall.
To enhance the flavor, I add pumpkin pie spice. This spice blend brings warmth and a cozy feel. The sea salt balances the sweetness. Sour cream adds creaminess and a little tang. Together, they make the dip rich and flavorful.
You can top the dip with nuts for added crunch. Chopped pecans or walnuts work best. For serving, I suggest fresh apple slices, ginger snap cookies, or crunchy pretzel sticks. These options pair well and make for a fun presentation.
Step-by-Step Instructions
Preparation Steps
– Step 1: Mix cream cheese and pumpkin puree
Start by placing 8 ounces of softened cream cheese and 1 cup of pumpkin puree in a large mixing bowl. Use an electric mixer to beat the mixture on medium speed. Blend for about 2 to 3 minutes until it’s smooth and creamy.
– Step 2: Incorporate powdered sugar
Gradually add in 1/2 cup of powdered sugar. Keep mixing until the dip becomes fluffy and the sugar blends in well. This step adds the sweetness and makes the dip delightful.
Blending Flavors
– Step 3: Add vanilla extract, pumpkin pie spice, and sea salt
Pour in 1 teaspoon of pure vanilla extract, 1 teaspoon of pumpkin pie spice, and 1/4 teaspoon of sea salt. Mix on low speed to combine everything. This adds warmth and depth to the flavor.
– Step 4: Fold in sour cream
Carefully fold in 1/4 cup of sour cream with a spatula. This step gives the dip a creamy texture and a nice tanginess that balances the sweetness.
Final Touches
– Step 5: Adjust sweetness with powdered sugar
Taste the dip. If you want it sweeter, add more powdered sugar. Mix well after each addition to ensure it’s evenly sweet.
– Step 6: Chill and serve
Transfer the dip to a serving bowl, smoothing the top with a spatula. Chill it in the refrigerator for at least 30 minutes. This helps the flavors blend together nicely. Before serving, feel free to garnish with chopped pecans or walnuts for extra crunch.
Tips & Tricks
Perfecting the Dip
To get the right texture, mix the softened cream cheese and pumpkin puree well. Use an electric mixer for smoothness. Aim for a creamy and fluffy dip. If the dip feels too thick, add more sour cream. This will help create that velvety feel.
Adjusting sweetness is easy. Start with half a cup of powdered sugar. Taste the dip after mixing. If you want it sweeter, add more sugar. Mix it well after each addition. This ensures the sweetness is just right for your taste.
Presentation Ideas
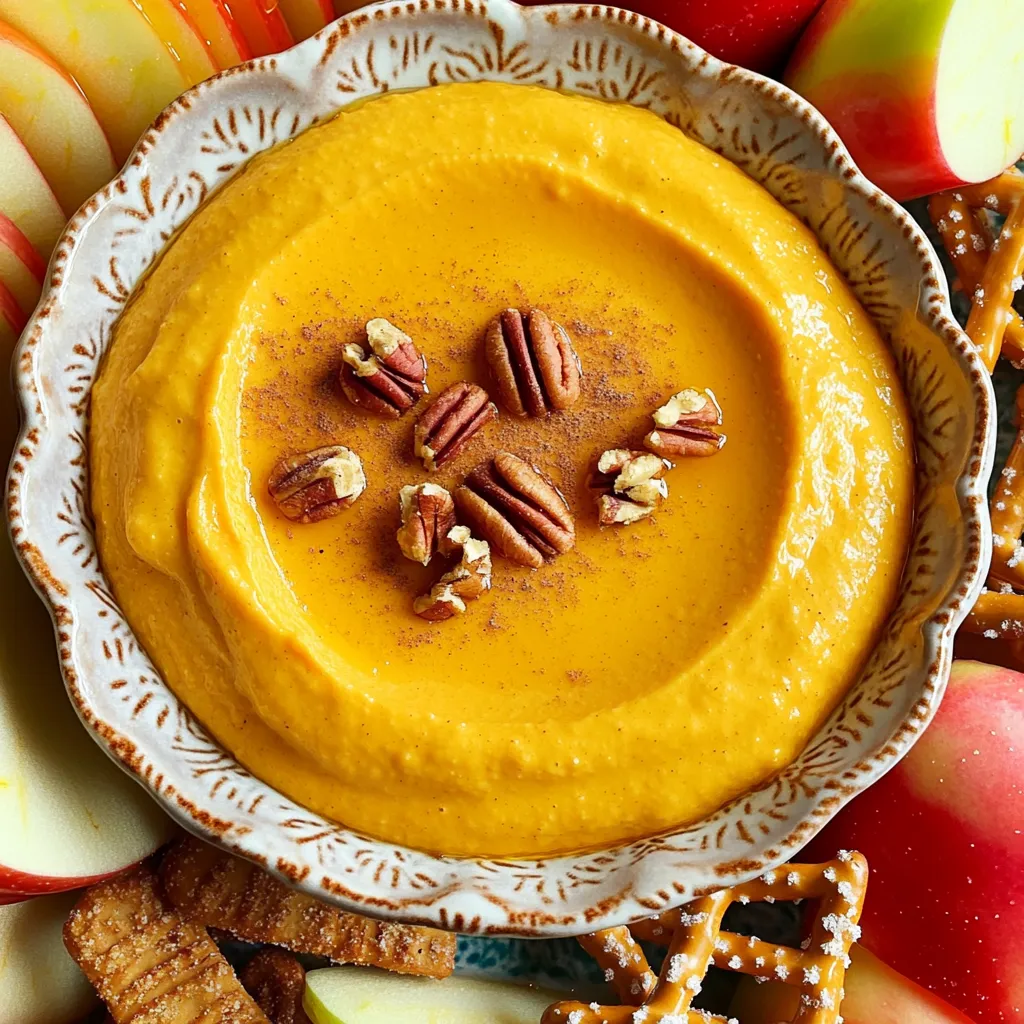
Choose a nice serving bowl. A colorful or patterned bowl can make your dip stand out. Smooth the dip’s top for a clean look. You can drizzle honey or maple syrup on top. This adds a touch of sweetness and makes it more inviting.
For garnishing, sprinkle chopped pecans or walnuts on top. This adds crunch and flavor. Arrange apple slices, ginger snap cookies, or pretzel sticks around the bowl. This not only looks good but makes it easy for guests to grab a snack.
Flavor Variations
Try different spices to mix up the flavor. Cinnamon, nutmeg, or allspice can work well. Each spice adds a new twist to your dip. You can also swap some ingredients. If you don’t have pumpkin puree, try sweet potato puree. It gives a similar taste with a unique flavor.
If you want a lighter dip, use low-fat cream cheese. You can also consider sugar substitutes like stevia. These changes keep the dip tasty while making it healthier. Enjoy exploring these flavor twists!
Variations
Healthier Alternatives
To make this dip lighter, you can use low-fat cream cheese. It keeps the creamy texture but cuts some calories. For sweetness, try sugar substitutes like stevia or monk fruit. These options let you enjoy the dip without added sugar.
Flavor Profiles
Want to mix things up? You can add chocolate or caramel to the dip. These flavors pair well with pumpkin spice. If you’re feeling adventurous, try savory herbs like rosemary or thyme. You can even stir in some cheese for a unique twist.
Seasonal Add-ins
As seasons change, so can your dip! For holidays, add cranberries or nutmeg for a festive touch. In summer, swap pumpkin for fresh fruits like peaches or berries. This keeps your dip fresh and fun year-round.
Storage Info
Refrigeration Guidelines
Pumpkin Spice Cream Cheese Dip lasts about 4 to 5 days in the fridge. To keep it fresh, store it in an airtight container. This prevents air from drying out the dip. You can also cover the bowl tightly with plastic wrap.
Freezing Instructions
Yes, you can freeze this dip! It keeps well for up to 2 months in the freezer. To freeze, place it in a freezer-safe container. Be sure to leave some space at the top, as it may expand. When you’re ready to use it, thaw it in the fridge overnight.
Serving After Storage
When you take the dip out of storage, it may lose some creaminess. To revive its texture, mix in a little sour cream or cream cheese. If the flavor seems off, add a touch more powdered sugar or pumpkin pie spice. This will help balance the taste and bring back that fall flavor.
FAQs
Common Questions
How long does Pumpkin Spice Cream Cheese Dip last?
This dip lasts about 3 to 5 days in the fridge. Store it in an airtight container.
Can I make this dip a day in advance?
Yes, you can make this dip a day ahead. It tastes better after chilling overnight.
Troubleshooting Tips
What to do if the dip is too thick?
If the dip is too thick, add a little milk or cream. Mix until you reach the right texture.
How to fix a dip that’s too sweet?
To fix a dip that’s too sweet, add a pinch of salt. This balances the sweetness nicely.
Nutritional Information
Caloric details of the dip
This dip has about 150 calories per serving. This can change with added ingredients.
Allergen information (nuts, dairy)
The main allergens are dairy and nuts if you use pecans or walnuts. Always check for allergies before serving.
This post covered how to make a delicious pumpkin spice cream cheese dip. We discussed the main ingredients, flavor enhancers, and optional garnishes. I shared tips for perfecting the dip’s texture and ways to present it. You learned about healthy variations and how to store the dip properly.
With these steps, you can create a tasty treat for any event. Enjoy experimenting with flavors and sharing your dip with friends and family!


