Craving a dip that is both tasty and easy to make? Look no further! This Roasted Garlic Hummus recipe is packed with flavor and requires just a few simple ingredients. With creamy chickpeas, rich tahini, and sweet roasted garlic, you'll create a snack that impresses everyone. Plus, I’ll share tips to make the perfect batch and ideas to customize it. Get ready to enjoy a delicious dip that’s good for you!
Why I Love This Recipe
- Bold Flavor: The roasted garlic adds a rich, sweet flavor that elevates the classic hummus to a whole new level.
- Easy to Make: With just a few simple ingredients and a food processor, you can whip up this creamy dip in no time.
- Healthy Snack: This hummus is packed with protein and healthy fats, making it a nutritious option for any gathering.
- Versatile Dip: Perfect for pairing with pita, veggies, or as a spread on sandwiches, it suits any occasion!
Ingredients
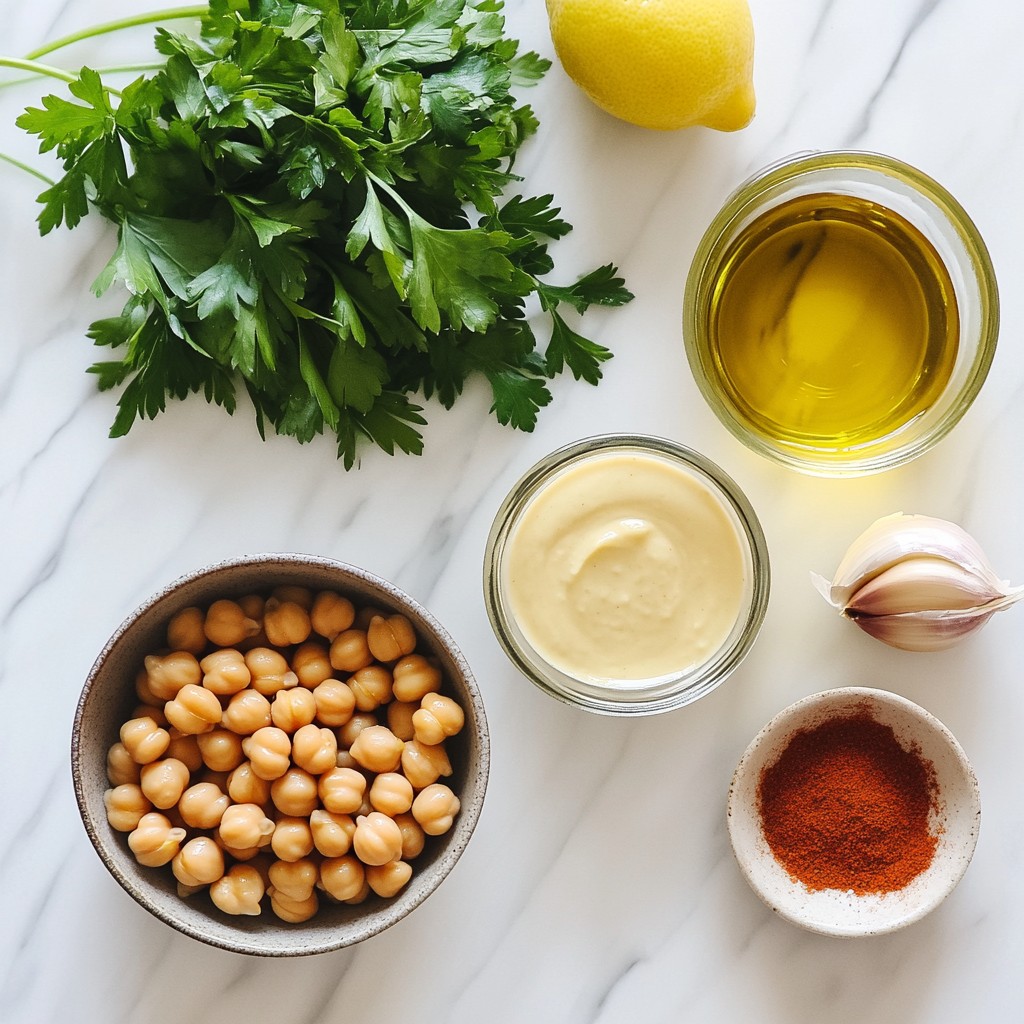
Main Ingredients
- 1 cup canned chickpeas, drained and rinsed
- 3 tablespoons tahini
- 4 cloves of roasted garlic
- 2 tablespoons olive oil, plus extra for drizzling
- 2 tablespoons fresh lemon juice
Chickpeas form the base of this hummus. They add creaminess and protein. Tahini, a sesame paste, gives it a nutty flavor. Roasted garlic brings a sweet and rich taste. Olive oil adds smoothness and depth. Finally, lemon juice brightens everything up.
Optional Ingredients
- Fresh parsley, chopped (for garnish, optional)
- Smoked paprika (for garnish, optional)
- Additional seasonings
You can add fresh parsley for a pop of color and flavor. Smoked paprika adds a hint of smokiness. Feel free to experiment with other seasonings too, like cumin or pepper. Each addition can transform your hummus in fun ways.
Step-by-Step Instructions
How to Roast Garlic
Preparing Garlic for Roasting First, gather your garlic cloves. You need four fresh cloves. Do not peel them yet. Wrap each one in aluminum foil. Drizzle a bit of olive oil over each wrapped clove. This adds flavor and helps them roast well.
Timing and Temperature Preheat your oven to 400°F (200°C). Place the wrapped garlic in the oven. Let them roast for about 30 to 35 minutes. The cloves should become soft and golden. Once they are done, take them out and let them cool a bit. Squeeze the roasted garlic out of their skins. The taste is sweet and rich, making your hummus special.
Blending the Hummus
Using a Food Processor Now, it’s time to blend! Take a food processor and add the chickpeas. Make sure they are drained and rinsed well. Then, add the roasted garlic, tahini, olive oil, lemon juice, cumin, and salt.
Combining Ingredients Blend the mixture on high speed. Keep blending until it is creamy and smooth. You might need to stop and scrape down the sides. This ensures every part gets mixed well.
Adjusting Consistency and Flavor
Adding Cold Water To make your hummus just right, add cold water. Do this slowly, one tablespoon at a time. Keep the processor running as you add water. Blend until the hummus reaches your desired creamy texture.
Taste Testing After blending, it’s important to taste. Stop the processor and use a spoon to try it. You might want to add more salt or lemon juice. Adjust it to suit your taste. This step makes your hummus even better!
Tips & Tricks
Selecting Fresh Ingredients
Choosing Quality Chickpeas When making roasted garlic hummus, the chickpeas matter. I prefer canned chickpeas for convenience. Look for brands with no added salt for better control over flavor. Rinsing them well helps reduce any canning taste. If you want to use dried chickpeas, soak them overnight and cook until soft.
Finding Good Tahini Tahini is a key player in hummus. Choose a brand with simple ingredients—just sesame seeds and oil. The flavor should be nutty, not bitter. Stir the jar before use, as oil can separate. Look for tahini that is smooth and creamy to ensure a rich texture.
Achieving the Perfect Texture
Smooth vs. Chunky Hummus You can make hummus smooth or chunky based on your preference. For a creamy texture, blend longer and scrape down the sides often. If you enjoy a bit of bite, blend less. Both styles are delicious but serve different moods.
Customizing Consistency Consistency is key in hummus. Start with the basic recipe, then add cold water until you reach your desired creaminess. I usually add water one tablespoon at a time. This way, you’ll avoid making it too thin. Adjusting helps you get the perfect dip for your pita or veggies.
Presentation Ideas
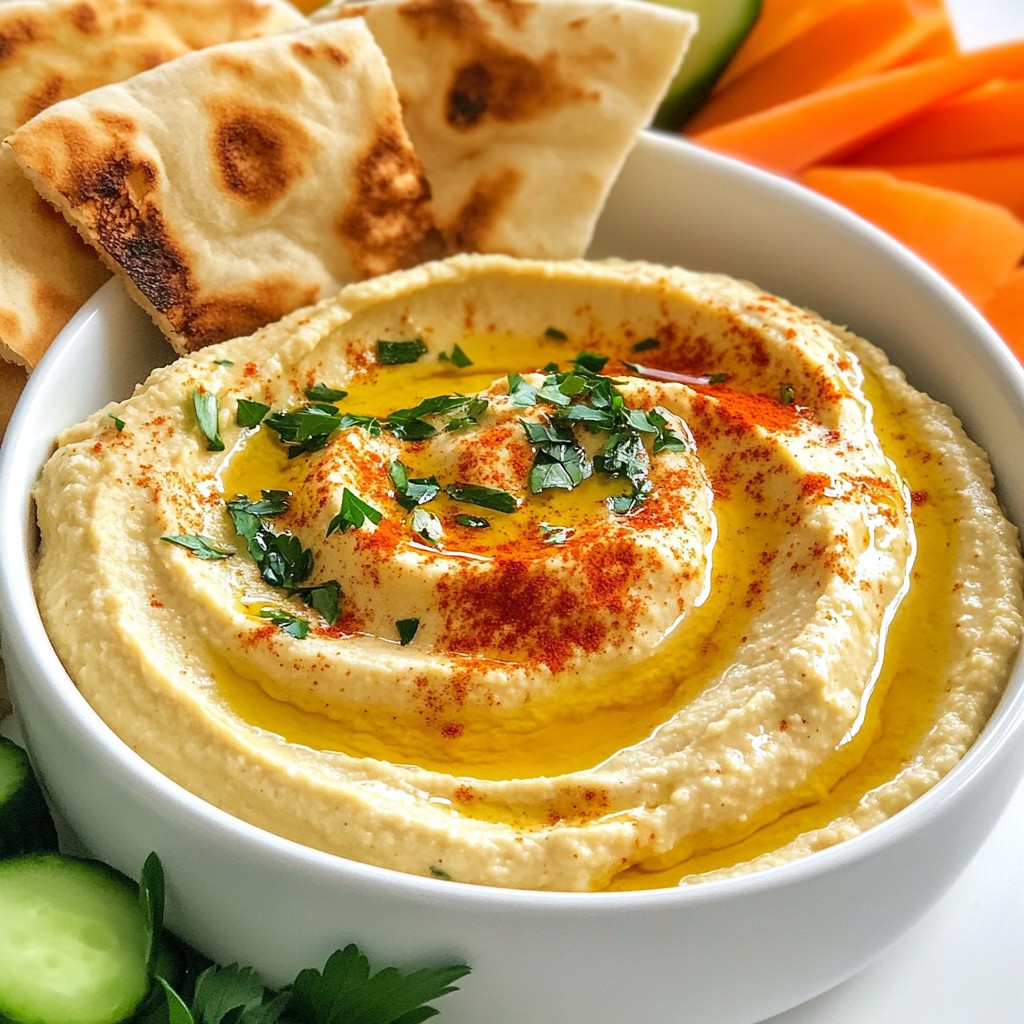
Serving Suggestions For a great presentation, serve the hummus in a shallow bowl. Surround it with freshly cut veggies, warm pita bread, or crispy pita chips. This makes it easy for everyone to dig in.
Garnishing Techniques Garnishing adds flair. Drizzle olive oil over the top for shine and flavor. A sprinkle of smoked paprika gives a pop of color and a hint of smokiness. Fresh parsley adds a nice touch and brightens the dish. These small details make your hummus look appetizing and inviting.
Pro Tips
- Roasting Garlic: For a sweeter flavor, ensure the garlic is roasted until golden and soft, as this enhances the natural sweetness and richness.
- Chickpea Prep: For an even creamier hummus, consider peeling the chickpeas after rinsing. This step is optional but can make a noticeable difference.
- Adjusting Flavor: Taste your hummus as you go! Adjust the salt and lemon juice gradually to find the perfect balance for your palate.
- Serving Suggestions: Pair your hummus with a variety of dippers like sliced cucumbers, bell peppers, or warm pita chips for a colorful and inviting platter.
Variations
Flavor Enhancements
You can make roasted garlic hummus even more exciting. Here are some ways to add new flavors:
- Adding Spices: Smoked paprika gives a nice depth to the hummus. Just sprinkle some in while blending. It adds a warm, smoky flavor that works well with garlic.
- Incorporating Other Ingredients: Try adding roasted red peppers. They add sweetness and a vibrant color. Blend them in with the chickpeas and garlic for a new twist.
Dietary Modifications
Hummus is naturally healthy, but you can tweak it for specific diets.
- Making it Vegan: This recipe is already vegan! You don't need to change anything. The tahini and olive oil keep it creamy and rich.
- Gluten-Free Options: Hummus is gluten-free, so enjoy it with gluten-free bread or veggies. You can dip carrots, cucumbers, or bell peppers for a crunchy treat.
Serving Pairings
Pairing your hummus with the right sides makes it even better.
- Best Vegetables: Serve it with fresh veggies like carrot sticks, celery, or bell peppers. They add color and crunch.
- Types of Bread and Chips: Pita bread is classic, but you can also use tortilla chips or crackers. They add a different texture and flavor that complements the hummus perfectly.
Storage Info
How to Store Hummus
To keep your hummus fresh, use airtight containers. Glass jars work well. They help keep the flavors in and the air out. You can also use plastic containers. Just make sure they seal tightly.
When storing hummus, place a thin layer of olive oil on top. This helps prevent it from drying out. Always store your hummus in the fridge. It stays cool and safe to eat.
Shelf Life
Hummus lasts about 4 to 7 days in the fridge. If you see any mold or strange colors, throw it away. A sour smell is also a sign that it is bad. Always check your hummus before eating.
Freezing Instructions
You can freeze hummus if you have extra. Use a freezer-safe container. Leave some space at the top for expansion. Hummus can last up to 3 months in the freezer.
When you are ready to eat it, thaw it in the fridge overnight. Stir it well before serving. If it looks thick, add a little cold water to get the right texture.
FAQs
Can I use dried chickpeas instead of canned?
Yes, you can use dried chickpeas. First, soak them overnight in water. This helps them cook better. After soaking, drain and rinse them. Then, boil the chickpeas in fresh water for about 1 to 2 hours. Cook until they are soft. You may need to adjust cooking times based on the chickpeas' age.
Using dried chickpeas will change the taste and texture slightly. They may taste fresher and nuttier than canned. You may need more water in your recipe if you use dried chickpeas.
What can I substitute for tahini?
If you don't have tahini, you can use other ingredients. Peanut butter or sunflower seed butter are good options. You can also blend sesame seeds with olive oil to make a quick paste.
Consider the flavor of your substitute. Peanut butter adds a nutty taste, while sunflower seed butter is milder. This may change the hummus flavor, but it can still be delicious.
Is roasted garlic hummus healthy?
Yes, roasted garlic hummus is healthy. Garlic has many health benefits. It can boost your immune system and lower blood pressure. Chickpeas are high in protein and fiber. They help with digestion and keep you full longer.
The nutritional information is as follows:
- Calories: About 100 per serving
- Protein: 4 grams
- Fiber: 2 grams
- Healthy fats from olive oil
This makes hummus a great snack or appetizer. Enjoy it with veggies or whole-grain pita for a healthy, tasty treat.
Hummus is a tasty and healthy dish. We explored its main ingredients like chickpeas and tahini. I shared steps to roast garlic and blend your hummus. Remember to adjust flavors and textures to suit your taste. Fresh ingredients really make a difference. You can customize your hummus with different flavors and pairings too. Store it properly for long-lasting enjoyment. With these tips, you can craft a delicious hummus that delights everyone. Enjoy making it your own!


