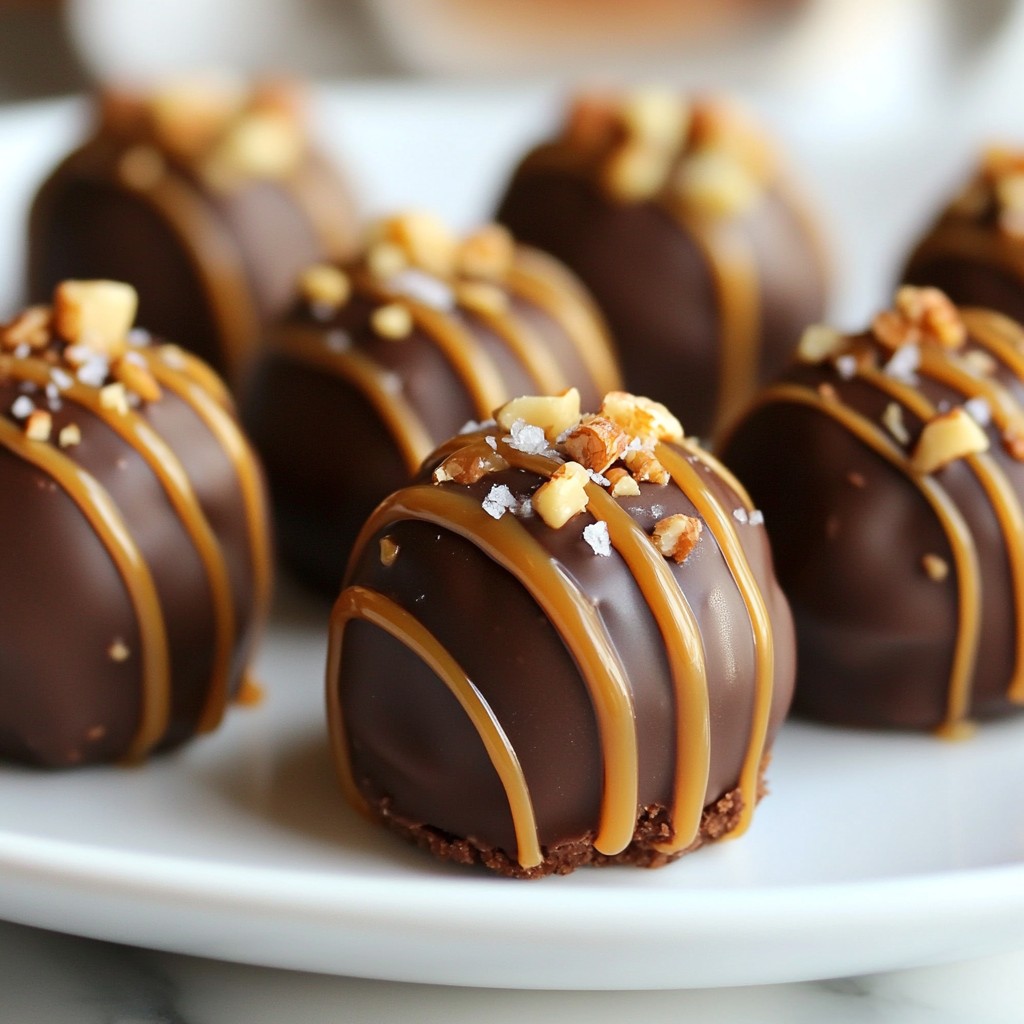
If you love sweet treats, prepare to indulge in something truly heavenly: Salted Caramel Brownie Truffles! These bites combine rich brownie flavor with creamy salted caramel and a smooth chocolate coating. Whether you're a seasoned baker or a kitchen newbie, this guide makes it easy to create a delightful dessert sure to impress. Get ready to roll your sleeves up as we dive into the irresistible world of truffle making!
Why I Love This Recipe
- Decadent Flavor: The combination of rich chocolate brownies and creamy salted caramel creates an irresistible treat that satisfies every sweet tooth.
- Easy Preparation: These truffles are simple to make, requiring minimal effort and time to create a gourmet dessert.
- Perfect for Gifting: These truffles make a beautiful and thoughtful gift for friends and family, perfect for any occasion.
- Customizable: You can easily tweak the recipe by adding your favorite nuts or using different types of chocolate to suit your taste.
Ingredients
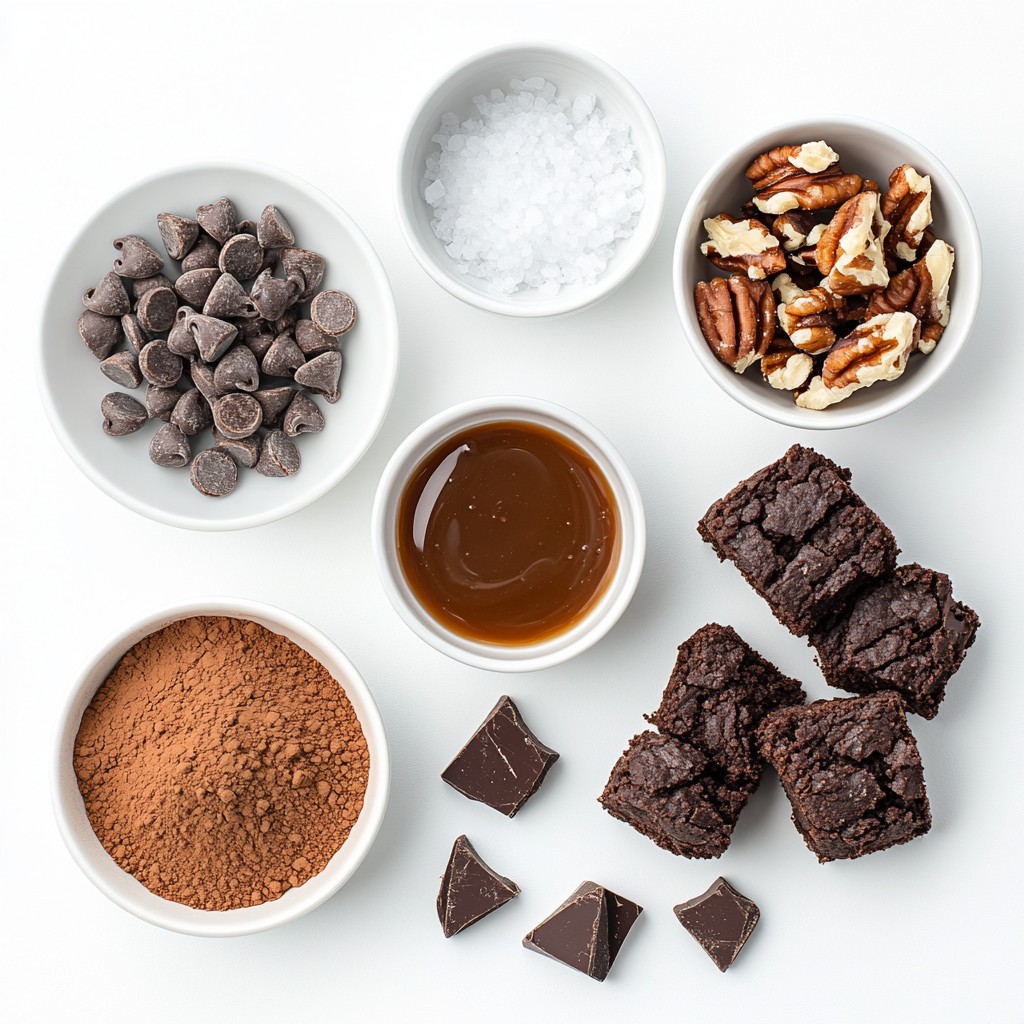
To make Salted Caramel Brownie Truffles, you need just a few tasty items. Here’s what you will need:
- Brownies: Homemade or Store-Bought
- Salted Caramel Sauce
- Cream Cheese
- Bittersweet Chocolate Chips
- Cocoa Powder
- Sea Salt
- Optional Coating: Chopped Nuts
Each ingredient plays a key role in creating these delightful truffles. The brownies provide a rich base, while the cream cheese adds creaminess. The salted caramel sauce gives that sweet and salty kick. Bittersweet chocolate coats the truffles, making them extra special. Cocoa powder adds depth, and a sprinkle of sea salt enhances the flavors. If you want a crunchy texture, chopped nuts are a great choice for coating.
Using high-quality ingredients can really elevate your truffles. Opt for fresh cream cheese and your favorite brand of caramel sauce. If you choose to make brownies from scratch, they can be extra yummy!
Step-by-Step Instructions
Preparing the Brownies
- You can bake brownies from scratch or use store-bought ones. If you bake them, preheat your oven and mix your ingredients well. Pour the batter into an 8x8 inch pan. Bake until a toothpick comes out clean. Let them cool completely on a wire rack. This cooling step is key. If the brownies are warm, they won't mix well later.
Making the Truffle Mixture
- Start by crumbling the cooled brownies into fine crumbs in a large bowl. Make sure there are no big chunks left. Next, add 1 cup of softened cream cheese and half a cup of salted caramel sauce to the crumbs. Use your hands or a spatula to mix. You want a sticky dough that holds together.
Forming and Chilling Truffles
- With slightly damp hands, roll the brownie mixture into small balls. Aim for about 1 inch in diameter. Place these balls on a parchment-lined baking sheet. This keeps them from sticking. Now, chill the truffles in the fridge for about 30 minutes. This helps them hold their shape when you coat them.
Coating Truffles
- While the truffles chill, melt 1 cup of bittersweet chocolate chips. You can use a microwave or a double boiler. If using a microwave, heat in 30-second bursts, stirring in between. Once melted, take the chilled truffles and dip each one into the melted chocolate. Use a fork to lift them out, letting the excess chocolate drip off. Put them back on the baking sheet. Then, drizzle the remaining salted caramel sauce over each truffle. Finally, sprinkle a touch of sea salt on top for that sweet and salty taste. If you want, roll them in chopped nuts before the chocolate sets for a crunchy finish. Keep them in the fridge until the chocolate hardens, about 20-30 minutes.
Tips & Tricks
Truffle Texture
To get the right texture for truffles, you need to blend ingredients well. Start by crumbling the brownies into fine crumbs. This ensures a smooth mixture. Combine the crumbs with cream cheese and salted caramel sauce. Mix until it forms a sticky dough. If the mixture feels too dry, add a little more caramel. If it’s too wet, add more brownie crumbs. Aim for a soft yet firm consistency.
When working with cream cheese, let it sit at room temperature. This makes it easier to mix. Cold cream cheese will not blend well. If you want a richer flavor, use full-fat cream cheese. This will add creaminess to your truffles.
Chocolate Coating Techniques
For melting chocolate, you have two great options: microwave or double boiler. If using the microwave, heat chocolate in short bursts. Stir after each burst to prevent burning. If it’s too thick, add a small amount of coconut oil for smoothness. A double boiler gives you more control over heat. Place chocolate in a bowl above simmering water to melt gently.
To ensure an even coating, dip each truffle fully in melted chocolate. Use a fork to lift them out and let excess chocolate drip off. This keeps the coating smooth. You can also tap the fork gently on the bowl's edge.
Presentation Recommendations
For serving, arrange truffles on a decorative plate. A nice touch is to garnish with sea salt and a caramel drizzle. This makes the truffles look fancy and inviting. You can also use pretty liners for each truffle.
If you want to gift these treats, consider packaging them in a gift box. Line the box with parchment paper for a special touch. You can even add a little note for the recipient. This makes your gift personal and thoughtful.
Pro Tips
- Use Quality Chocolate: The flavor of your truffles will significantly depend on the quality of the chocolate you use for coating. Opt for high-quality bittersweet chocolate for a rich taste.
- Chill for Better Coating: Ensure your brownie balls are well-chilled before dipping in chocolate. This helps them maintain their shape and makes the coating process easier.
- Experiment with Flavors: Feel free to add additional flavorings to the brownie mixture, such as a splash of vanilla extract or a hint of espresso, to elevate the taste profile of your truffles.
- Perfect Sea Salt Finish: When sprinkling sea salt, do it just before the chocolate sets. This ensures the salt adheres well and enhances the sweet and salty balance.
Variations
Flavor Variations
You can make your truffles even more fun by adding flavors. Try mixing in mint or coffee into your brownie mix. This gives a fresh twist to the classic taste. You can also swap your salted caramel sauce with chocolate or vanilla. Each option brings a new layer of flavor. Get creative and find your favorite!
Dietary Modifications
Need a gluten-free option? Use gluten-free brownies for your base. Many brands offer great gluten-free mixes. If you want vegan truffles, substitute the cream cheese with a vegan cream cheese. You can also use dairy-free chocolate chips. These small changes keep the treat delicious for everyone.
Toppings and Coatings
Toppings can take your truffles to the next level. Consider adding different nuts like chopped pecans or walnuts. They add a great crunch. You can also sprinkle colorful sprinkles for a festive look. Drizzle some extra salted caramel or melted chocolate on top for extra flavor. The more toppings, the more fun!
Storage Info
How to Store Truffles
- Refrigeration Guidelines: Place the truffles in an airtight container. Keep them in the fridge for up to one week. This helps maintain their soft texture and rich flavor.
- Freezing Options: If you want to keep them longer, freeze the truffles. Use a freezer-safe container or bag. They can last up to three months in the freezer. When ready to eat, let them thaw in the fridge overnight.
Shelf Life
- Freshness Duration: Fresh truffles taste best within one week when stored in the fridge. If frozen, they stay good for about three months.
- Signs of Spoilage: Check for any off smell or changes in texture. If they feel dry or hard, it’s time to toss them. Always trust your senses when it comes to food safety.
FAQs
What Are Salted Caramel Brownie Truffles?
Salted caramel brownie truffles are bite-sized treats that blend rich brownies, creamy cheese, and sweet caramel. These truffles have a soft, fudgy center with a chocolate shell. The contrast of sweet and salty flavors makes them very special. They are perfect for parties or as a sweet gift.
Can I Use Boxed Brownies for This Recipe?
Yes, you can use boxed brownies. They save time and are easy to make. However, homemade brownies taste fresher and can have better texture. Boxed mixes can be less rich than homemade. If you choose boxed, look for one with a fudgy style for the best results.
How Long Do These Truffles Last?
These truffles last up to one week in the fridge. Store them in an airtight container to keep them fresh. You can also freeze them for up to three months. Just make sure to thaw them in the fridge before serving for the best taste.
How to Make Homemade Salted Caramel Sauce?
To make simple salted caramel sauce, you need sugar, butter, cream, and sea salt. Here’s a quick recipe:
- 1 cup sugar
- 6 tablespoons butter
- 1/2 cup heavy cream
- 1 teaspoon sea salt
1. Heat sugar in a pan over medium heat. Stir until it melts and turns amber.
2. Add butter and mix until melted.
3. Slowly add cream and stir until smooth.
4. Finally, add sea salt and let cool.
This sauce is great for drizzling on truffles or ice cream. Enjoy your homemade treat!
This article covered how to make delicious Salted Caramel Brownie Truffles. We explored the key ingredients, detailed step-by-step instructions, and shared helpful tips. We also discussed fun variations and how to store your truffles. These treats are fun to make and enjoy. Whether you choose homemade or store-bought brownies, you can create something special. Try them out and impress your friends and family. Enjoy every bite!


