Salted Caramel Mocha Frappuccino Copycat Delight

Are you ready to enjoy a rich, creamy Salted Caramel Mocha Frappuccino at home? This delightful copycat recipe brings your favorite café taste right to your kitchen. You’ll discover easy steps, tips, and ingredient swaps to make it perfect for your taste. Let’s dive in and whip up this sweet treat that will impress your friends or just satisfy your cravings!
Ingredients
List of Required Ingredients
To make your Salted Caramel Mocha Frappuccino, gather these simple items:
– 1 cup brewed coffee, cooled to room temperature
– 1 cup milk (your choice: whole, almond, oat, etc.)
– 1/2 cup ice cubes
– 3 tablespoons rich chocolate syrup
– 3 tablespoons smooth caramel sauce, plus extra for a luscious drizzle
– 1 tablespoon granulated sugar (adjust based on your sweetness preference)
– A pinch of fine sea salt
– Whipped cream for a creamy topping
– Optional: chocolate shavings or a dusting of cocoa powder for a decorative touch
Ingredient Substitutions
You can mix things up with some easy swaps:
– Coffee: Try decaf or cold brew if you want less caffeine.
– Milk: Use any milk you like, such as soy or coconut.
– Chocolate Syrup: If you’re out, melted dark chocolate works well.
– Caramel Sauce: You can use homemade caramel or even butterscotch sauce.
Optional Toppings and Add-ins
Want to make your drink even more special? Consider these options:
– Top with whipped cream for a creamy finish.
– Drizzle extra caramel sauce on top for sweetness.
– Add chocolate shavings or a sprinkle of cocoa powder for a chocolatey touch.
– Try a pinch of cinnamon for a warm spice flavor.
These ingredients create a rich, sweet, and salty flavor that you’ll love. Enjoy your crafting!
Step-by-Step Instructions
Preparation of Ingredients
First, gather all your ingredients. You will need:
– 1 cup brewed coffee, cooled
– 1 cup milk (your choice)
– 1/2 cup ice cubes
– 3 tablespoons chocolate syrup
– 3 tablespoons caramel sauce, plus extra for drizzling
– 1 tablespoon granulated sugar
– A pinch of fine sea salt
– Whipped cream for topping
– Optional: chocolate shavings or cocoa powder
Measure each item carefully. Make sure your coffee is cool enough to blend. This keeps the drink refreshing.
Blending the Mixture
In your blender, add the cooled coffee, milk, ice cubes, chocolate syrup, caramel sauce, and sugar. Blend on high speed. You want a smooth, frothy mix. It should be icy cold and fully combined.
After blending, taste your frappuccino. If you want it sweeter, add more sugar or caramel sauce. Blend again to mix in your additions. Then, add a pinch of fine sea salt and blend briefly. This enhances the flavor.
Final Assembly and Presentation
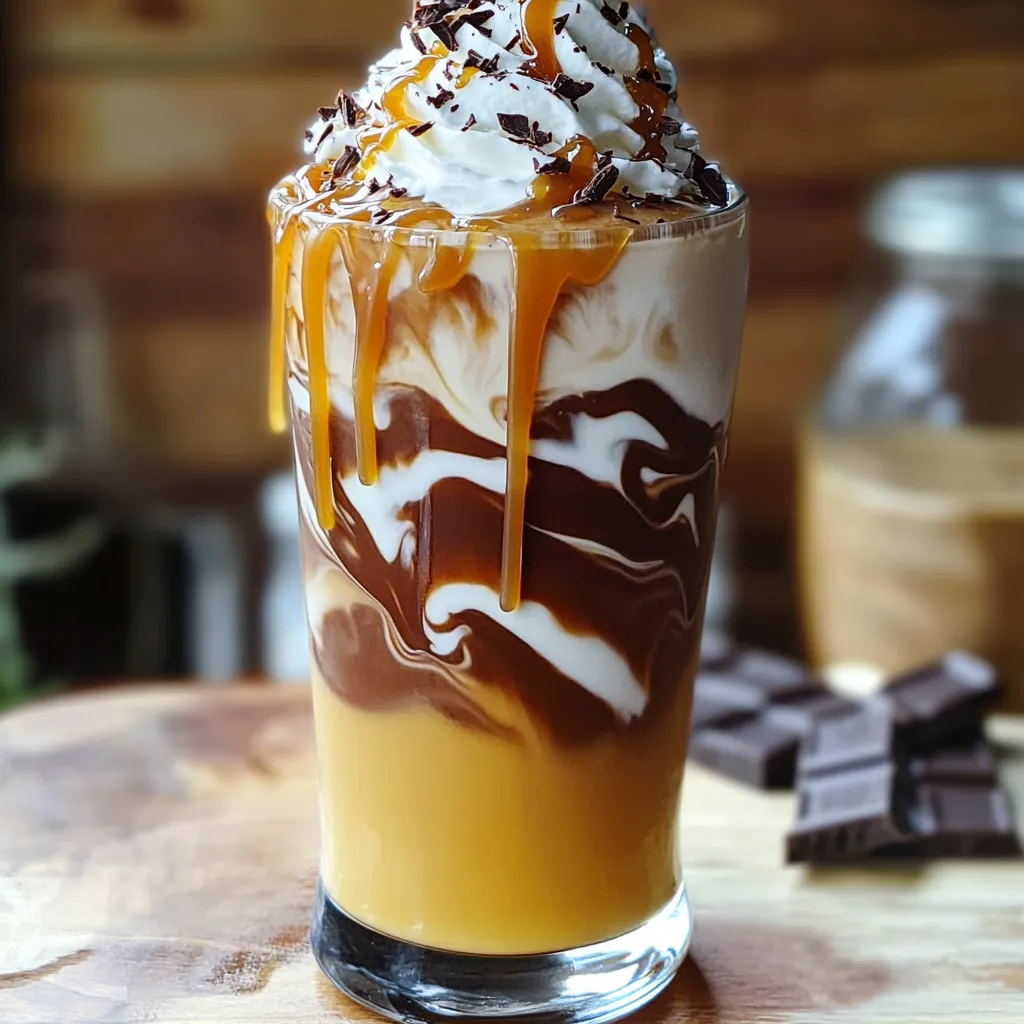
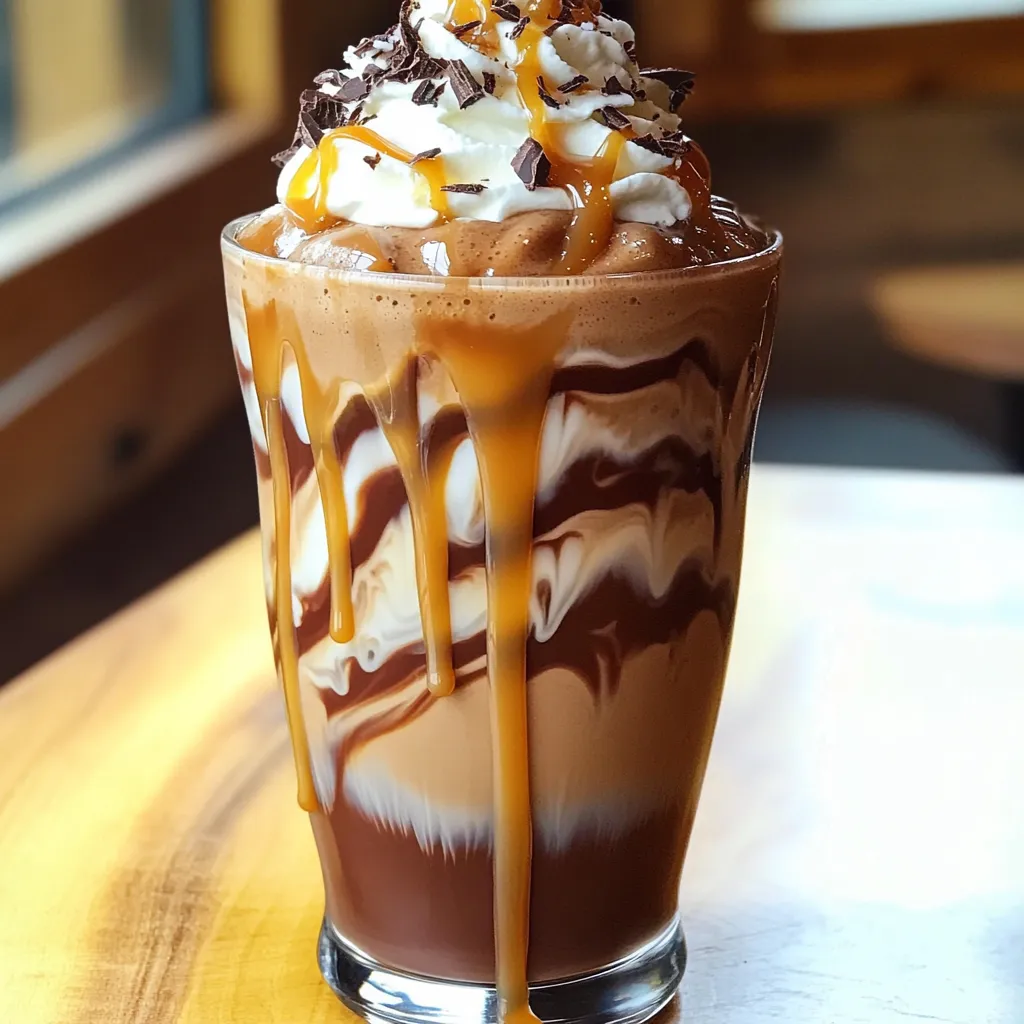
Now, it’s time to serve! Drizzle some caramel sauce inside your glass. This adds a lovely swirl. Carefully pour the blended frappuccino into the glass, filling it up.
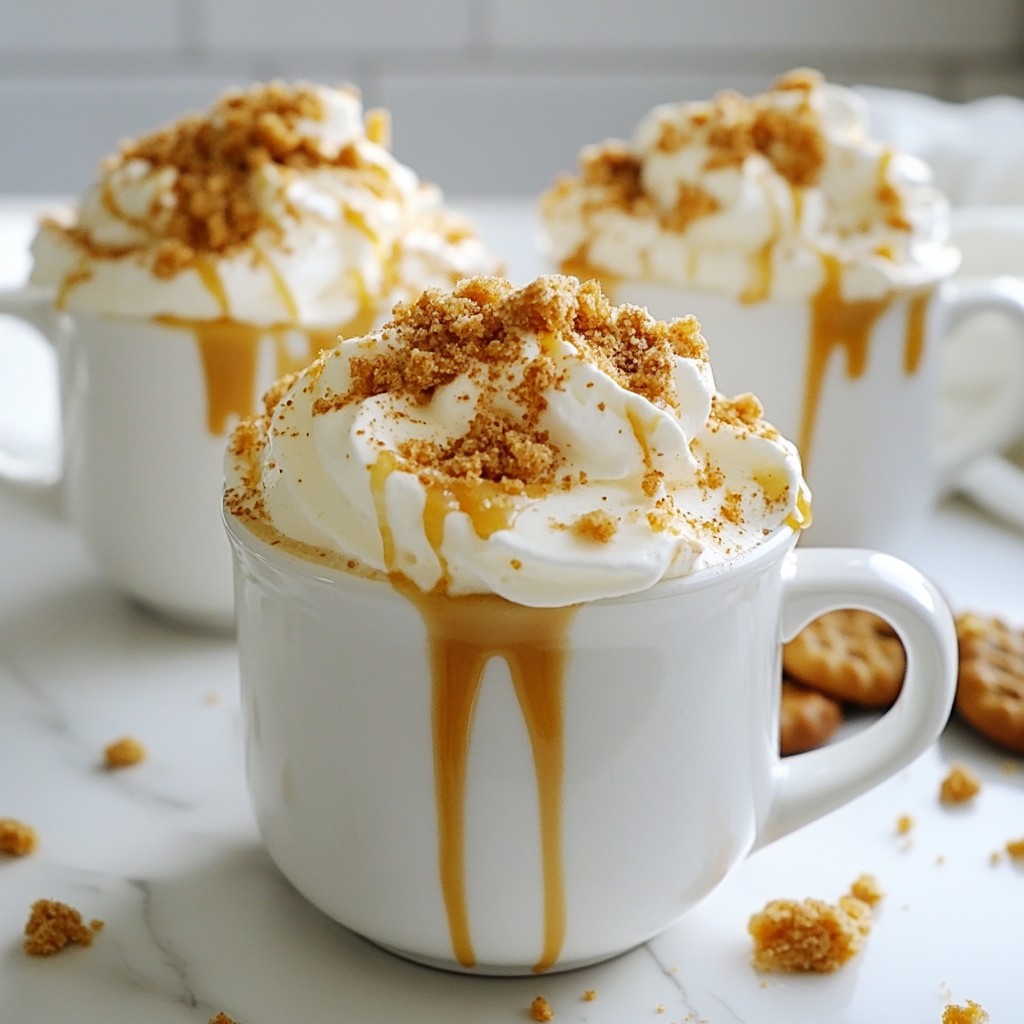
Top it off with a fluffy layer of whipped cream. Drizzle more caramel sauce over the whipped cream for a sweet touch. For extra flair, lightly sprinkle sea salt on top. You can also add chocolate shavings or cocoa powder for a decorative finish. Enjoy!
Tips & Tricks
Achieving the Perfect Consistency
To get a smooth frappuccino, use cold ingredients. Start with cooled coffee and cold milk. The ice cubes help chill the drink, but don’t overdo it. Too much ice can make it watery. Blend until smooth and frothy. If it feels too thick, add a splash of milk. If it’s too thin, toss in more ice and blend again.
Flavor Enhancements for Customization
You can change the flavors to fit your taste. If you love chocolate, add more chocolate syrup. Want it sweeter? Just add more caramel or sugar. For a fun twist, try adding a splash of vanilla extract. If you like nuts, a little hazelnut syrup could be a great choice. Always taste as you go, so you get your perfect mix.
Serving Suggestions
Serve your frappuccino in a tall glass for a nice look. Drizzle caramel sauce on the inside of the glass before pouring in your drink. Top it with whipped cream for a creamy finish. A sprinkle of sea salt adds a nice touch. For extra flair, add chocolate shavings or a dusting of cocoa powder. Enjoy your drink with a straw or a spoon!

Variations
Iced versus Hot Version
You can enjoy your Salted Caramel Mocha Frappuccino cold or hot. For an iced drink, follow the recipe as is. Blend all the ingredients with ice cubes for a refreshing treat. If you want a warm version, skip the ice. Instead, blend the coffee, milk, chocolate syrup, caramel sauce, and sugar. Heat the mixture gently on the stove. Pour it into a mug and top with whipped cream and caramel drizzle. Both versions taste great!
Dairy-Free Options
If you want a dairy-free frappuccino, choose plant-based milk. Almond, oat, and coconut milk work well. They give a creamy texture. You can also use dairy-free whipped cream for a nice topping. Just make sure your chocolate syrup and caramel sauce are dairy-free, too. This way, you get all the yummy flavors without dairy.
Flavor Additions (e.g., vanilla, hazelnut)
Want to change up the flavor? Try adding vanilla or hazelnut. A splash of vanilla extract makes it sweet and aromatic. If you like hazelnut, use hazelnut syrup instead. You can add these flavors right into the blender with the other ingredients. This simple tweak brings a new twist to your frappuccino. Don’t be afraid to mix and match flavors to find your favorite!
Storage Info
How to Store Leftover Frappuccino
If you have leftover frappuccino, pour it into a sealable container. Make sure it’s airtight. You can keep it in the fridge for up to two days. When you want to enjoy it, give it a stir. If it’s too thick, add a splash of milk to loosen it up.
Reheating Instructions
This frappuccino is best cold, but you can warm it if you prefer. Pour the frappuccino into a microwave-safe mug. Heat it for 20-30 seconds. Stir well to ensure even heat. Be careful; it can get hot quickly!
Best Practices for Ingredient Storage
For the ingredients, store your coffee in a cool, dark place. Keep milk in the fridge, and use it within a week for best taste. Chocolate syrup and caramel sauce should stay in a pantry or fridge, depending on the brand. Always check the labels for storage tips. Sea salt can stay in the cupboard. It has a long shelf life, so no worries there!
FAQs
Can I make this frappuccino without coffee?
Yes, you can! If you want a coffee-free version, simply swap brewed coffee for more milk. You can use your favorite milk, like almond or oat. This change will keep the drink creamy and delicious. Add a bit of chocolate syrup for flavor.
How can I make it less sweet?
To reduce the sweetness, cut down on the sugar and caramel. You can also use unsweetened chocolate syrup. Taste your mix before blending fully. Adjust the sweetness based on your liking. This way, you control how sweet your drink is.
Is it possible to prepare this ahead of time?
Yes, you can prepare this frappuccino early! Blend all the ingredients and store it in the fridge. Just remember to give it a good shake or stir before serving. Adding whipped cream right before serving keeps it fresh and tasty.
You learned about making a delicious frappuccino from start to finish. We covered the key ingredients, step-by-step instructions, and helpful tips. You can customize this drink with your favorite flavors or toppings. Remember, I shared storage tips and answered common questions. Enjoy crafting your perfect frappuccino at home! Don’t hesitate to experiment with variations and find what you love best. With these insights, you can impress friends or relax with a tasty treat anytime.


![For the Coconut Pineapple Matcha Freeze, you will need: - 1 cup full-fat coconut milk - 1 cup fresh pineapple chunks - 2 teaspoons matcha powder - 2 tablespoons honey or agave syrup - 1/2 cup crushed ice - A pinch of sea salt - Fresh pineapple slices and shredded coconut for garnish If you cannot find fresh pineapple, canned pineapple works well. Just drain it first. For a dairy-free option, stick with full-fat coconut milk. You can also swap honey for agave syrup if you prefer a vegan option. For a lighter version, use light coconut milk. If you want a sweeter drink, add more honey or agave. When picking fresh pineapple, look for a sweet smell at the base. The skin should be firm but not hard. Choose coconuts that feel heavy with water inside. Shake them to check. If you hear sloshing, it’s fresh. Always check the matcha powder color; it should be bright green. This shows it is high quality and fresh. Start by gathering all your ingredients. Use one cup of full-fat coconut milk for creaminess. Add one cup of fresh pineapple chunks for sweetness. Sprinkle in two teaspoons of matcha powder for flavor and color. I like to sweeten mine with two tablespoons of honey or agave syrup. Adjust the amount based on your taste. Don’t forget a half cup of crushed ice for that frosty texture. Lastly, a pinch of sea salt brightens all the flavors. Place everything in your blender. Blend the mixture on high speed. Watch for lumps, especially from the matcha powder. If you see any, stop the blender. Scrape down the sides to mix it well. Blend again until you have a smooth and creamy texture. This step is key for a delightful drink. Once blended, taste your Coconut Pineapple Matcha Freeze. If it needs more sweetness, add more honey or agave syrup. Blend briefly again to mix in the extra sweetener. Pour the mixture into serving glasses. Fill each glass about three-quarters full. This helps achieve the right texture and looks great. Transfer the glasses to the freezer and chill for about 30 minutes. This step makes it firm but not too hard. Finally, stir gently before serving to keep it creamy. Enjoy your refreshing summer treat! To make the best Coconut Pineapple Matcha Freeze, start by pouring your mix into serving glasses. Fill each glass about three-quarters full. This way, you have enough room for blending later. Place the filled glasses in the freezer for about 30 minutes. This helps the drink firm up just right without freezing solid. Creaminess is key for this drink. To keep it smooth, blend the mixture until it’s fully combined. If you find lumps of matcha, blend again or scrape the sides of the blender. After the chilling time, give the drink a gentle stir before serving. This keeps the texture creamy and light. Make your drink pop with fun garnishes! Add a slice of fresh pineapple on the rim of the glass. You can also sprinkle some shredded coconut on top for a tropical vibe. Use colorful straws or spoons for an extra flair. These small touches make your Coconut Pineapple Matcha Freeze feel special and inviting. For the full recipe, check out the recipe section above. {{image_4}} You can switch up the flavors in your Coconut Pineapple Matcha Freeze. Try adding mango for a tropical twist. Blend in some strawberries for a berry delight. You might also enjoy a hint of lime for a zesty finish. Each of these options adds a new layer of flavor. Feel free to mix and match to find your favorite combo. Making this treat vegan is easy! Replace honey or agave syrup with maple syrup or a sugar-free sweetener. This way, you can enjoy the same creamy texture without dairy. You can also use a low-sugar milk option, like almond or oat milk. This keeps the taste delicious while lowering the sugar content. You can experiment with different milks based on your taste. Almond milk gives a nice nutty flavor. Cashew milk adds extra creaminess. Coconut milk is still the best for that rich taste. For sweeteners, try coconut sugar or stevia. Adjust the amounts to fit your taste buds. Keep in mind that each milk and sweetener gives a unique flavor profile. This lets you customize your Coconut Pineapple Matcha Freeze just the way you like it! For the complete recipe, check out the [Full Recipe]. To store leftover Coconut Pineapple Matcha Freeze, pour it into an airtight container. Seal tightly and put it in the freezer. This drink tastes best when fresh, but it can last up to a week. Make sure to label the container with the date. If your Coconut Pineapple Matcha Freeze becomes too hard, don’t worry! Simply take it out of the freezer. Let it sit for a few minutes to soften. Then, scoop it back into your blender. Add a splash of coconut milk to help it blend smoothly. Blend until you achieve your desired texture. The best way to enjoy your Coconut Pineapple Matcha Freeze is fresh. However, if you store it properly, it can last up to one week in the freezer. For the best flavor, consume it within the first few days. Always check for any changes in smell or color before serving. Enjoy your tropical treat! Matcha is a special type of green tea made from finely ground tea leaves. Unlike regular green tea, you drink the whole leaf in matcha. This gives matcha a richer flavor and more nutrients. Regular green tea is steeped, and you discard the leaves. Matcha has a bright green color and a creamy texture. It also has a unique taste that is both sweet and grassy. This makes it perfect for drinks like Coconut Pineapple Matcha Freeze. Yes, you can make Coconut Pineapple Matcha Freeze in advance. Prepare the drink and pour it into glasses. Cover them with plastic wrap or lids. Place the glasses in the freezer for up to a few days. If you freeze them longer, the texture may change. To serve, let them sit at room temperature for a few minutes. Stir gently before enjoying. Coconut Pineapple Matcha Freeze has many health benefits. Matcha is high in antioxidants, which help fight free radicals. It can boost your energy and improve focus. Coconut milk adds healthy fats that are good for your heart. Pineapple is rich in vitamins and helps digestion. This drink is a tasty way to hydrate while getting nutrients. Enjoying it can make you feel refreshed and energized. You now know the key ingredients for a delicious Coconut Pineapple Matcha Freeze. Choose fresh items for great taste. Follow the step-by-step guide to blend for the perfect texture. Use tips to serve this drink in fun ways. Try different flavors or make it vegan. Store leftovers well for later enjoyment. This drink is a tasty way to enjoy matcha's health benefits. Enjoy making and sharing this refreshing treat!](https://joymealplan.com/wp-content/uploads/2025/06/95f0bd42-8f40-4f80-b2de-1daa2e62c0ea-768x768.webp)

![- 2 ripe mangoes, peeled and diced into small cubes - 1 can (20 oz) lychee fruit in syrup, thoroughly drained - 1 cup refreshing coconut water - 1 tablespoon freshly squeezed lime juice - 1 tablespoon agave syrup or honey (optional, adjust for personal sweetness preference) - A handful of fresh mint leaves for an aromatic garnish - Ice cubes for serving To make the Mango Lychee Breeze, you need ripe mangoes. They should feel soft but not mushy. Their sweetness boosts our drink. Lychee fruit in syrup adds a floral taste. Be sure to drain it well. Coconut water gives a light and fresh flavor. It hydrates and makes the drink smooth. Fresh lime juice brightens everything up. You can use agave syrup or honey for sweetness. Adjust this to suit your taste. Fresh mint leaves will add a nice touch. They also smell great when you sip. Finally, ice cubes keep your drink cold and refreshing. For the full recipe, you can check the details above. To make the Mango Lychee Breeze, start with fresh, ripe mangoes. Use a sharp knife to peel and dice them into small cubes. Aim for bite-sized pieces for easy blending. Next, open the can of lychee. Carefully drain the syrup from the fruit. Rinse the lychee under cold water to remove any remaining syrup. This step helps keep the drink light and refreshing. Now it’s time to combine the ingredients in a blender. Add the diced mangoes and drained lychee to the blender. Pour in one cup of refreshing coconut water and a tablespoon of freshly squeezed lime juice. If you want a sweeter drink, add a tablespoon of agave syrup or honey. Blend everything on high speed for about 30 to 45 seconds. You want to achieve a smooth and creamy consistency. Pause the blender, and taste the mixture. If it needs more sweetness, add a little more agave syrup or honey. Blend again briefly to mix it well. Get your serving glasses ready. Fill each glass halfway with ice cubes. This keeps the drink nice and cold. Carefully pour the creamy mango and lychee mix over the ice, filling the glass nearly to the top. Give it a gentle stir to blend the drink with the ice. Finally, garnish each glass with fresh mint leaves. This adds a lovely look and a wonderful scent to your drink. Enjoy your Mango Lychee Breeze! For the complete recipe, check out the [Full Recipe]. Adjusting sweetness levels Taste is key when making the Mango Lychee Breeze. Start with the basic recipe. Blend the mangoes and lychee first. Then taste the mix. If it’s not sweet enough, add a dash of agave syrup or honey. Blend again to mix. Remember, you can always add more sweetness, but you can't take it away. Tips for blending For the best blend, cut the mangoes into small cubes. This helps them blend quickly and evenly. Always blend on high speed. This gives you a smooth drink. If you find chunks, blend for a few more seconds. If your blender struggles, add a bit more coconut water. This helps the motor work better. Pre-prepping ingredients for a quick assembly You can peel and chop the mangoes ahead of time. Store them in an airtight container in the fridge. This way, when you’re ready to make the drink, it’s quick and easy. You can also drain the lychee in advance. Just keep them in their syrup until you’re ready. Storing leftovers If you have any drink left, store it in the fridge. Use a sealed jar or bottle. It should stay fresh for about a day. Give it a good shake before serving again. The ingredients may settle, but this will bring back that creamy texture. Remember, this drink tastes best fresh! For the full recipe, check the recipe section. {{image_4}} You can switch up the fruit in this drink. Try using peaches or strawberries instead of mango. These fruits add unique flavors and fun colors. You can also experiment with flavored coconut water. Coconut water with pineapple or passion fruit can add a tasty twist. Want to make this drink for adults? Add rum or vodka to your mix. This change brings a fun kick to the refreshing flavors. The best mixers for an alcoholic twist are soda water or tonic water. These mixers help balance the sweetness of the fruit while keeping it light. For the full recipe of Mango Lychee Breeze, check the earlier section. Enjoy experimenting! Mangoes bring a wealth of health benefits. They are rich in vitamins A, C, and E. These vitamins help keep your skin healthy and your immune system strong. Mangoes also contain minerals like potassium and magnesium, which support heart health and muscle function. Mangoes are packed with antioxidants. These are compounds that fight free radicals in your body. Free radicals can cause cell damage, leading to health issues. Eating mangoes may help reduce the risk of chronic diseases. Their antioxidant properties also contribute to good digestion. Lychee fruit is hydrating and great for skin health. It is about 80% water, which helps keep you hydrated on hot days. Staying hydrated supports your skin’s glow and overall health. Lychee also contains vitamin C, which boosts your skin’s natural barrier. Lychee is low in calories, making it a smart choice for snacks. It has dietary fiber that aids digestion. This fruit may help support weight management and overall gut health. Additionally, lychee has flavonoids, which have anti-inflammatory effects. These benefits can enhance your well-being as you enjoy your Mango Lychee Breeze. For the full recipe, check out the [Full Recipe]. If you don’t have coconut water, you can use regular water or sparkling water. Both options keep the drink refreshing. You can also try almond milk for a creamy twist. If you want a different flavor, use fruit juice like pineapple or orange juice. Each choice will change the taste slightly. Keep in mind that coconut water adds a unique sweetness and flavor. Yes, you can make Mango Lychee Breeze ahead of time! Blend the ingredients together and store the drink in the fridge. Just remember to keep it in a sealed container. This way, it will stay fresh for up to 24 hours. When you’re ready to serve, give it a quick stir. You might want to add more ice to keep it cold. You can find pre-made Mango Lychee Breeze at some grocery stores. Look for it in the beverage section, often near juice drinks. Some brands may offer it in bottles or cans. If you prefer online shopping, check websites like Amazon or specialty food shops. Prices can vary, but expect to pay around $3 to $5 per bottle. Availability may depend on your location. You learned how to make a refreshing Mango Lychee Breeze. We covered the main ingredients, preparation steps, and serving tips. I shared ways to adjust flavors and make variations. Plus, we discussed the health benefits of mangoes and lychees. This drink is not just tasty; it’s also good for you. Try it at your next gathering or when you want a cooling treat. Enjoy mixing and experimenting with this fun recipe!](https://joymealplan.com/wp-content/uploads/2025/06/0bedcb2e-8f34-49c6-a17f-dd97c376b34b-768x768.webp)

