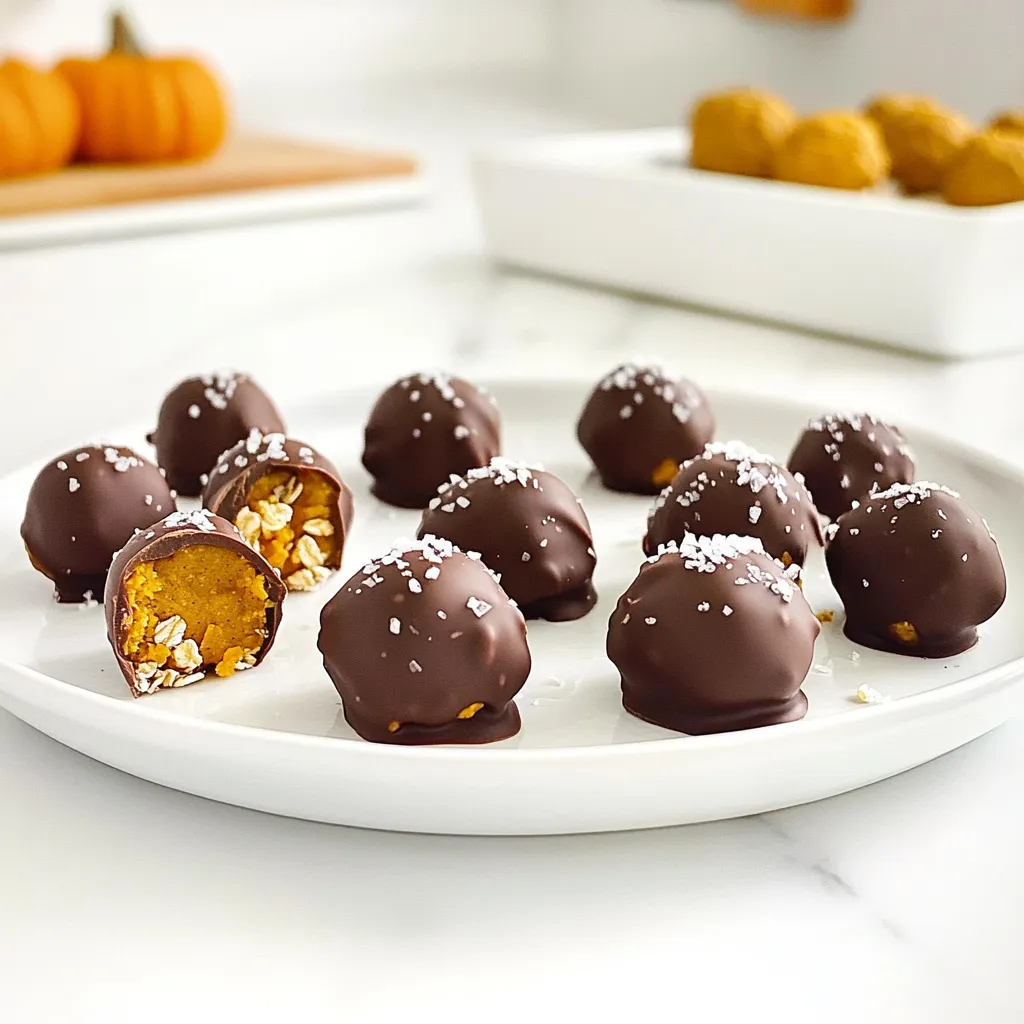
Are you ready for a sweet treat that’s easy to make? This Savory No-Bake Chocolate Covered Pumpkin Bites recipe combines the rich flavors of pumpkin and chocolate. With just a few simple ingredients, you can whip up this tasty snack in no time! I’ll guide you through each step, so let’s dive into these delicious bites that are perfect for any occasion. Your taste buds will thank you!
Ingredients
List of Ingredients
– 1 cup canned pumpkin puree
– 1 cup almond butter (or your preferred nut butter)
– ½ cup maple syrup
– 1 teaspoon vanilla extract
– 2 cups rolled oats
– 1 teaspoon pumpkin pie spice
– 1 cup dark chocolate chips (dairy-free, if preferred)
– 1 tablespoon coconut oil
To make these tasty no-bake chocolate-covered pumpkin bites, gather all the ingredients first. The canned pumpkin puree gives a rich flavor and creamy texture. Almond butter will add a nice nutty taste, but feel free to swap it with any nut butter you like.
Maple syrup adds sweetness. It blends perfectly with vanilla extract, which gives a warm aroma. Rolled oats provide a hearty base, making these bites filling and healthy. Pumpkin pie spice brings warmth with hints of cinnamon and nutmeg, perfect for fall flavors.
For the chocolate coating, choose dark chocolate chips for a rich taste. If you want a dairy-free option, look for dairy-free chocolate chips. Coconut oil helps the chocolate melt smoothly, making it easy to coat the bites.
With these ingredients ready, you can start making your delicious treats!
Step-by-Step Instructions
Preparing the Pumpkin Mixture
To start, grab a large mixing bowl. In this bowl, combine these wet ingredients:
– 1 cup canned pumpkin puree
– 1 cup almond butter (or another nut butter)
– ½ cup maple syrup
– 1 teaspoon vanilla extract
Use a spatula or wooden spoon to mix them well. Keep stirring until the mixture is smooth.
Now, let’s add the dry ingredients. To the wet mix, add:
– 2 cups rolled oats
– 1 teaspoon pumpkin pie spice
– A pinch of salt
Mix everything together until it forms a thick mixture. It should pull together nicely.
Forming the Bites
Next, line a baking sheet with parchment paper. This step helps prevent sticking.
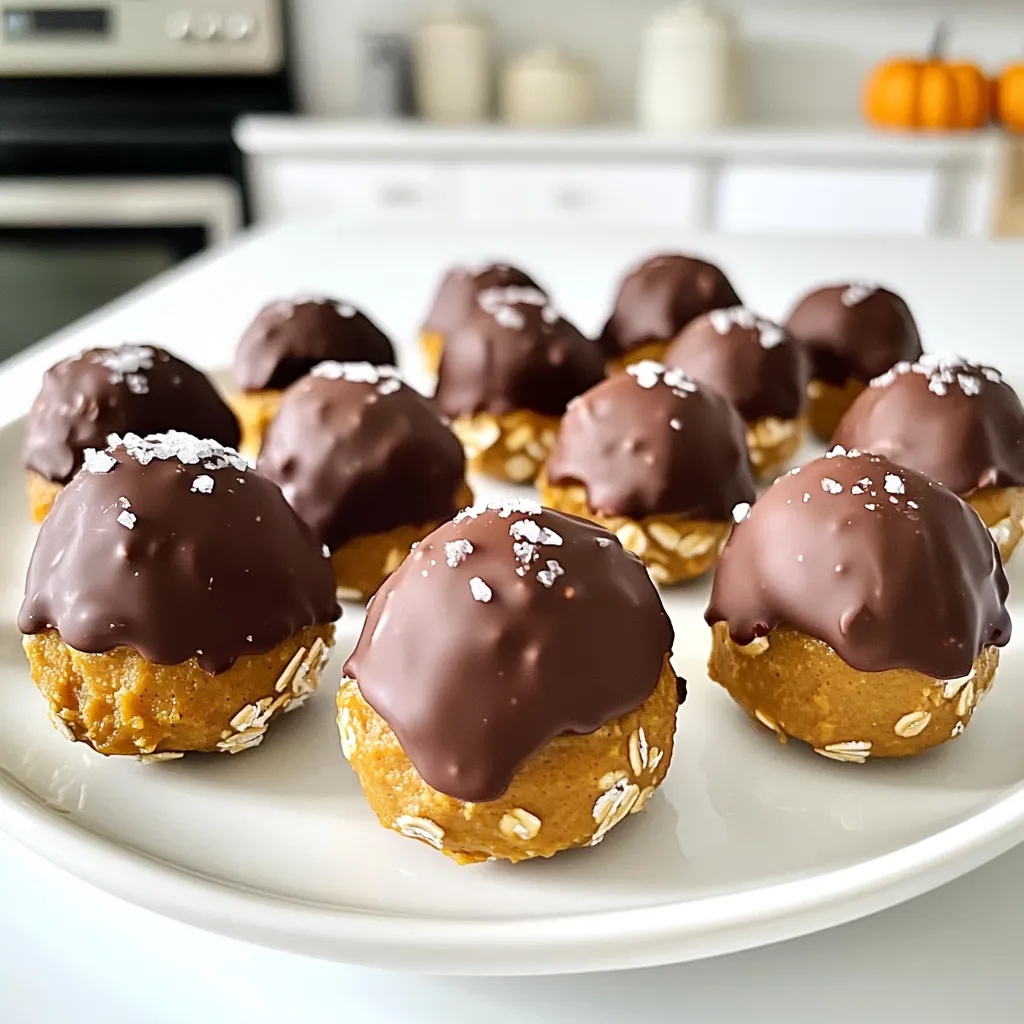
Use your hands to take small portions of the mixture. Roll each portion into balls, about 1 inch wide. Place these on the baking sheet.
Once you shape all the bites, put the baking sheet in the fridge. Chill them for about 30 minutes. This helps the bites firm up for easy handling.
Coating with Chocolate
While the bites chill, prepare the chocolate coating. In a microwave-safe bowl, combine:
– 1 cup dark chocolate chips
– 1 tablespoon coconut oil
Microwave this mix in 30-second intervals. Stir after each interval until the chocolate is smooth.
Once the pumpkin bites have chilled, take them out. Using a fork, dip each bite into the melted chocolate. Make sure it gets a good coat. Allow the extra chocolate to drip off. Then, place the bites back on the parchment paper.
To add some flair, sprinkle a pinch of sea salt or crushed nuts on each bite after dipping.
Finally, return the baking sheet to the fridge for another 30 minutes. This time helps the chocolate set and harden perfectly.
Tips & Tricks
Achieving the Perfect Chocolate Coating
To get a nice chocolate coat, start by melting the dark chocolate chips. Mix in coconut oil. This helps the chocolate stay smooth. Use a microwave safe bowl for best results. Heat in 30-second bursts, stirring in between. This keeps the chocolate from burning.
For even coverage, dip each pumpkin bite fully. Use a fork to lift it out. Gently tap the fork on the bowl’s edge. This helps remove extra chocolate. Place the bites on parchment paper carefully. Avoid clumps by working quickly. If the chocolate starts to harden, reheat it lightly.
Making the Bites Even More Flavorful
Add a sprinkle of sea salt on top of each bite. This gives a nice salty-sweet contrast. You can also crush nuts, like walnuts or pecans, for added crunch. Sprinkle these on right after dipping the bites.
Try using different nut butters too. Peanut butter adds a rich flavor. Sunflower seed butter is a great option for nut-free diets. Each nut butter brings a unique taste. Experiment to find your favorite. These small changes make each bite special.
Variations
Alternative Sweeteners
You can swap maple syrup for honey or agave syrup. Each sweetener brings its own taste. Honey adds a floral note, while agave is milder. If you want less sweetness, reduce the amount of sweetener. This adjustment can help suit different tastes. Always taste the mix to find what you like best.
Add-ins for Extra Texture
Try adding dried fruits like cranberries or raisins for a chewy bite. Seeds, such as sunflower or pumpkin, add crunch and nutrition. You can also mix in spices like cinnamon or nutmeg. These spices enhance the pumpkin flavor and add warmth. Have fun experimenting! Each variation can make your bites unique.
Storage Info
Best Practices for Storage
Store your chocolate covered pumpkin bites in a cool place. I recommend using an airtight container. This keeps them fresh and tasty. You can stack them carefully. Just make sure to use parchment paper between layers. It helps to avoid sticking.
For long-term storage, use your fridge or freezer. Refrigeration is great for short-term. Freezing works well for longer storage.
Shelf Life of Chocolate Covered Pumpkin Bites
In the refrigerator, these bites last about one week. They stay fresh if kept in an airtight container.
If you choose to freeze them, they can last up to three months. Just thaw them in the fridge before enjoying. This keeps their flavor and texture just right.
FAQs
Can I use fresh pumpkin instead of canned?
Yes, you can use fresh pumpkin. Just cook it, then mash it smooth. Canned pumpkin is easier, but fresh adds great flavor. Make sure to remove any excess water from fresh pumpkin to avoid a runny mixture.
How can I make these bites vegan?
To make these bites vegan, use maple syrup and dairy-free dark chocolate. Almond butter is already vegan, so you’re set there. Look for chocolate chips that say “dairy-free” on the label.
What nut butters work best?
Almond butter is my favorite, but you can use any nut butter you like. Peanut butter works well, too. If you have nut allergies, sunflower seed butter is a great choice.
Can I use milk chocolate instead of dark chocolate?
Yes, you can use milk chocolate if you prefer a sweeter taste. Just melt it the same way. The bites will be sweeter and creamier. Keep in mind that milk chocolate has more sugar than dark chocolate.
How long do these bites need to set?
The bites need to chill for about 30 minutes after you shape them. After coating them in chocolate, chill them for another 30 minutes. This helps the chocolate harden and keeps the bites firm.
These chocolate-covered pumpkin bites are a tasty treat. You start with simple ingredients, like pumpkin puree and nut butter. Then, you mix wet and dry elements and form small balls. After chilling, dip these bites in melted chocolate for a delicious coating.
You can even tweak flavors or try new nuts for fun textures. Store them in the right container to keep them fresh. Enjoy making these easy snacks for all occasions!


