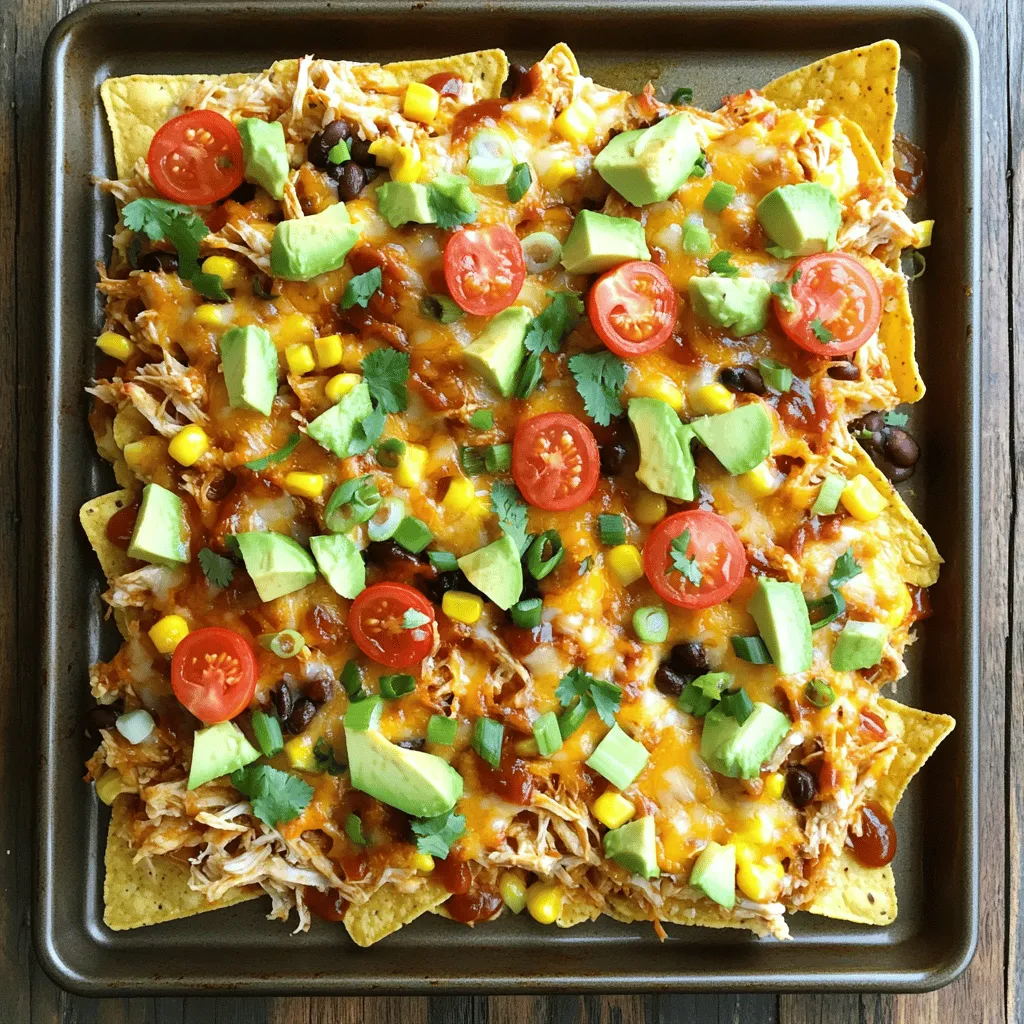
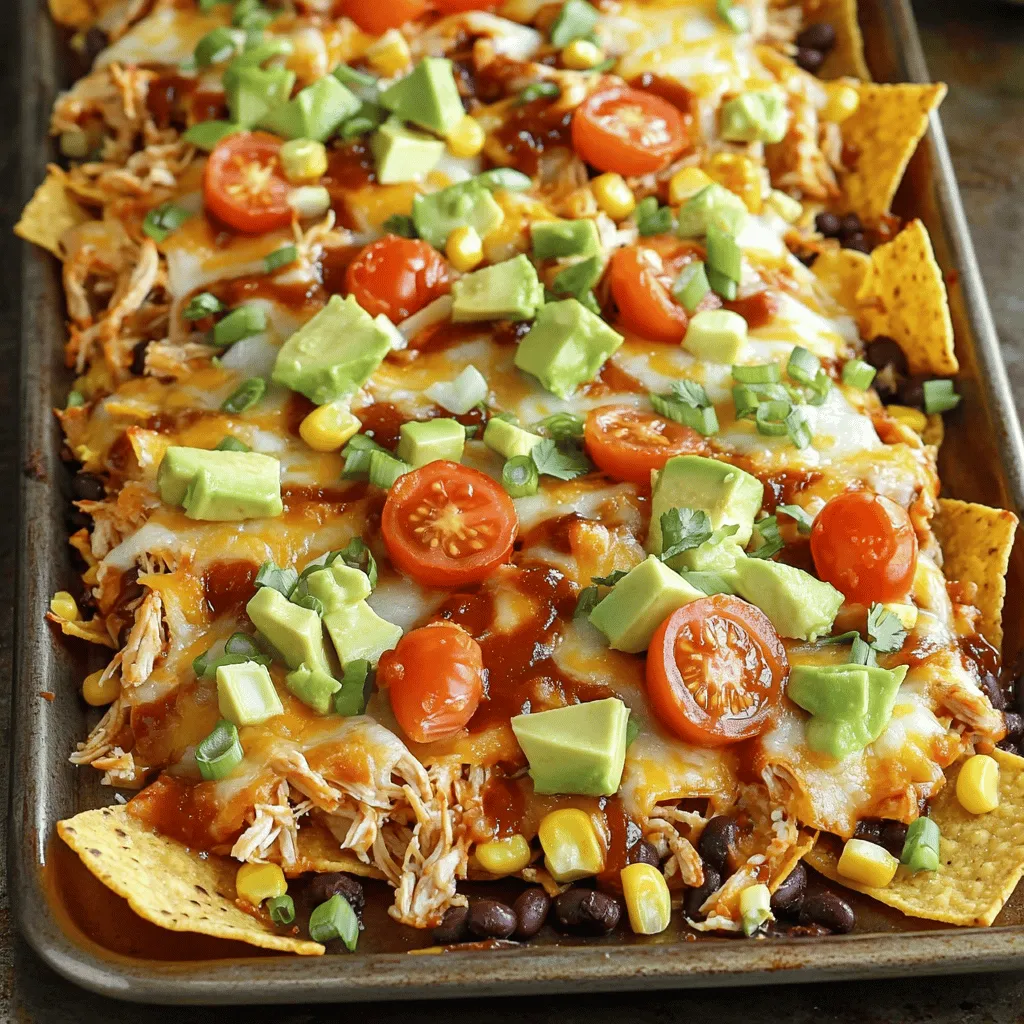
If you’re looking for a fun and easy dish for your next gathering, try these Sheet Pan BBQ Chicken Nachos! They’re loaded with flavor and perfect for sharing. You can mix things up with various toppings and make them your own. I’ll guide you through each step, from ingredient prep to baking and serving. Let’s dive in so you can impress your friends with this tasty treat!
Ingredients
List of Ingredients
– 2 cups cooked chicken, shredded
– 1 cup BBQ sauce (preferably homemade or your favorite brand)
– 1 large bag of tortilla chips
– 2 cups shredded sharp cheddar cheese
– 1 cup canned black beans, drained and rinsed
– 1 cup sweet corn (canned or frozen)
– 1 fresh jalapeño, thinly sliced (optional)
– 1 cup cherry tomatoes, halved
– 1 ripe avocado, diced
– ¼ cup green onions, finely chopped
– Sour cream and fresh cilantro for garnish (optional)
Optional Toppings and Garnishes
You can add many tasty toppings to your nachos. Here are some fun ideas:
– Sliced olives for a briny flavor
– Diced red onion for a crunchy bite
– Pickled jalapeños for extra heat
– Fresh lime juice for a zesty finish
– Fresh spinach or arugula for a green touch
Notes on Ingredient Substitutions
You can switch some ingredients based on your taste or what you have at home. Here are some easy swaps:
– Use store-bought rotisserie chicken instead of cooking your own.
– Swap the BBQ sauce for a spicy salsa or cheese sauce.
– Try different cheeses like pepper jack or mozzarella for a unique twist.
– Use tortilla strips if you can’t find chips.
– If you want a vegetarian option, replace chicken with sautéed mushrooms or jackfruit.
Feel free to play with these ingredients to make your perfect BBQ chicken nachos!
Step-by-Step Instructions
Preparation Steps
1. Start by preheating your oven to 400°F (200°C). A hot oven melts the cheese just right.
2. In a large bowl, mix 2 cups of shredded chicken with 1 cup of BBQ sauce. Stir well to coat all the chicken.
3. On a big baking sheet, spread out a large bag of tortilla chips. Lay them in a single layer for even topping distribution.
4. Add the BBQ chicken evenly over the chips. This ensures every bite is full of flavor.
5. Sprinkle 1 cup of black beans and 1 cup of sweet corn on top for extra taste and texture.
6. Grate 2 cups of sharp cheddar cheese and cover all the ingredients with it. Cheese is key for delicious nachos.
7. If you enjoy spice, top with thin slices of fresh jalapeño. Their heat pairs well with the sweet BBQ.
Baking Instructions
8. Place the baking sheet in the oven. Bake for 15-20 minutes. Watch closely until the cheese bubbles and is golden.
Serving Suggestions
9. Once done, take the sheet out of the oven. Scatter halved cherry tomatoes and diced avocado on top for freshness.
10. Finish with chopped green onions. Add sour cream and cilantro for a tasty garnish.
11. Serve directly from the sheet pan. This makes it fun and easy for everyone to enjoy!
Tips & Tricks
How to Perfectly Shred Chicken
To get the best shredded chicken, start with cooked chicken. I often use rotisserie chicken for ease. Just let it cool slightly, then use two forks. Pull the meat apart in opposite directions to create nice shreds. This method works great for both chicken breasts and thighs. You can also use a stand mixer for faster shredding. Just place the chicken in the bowl and mix on low speed until shredded.
Cheese Melting Tips
A perfect cheese melt makes nachos amazing. For the best results, use sharp cheddar cheese. Ensure your oven is hot enough, set at 400°F (200°C). Spread cheese evenly over the nachos, covering all areas. This helps it melt uniformly. Keep an eye on the nachos while baking. You want the cheese bubbling, but not burnt. If you want extra cheese flavor, mix in some Monterey Jack or pepper jack.
Making Homemade BBQ Sauce
Homemade BBQ sauce is easy and tastes great. Start with simple ingredients: ketchup, vinegar, brown sugar, and spices. Mix them in a pot over medium heat. Let it simmer for at least 20 minutes to blend flavors. You can add ingredients like garlic powder or smoked paprika for a twist. Taste as you go to adjust sweetness or tanginess. This sauce will elevate your nachos and impress your guests.

Variations
Vegetarian or Vegan Options
You can easily make these nachos vegetarian. Instead of chicken, use black beans or lentils. These options add protein and flavor. Replace BBQ sauce with a vegan-friendly version. This way, everyone can enjoy the dish.
Different Flavor Profiles
Change the BBQ sauce for other sauces to mix things up. Try a spicy buffalo sauce for a kick. A sweet teriyaki sauce adds a different taste too. Experimenting with flavors keeps the dish fresh and fun.
Adding Additional Toppings
Toppings can take your nachos to the next level. Consider adding pickled red onions for a tangy crunch. Fresh herbs like cilantro or parsley brighten the flavors. You can also add a drizzle of hot sauce for heat. Each topping adds a unique twist to your nachos.
Storage Info
Storing Leftovers
After your nachos are gone, you might have some leftovers. Store any nachos in an airtight container. Keep them in the fridge for up to three days. If you have just the BBQ chicken left, store it separately. It lasts about four days in the fridge. Make sure the chicken is cool before sealing the container.
Reheating Instructions
To reheat nachos, place them on a baking sheet. Preheat your oven to 350°F (175°C). Bake for about 10 minutes or until warm. This helps the chips stay crispy. If you want to heat just the chicken, microwave it in a bowl for 1-2 minutes. Stir halfway to heat evenly.
Freezing Tips
You can freeze BBQ chicken for longer storage. Place the cooled chicken in a freezer-safe bag. It can last for up to three months. When ready to use, let it thaw in the fridge overnight. Avoid freezing the nachos, as the chips become soggy. Instead, prepare fresh nachos with the thawed chicken.
FAQs
Can I use rotisserie chicken for this recipe?
Yes, you can use rotisserie chicken for this recipe. It saves time and adds great flavor. Just shred the chicken and mix it with your BBQ sauce. This simple swap makes dinner easy, especially if you’re in a hurry.
How can I make nachos healthier?
To make nachos healthier, choose baked tortilla chips instead of fried ones. You can also add more veggies like bell peppers or spinach. Use reduced-fat cheese or less cheese overall. Lastly, top your nachos with fresh salsa or Greek yogurt instead of sour cream.
What type of cheese works best for nachos?
Shredded sharp cheddar cheese works best for nachos. It melts well and adds a bold flavor. You can also mix in Monterey Jack or pepper jack cheese for extra creaminess and a bit of spice. These cheeses create a delicious blend that makes every bite enjoyable.
This article covered all the essential steps for making great nachos. You learned about ingredients, optional toppings, and how to switch things up. We explored cooking methods and tips for perfect chicken and cheese. You saw different variations, storing tips, and answers to your burning questions. Nachos can be fun and delicious when you use the right ingredients and techniques. Now, you’re ready to create your own nacho masterpiece. Enjoy the process and the tasty results!


