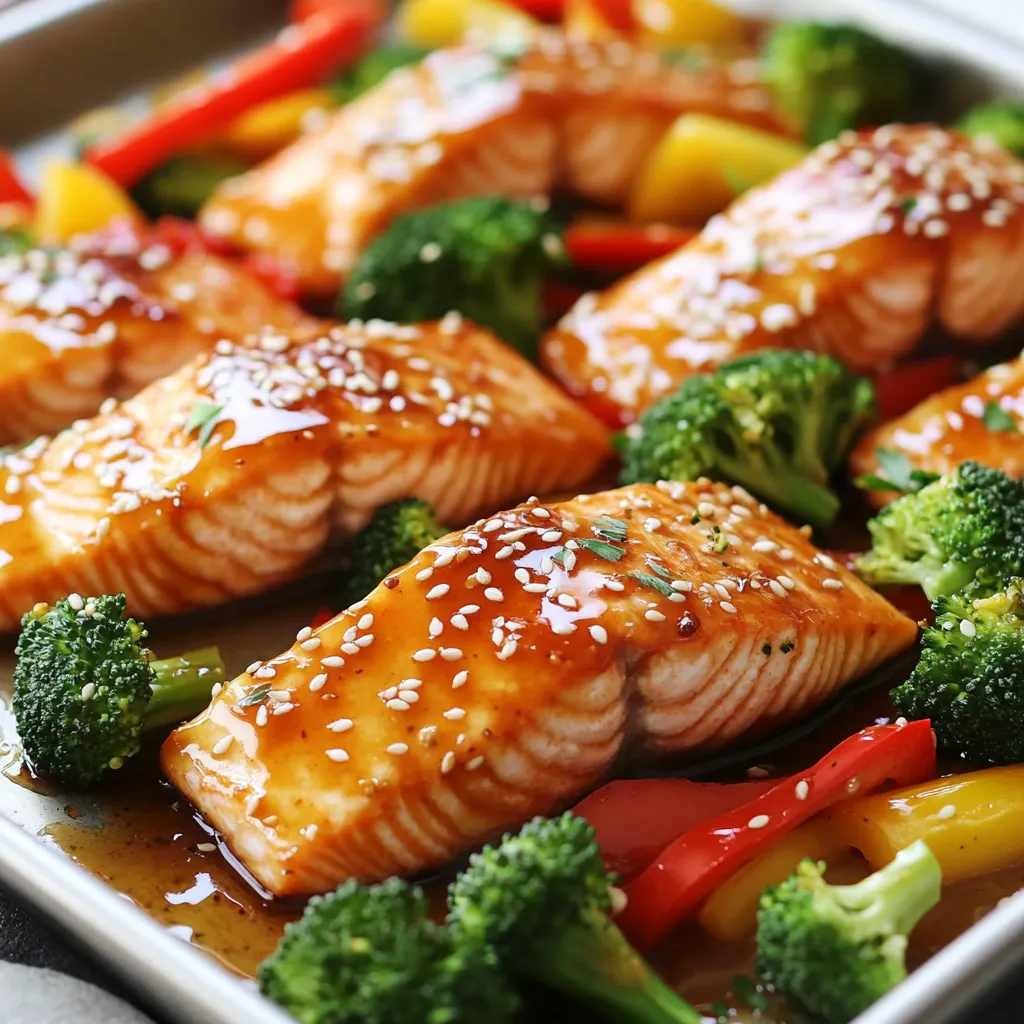
Looking for a quick, tasty dish that will delight your taste buds? Try my Sheet Pan Honey Garlic Salmon! With just a few easy ingredients like fresh salmon, honey, and garlic, you can create a delicious meal right in your oven. Pair it with vibrant veggies for color and flavor. Let’s dive into this simple recipe that delivers both taste and health, perfect for busy weeknights!
Why I Love This Recipe
- Quick and Easy: This recipe comes together in just 25 minutes, making it perfect for busy weeknights.
- Flavor Explosion: The combination of honey, garlic, and ginger creates a deliciously sticky sauce that elevates the salmon.
- One-Pan Wonder: With everything cooked on a single sheet pan, cleanup is a breeze, allowing you to enjoy your meal stress-free.
- Healthy and Colorful: This dish is packed with vibrant veggies that not only add nutrition but also make the plate look stunning.
Ingredients
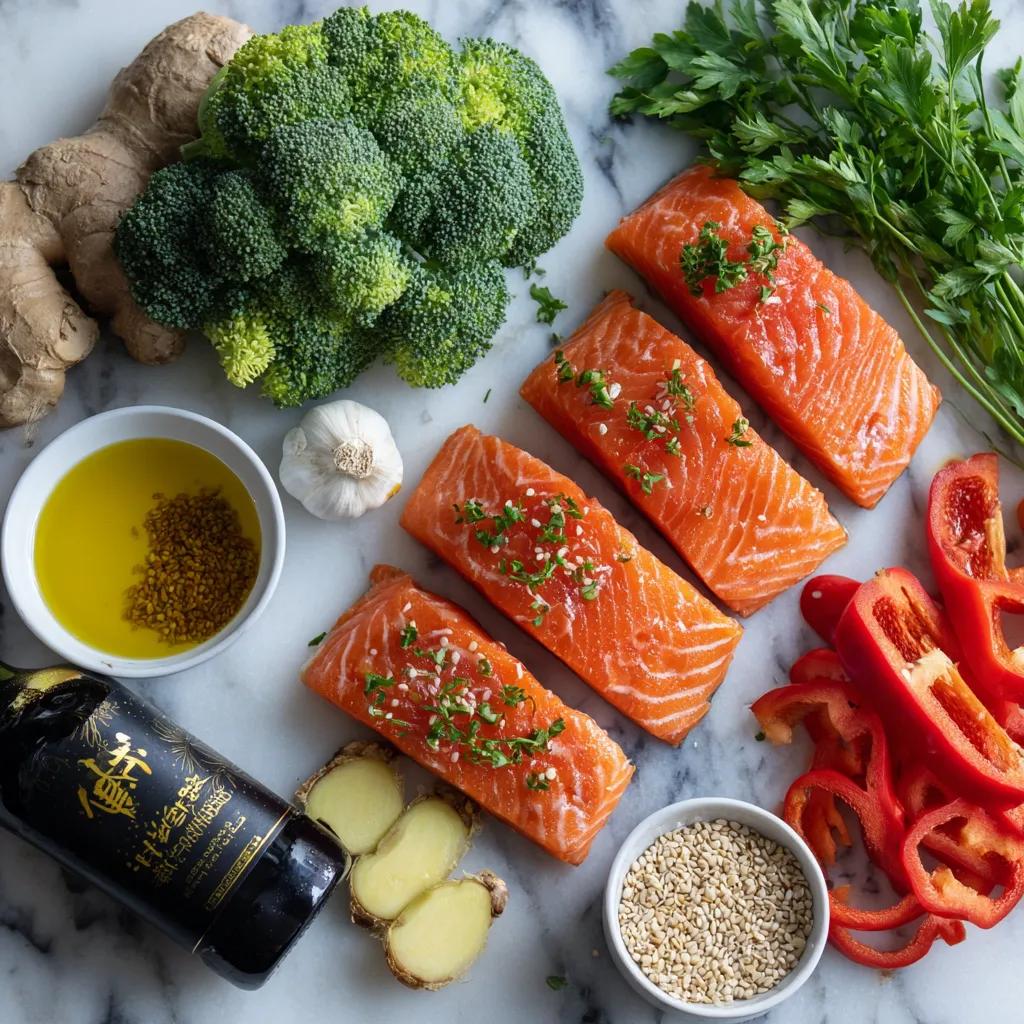
Main Ingredients
– 4 salmon fillets (approximately 6 oz each)
– 1/4 cup honey
– 4 cloves garlic, finely minced
– 3 tablespoons soy sauce
Vegetable Add-Ins
– 2 cups vibrant broccoli florets
– 1 large red bell pepper, thinly sliced
Seasonings and Garnishes
– 1 tablespoon olive oil
– 1 tablespoon fresh ginger, freshly grated
– 1 tablespoon sesame seeds (optional, for garnish)
– Fresh parsley or cilantro, chopped, for garnish
The main ingredients in this dish are simple yet powerful. Salmon fillets are the star, providing protein and healthy fats. Honey adds a sweet touch, while garlic brings depth. Soy sauce adds umami, perfect for this dish.
Next, we have vegetable add-ins. Broccoli florets give crunch and color. Red bell pepper adds sweetness and vibrancy.
Finally, seasonings and garnishes elevate the dish. Olive oil helps with cooking and flavor. Fresh ginger adds a zing, while sesame seeds offer crunch. Fresh herbs like parsley or cilantro finish it all off with a bright note.
Step-by-Step Instructions
Preheating and Preparation
– Preheat your oven to 400°F (200°C).
– Line a large baking sheet with parchment paper. This makes cleanup easy.
Creating the Honey Garlic Sauce
– In a small bowl, mix the honey, minced garlic, soy sauce, grated ginger, and olive oil.
– Add a pinch of salt and pepper.
– Use a whisk to blend until smooth. This sauce adds great flavor.
Assembling the Dish
– Place the salmon fillets on one side of the lined baking sheet.
– Use a brush to coat each fillet with the honey garlic sauce.
– Keep some sauce aside for later.
– On the other side of the baking sheet, spread the broccoli and red bell pepper.
– Drizzle them with olive oil and season with salt and pepper.
– Toss the veggies gently to coat them evenly.
Baking Process
– Put the baking sheet in the oven. Bake for about 15-18 minutes.
– Check the salmon for doneness. It should reach 145°F (63°C).
– The veggies should be tender and slightly caramelized.
Final Touches
– Halfway through baking, take the salmon out.
– Brush it with the reserved honey garlic sauce for extra flavor.
– Put it back in the oven to finish cooking.
– Once done, sprinkle sesame seeds on the salmon and veggies for crunch.
– Before serving, add chopped parsley or cilantro for color and taste.
– Drizzle any remaining sauce over the dish for a delicious finish.
Tips & Tricks
Cooking Suggestions
– Checking salmon doneness: Use a fork to flake the salmon. If it flakes easily, it’s done. The ideal internal temperature is 145°F (63°C). A meat thermometer ensures perfect cooking every time.
– Avoiding overcooked vegetables: To keep vegetables crisp, add them later in the cooking time. Broccoli and bell peppers need about 15-18 minutes to roast nicely without losing their crunch.
Flavor Enhancements
– Alternatives to honey or soy sauce: You can swap honey with maple syrup for a different sweetness. For soy sauce, use coconut aminos for a soy-free option. Both give unique tastes.
– Additional herbs and spices: Fresh herbs like thyme or dill can add freshness. Spices like paprika or cayenne can bring heat. Experiment with flavors that excite your palate.
Kitchen Tools
– Recommended bakeware: A large, rimmed baking sheet works best. It helps catch any drips and allows even cooking. Choose one with a non-stick surface for easy cleanup.
– Essential utensils for prep: Have a whisk for mixing the sauce and a brush for coating the salmon. Use a sharp knife and cutting board for quick vegetable prep. These tools make cooking smoother and more fun.
Pro Tips
- Use Fresh Ingredients: Always opt for fresh salmon and vibrant vegetables to enhance the flavor and nutritional value of your dish.
- Marinate for Extra Flavor: If time allows, marinate the salmon in the honey garlic sauce for 30 minutes before baking to deepen the flavors.
- Don’t Overcook the Salmon: Keep an eye on the salmon as it cooks; it should flake easily with a fork and reach an internal temperature of 145°F (63°C).
- Customize Your Veggies: Feel free to swap in other vegetables like asparagus or snap peas based on your preferences or what you have on hand.
Variations
Ingredient Swaps
You can change the fish in this recipe. Try using trout or cod instead of salmon. Both work well with honey garlic sauce. You can also use shrimp for a different taste.
For veggies, feel free to swap in what you have. Carrots, snap peas, or asparagus are great options. Each will bring a new flavor to the dish.
Flavor Profiles
Want to make it zesty? Add citrus zest like lemon or orange. This will brighten up the honey garlic sauce. You can also mix in some lime juice for a fresh kick.
If you like heat, add some chili flakes or diced jalapeños. This will give the dish a spicy twist. Just be careful not to add too much!
Dietary Adjustments
For a gluten-free version, use tamari instead of soy sauce. This keeps the flavor while making it safe for gluten-free diets.
If you prefer a vegan meal, replace the salmon with tofu. Use extra firm tofu for the best texture. Marinate it in the honey garlic sauce before baking. This will ensure it absorbs all the great flavors.
Storage Info
Storing Leftovers
To keep your leftover honey garlic salmon fresh, store it in the fridge. Place the salmon and veggies in airtight containers. Make sure to refrigerate within two hours of cooking. This will help it stay safe and tasty. Leftover salmon is best eaten within three days.
Reheating Instructions
For reheating, I recommend using the oven. Preheat it to 350°F (175°C). Place the salmon on a baking sheet and cover it with foil. Heat for about 10-15 minutes. This keeps the salmon moist and flavorful. You can also use a microwave. Use a microwave-safe dish and cover it loosely. Heat in short bursts to avoid overcooking.
Freezing Guidance
If you want to freeze the salmon, wrap it well in plastic wrap and then in aluminum foil. This will prevent freezer burn. You can freeze it for up to three months. When ready to eat, thaw it in the fridge overnight. This helps keep its flavor and texture intact. Avoid thawing in warm water or the microwave, as this can ruin the fish.
FAQs
How do I know when salmon is fully cooked?
To check if salmon is done, look for an internal temperature of 145°F (63°C). Use a meat thermometer for accuracy. When fully cooked, the salmon will flake easily with a fork. The color should change from bright pink to a light pink or opaque shade. This ensures your fish is both safe and tasty.
Can I make this recipe in advance?
Yes! You can prep the salmon and sauce ahead of time. This recipe takes 10 minutes to prep and 25 minutes to cook. You can marinate the salmon in the honey garlic sauce for up to an hour. Store it in the fridge until you’re ready to cook. This saves time on busy days and adds flavor.
What sides pair well with Honey Garlic Salmon?
For sides, I recommend vibrant broccoli and red bell pepper. They roast nicely and add color to your plate. You could also serve the salmon with rice or quinoa for a filling meal. A fresh salad with a light vinaigrette makes a great addition too. This combination brings balance and taste to your dinner.
This blog post covered a delicious Honey Garlic Salmon recipe. We explored the key ingredients, including salmon, honey, and vegetables. You learned how to prepare the dish with simple steps and helpful tips. We also discussed variations to suit your tastes.
In the end, this meal is easy to make and packed with flavor. Whether you’re cooking for yourself or guests, you can impress anyone. Enjoy experimenting and making this dish your ow


