
Are you ready for a breakfast that tastes like dessert? Strawberry Cheesecake Overnight Oats are simple, creamy, and packed with flavor. You can whip them up in minutes and enjoy a nutritious meal that satisfies your sweet tooth. In this guide, I’ll share easy steps, tips, and delicious variations to help you make the perfect batch. Let’s dive into this tasty treat that’s sure to brighten your mornings!
Ingredients
List of Ingredients with Measurements
– 1 cup rolled oats
– 1 cup milk (or almond milk for dairy-free)
– 1/2 cup Greek yogurt (plain or vanilla)
– 1/4 cup cream cheese, softened
– 2 tablespoons honey or maple syrup (to taste)
– 1 teaspoon vanilla extract
– 1/4 teaspoon salt
– 1 cup fresh strawberries, hulled and diced
– 2 tablespoons crushed graham crackers (plus more for garnish)
– Optional: Fresh mint leaves for garnish
Substitutions for Dietary Preferences
If you’re looking for dairy-free options, use almond milk instead of regular milk. You can swap Greek yogurt for coconut yogurt for a vegan choice. For sweetness, honey works well, but maple syrup is a great vegan alternative. If you prefer a lighter touch, reduce the cream cheese or use a low-fat version.
Nutritional Benefits of Key Ingredients
– Rolled oats: Great for fiber, aiding digestion and keeping you full.
– Greek yogurt: Packed with protein, it helps build muscle and supports gut health.
– Fresh strawberries: High in vitamins and antioxidants, they boost your immune system.
– Honey or maple syrup: Natural sweeteners that add flavor without refined sugars.
– Cream cheese: Adds creaminess and richness, making the oats feel indulgent.
These ingredients come together to create a tasty and healthy breakfast that keeps you fueled for the day. Enjoying this dish not only satisfies your sweet tooth but also provides essential nutrients to support your well-being.
Step-by-Step Instructions
Prep and Assemble the Ingredients
To start, gather all your ingredients. You will need:
– 1 cup rolled oats
– 1 cup milk (or almond milk)
– 1/2 cup Greek yogurt
– 1/4 cup cream cheese
– 2 tablespoons honey or maple syrup
– 1 teaspoon vanilla extract
– 1/4 teaspoon salt
– 1 cup fresh strawberries
– 2 tablespoons crushed graham crackers
Make sure your cream cheese is soft. This helps it mix easily. Wash and hull the strawberries, then dice them into small pieces. This makes each bite sweet and juicy.
Detailed Mixing Instructions
In a mixing bowl, combine the softened cream cheese, Greek yogurt, honey (or maple syrup), vanilla extract, and salt. Use a whisk to mix until it’s smooth. You want no lumps from the cream cheese.
In another bowl, mix the rolled oats and milk. Stir well to combine. Let it sit for about 5 minutes. This allows the oats to soften, making them creamy.
Once the oats are soft, fold the cream cheese mixture into the oats. Be gentle, but mix until they are fully combined. This is the secret to a rich, creamy texture.
Layering Process and Refrigeration
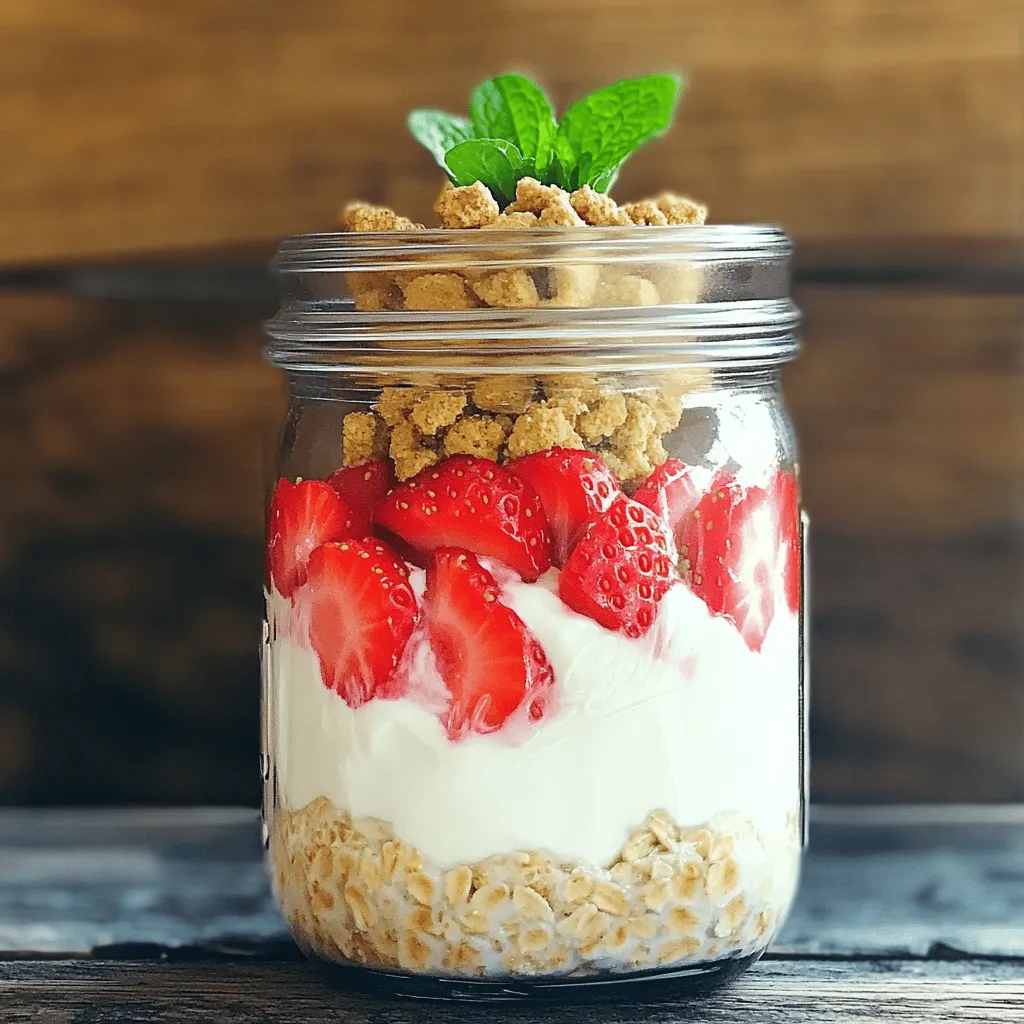
Now, it’s time to layer your masterpiece. Take a mason jar or any airtight container. Spoon half of the oat mixture into the bottom.
Next, add half of the diced strawberries on top. Sprinkle some crushed graham crackers over the strawberries. This adds a nice crunch.
Repeat the layers. Add the remaining oat mixture, then the rest of the strawberries. Finish with another sprinkle of graham crackers.
Seal the jar tightly and place it in the fridge. Let it chill overnight or at least 4-5 hours. This allows the flavors to blend and the oats to become even creamier.
Your strawberry cheesecake overnight oats are now ready to enjoy in the morning. Just stir, add a drizzle of honey if you like, and garnish with mint leaves.
Tips & Tricks
Ensuring the Perfect Creamy Texture
To achieve that creamy texture, start with softened cream cheese. This makes it easy to blend. Whisk the cream cheese with Greek yogurt, honey, vanilla, and salt until smooth. This step is key! Next, mix the oats with milk and let them soak for about five minutes. This softens the oats and helps them soak up flavor. When you combine both mixtures, do so gently. Fold them together until well mixed, but don’t overdo it. You want to keep that lovely creaminess.
Storage Tips for Freshness
Storing your overnight oats properly is crucial. Use an airtight container to keep them fresh. Mason jars work great! This helps maintain the taste and texture. Store them in the fridge for up to five days. If you make a big batch, just be sure to keep the layers intact. That way, the strawberries and graham crackers stay fresh and crunchy. Always check for any signs of spoilage before eating.
Ways to Enjoy Overnight Oats
There are many fun ways to enjoy your overnight oats! You can eat them straight from the jar for a quick breakfast. Top with extra strawberries or a dollop of whipped cream for a treat. Want a bit of crunch? Add more crushed graham crackers on top. You can even switch it up by adding nuts or seeds for added flavor and crunch. The options are endless!
Variations
Fruit Alternatives for Different Flavors
You can switch up the fruit in your overnight oats. Try blueberries, raspberries, or even bananas. Each fruit adds its unique taste. For example, blueberries give a sweet and tart flavor. Raspberries add a bright zing. Bananas add natural creaminess. Feel free to mix different fruits too!
Add-Ins for Extra Nutrition
Boost your oats with healthy add-ins. Chia seeds add fiber and omega-3s. Nuts, like almonds or walnuts, provide crunch and protein. You can also add flaxseed for more fiber and nutrients. Just a tablespoon goes a long way. These add-ins make each bite more filling and nutritious.
Vegan and Gluten-Free Options
For a vegan version, swap the milk for almond milk and skip the cream cheese. Use a vegan yogurt instead of Greek yogurt. Make sure your oats are certified gluten-free. This way, everyone can enjoy this tasty treat without worry. You can still get that creamy texture with these swaps!
Storage Info
How Long Can Overnight Oats Last?
Overnight oats stay fresh in the fridge for about 3 to 5 days. This gives you time to enjoy them throughout the week. Always check for any strange smells or changes in texture before you eat.
Best Practices for Storing Oats
Use airtight containers, like mason jars, to keep your oats fresh. This helps lock in moisture and flavor. Store them in the fridge right after making. Avoid leaving them out at room temperature.
Freezing Overnight Oats for Long-Term Use
You can freeze overnight oats if you want to save them for later. Place them in freezer-safe containers. They can last for up to 3 months in the freezer. When you are ready to eat, just thaw them in the fridge overnight. Enjoy them chilled or warmed up.
FAQs
How to Make Strawberry Cheesecake Overnight Oats?
To make strawberry cheesecake overnight oats, start by mixing the cream cheese, Greek yogurt, honey, vanilla, and salt in a bowl. Whisk until smooth. In another bowl, combine rolled oats and milk. Let it sit for five minutes. Then, fold the cream cheese mix into the oats. Layer half the oats in a jar, add strawberries, and crushed graham crackers. Repeat with the rest of the ingredients. Seal the jar and refrigerate overnight. In the morning, stir and enjoy!
Can I Use Other Types of Milk?
Yes, you can use other types of milk. Almond milk works well for a dairy-free option. You can also try oat milk, soy milk, or coconut milk. Each milk adds a unique flavor, so feel free to experiment. Just ensure the milk you choose complements the creamy cheesecake flavor.
What to Do If I Don’t Have Greek Yogurt?
If you don’t have Greek yogurt, you can use regular yogurt instead. Another option is to use cottage cheese for a protein boost. You can also try blended silken tofu for a dairy-free alternative. Each will change the texture slightly, but the dish will still taste great. Adjust the sweetness if needed, as some yogurts can be tangier than others.
In this post, we explored how to make delicious overnight oats. We covered essential ingredients, possible substitutions, and their nutritional benefits. The step-by-step instructions guide you through prep, mixing, and layering. I shared tips to achieve the perfect creamy texture and ways to store your oats for freshness. We also discussed variations to keep things exciting. Lastly, I answered common FAQs. Now you can create perfect overnight oats that fit your taste and diet. Enjoy your tasty, healthy meals!


