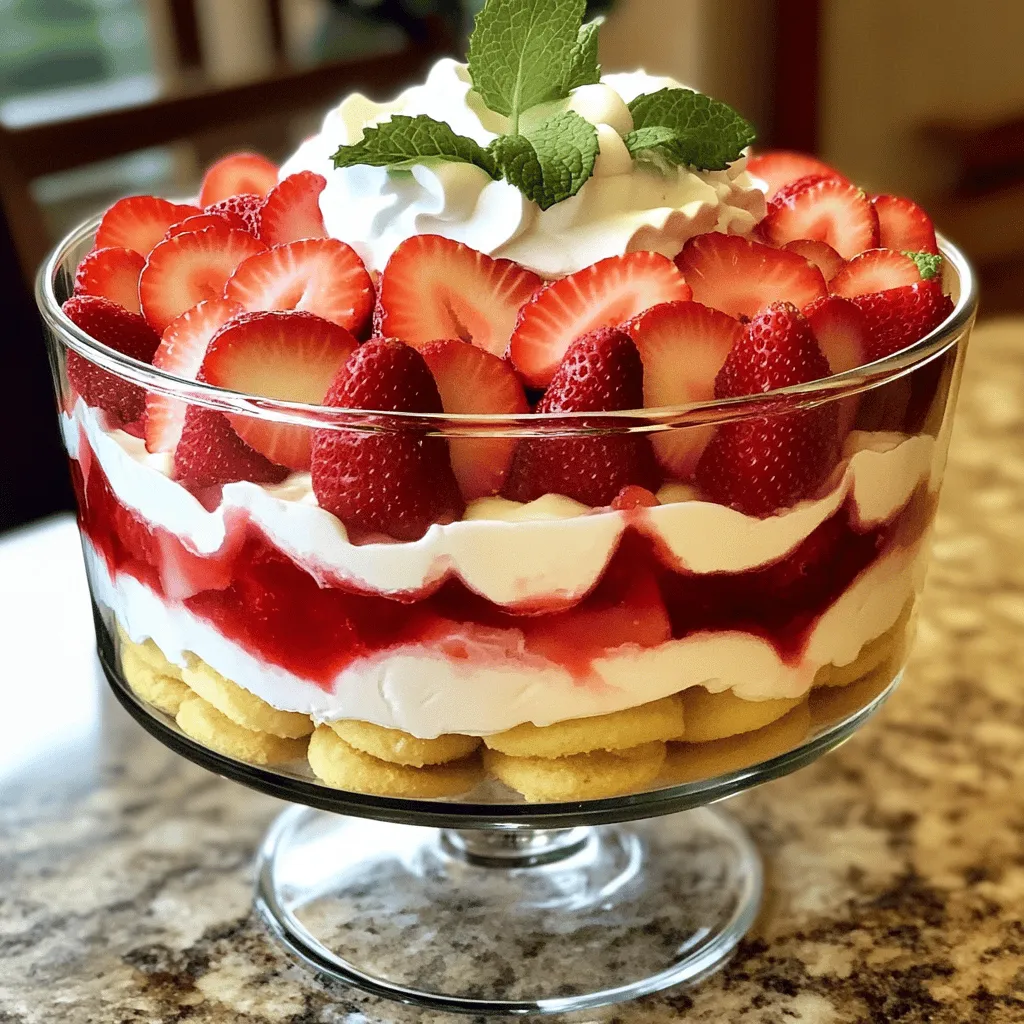
Looking for the perfect summer treat? You’ve found it! This Strawberry Shortcake Trifle is a delightful mix of fresh strawberries, creamy whipped cream, and soft ladyfingers. It’s easy to make and looks stunning, making it perfect for gatherings. In this article, I’ll guide you through each step to create this layered dessert. Let’s dive into the fresh flavors and simple techniques to impress your friends and family!
Ingredients
For a delicious Strawberry Shortcake Trifle, you will need fresh and simple ingredients. Here’s what you need to gather:
– 2 cups fresh strawberries, hulled and sliced
– 1/4 cup granulated sugar (for macerating strawberries)
– 1 cup heavy whipping cream
– 1/4 cup powdered sugar (for the whipped cream)
– 1 teaspoon pure vanilla extract
– 1 package (10 oz) ladyfinger cookies or sponge cake, cut into bite-sized pieces
– 1 cup vanilla pudding (store-bought or homemade)
– Fresh mint leaves, for garnish (optional)
Each ingredient plays a key role. The strawberries need sugar to bring out their flavor. The heavy cream and powdered sugar create a light, airy whipped cream. The ladyfingers or sponge cake form the base. Lastly, the vanilla pudding adds creaminess to the trifle. When you layer these ingredients, you create a beautiful and tasty dessert.Enjoy making this sweet treat!
Step-by-Step Instructions
Preparing the Strawberries
To macerate the strawberries, start by slicing them. Place 2 cups of fresh strawberries in a bowl. Add 1/4 cup of granulated sugar on top. Gently stir the strawberries to coat them with sugar. Let them sit for 15 to 20 minutes. This helps draw out their sweet juices, creating a syrup.
For optimal syrup extraction, keep an eye on the time. The longer you let them sit, the more syrup you will get. Just don’t let them sit too long, or they may become mushy.
Making the Whipped Cream
For the perfect whipped cream, you will need a large mixing bowl and a hand or stand mixer. Start by adding 1 cup of heavy whipping cream, 1/4 cup of powdered sugar, and 1 teaspoon of pure vanilla extract to the bowl.
Whip the mixture on medium-high speed. Watch closely for soft peaks to form. Stop mixing as soon as you see those peaks. Overwhipping can turn your cream into butter, and we want it light and fluffy!
Layering the Trifle
Now comes the fun part: layering! In a large trifle bowl or individual glasses, start with ladyfinger pieces or sponge cake at the bottom. Use enough pieces to cover the base.
Next, spoon a layer of vanilla pudding over the cake. Spread it evenly. Then, add a layer of your macerated strawberries, syrup included. Finish this layer with a dollop of whipped cream.
Repeat these steps. Add another layer of ladyfingers, pudding, strawberries, and another dollop of cream. Keep going until you reach the top. The last layer should be whipped cream for a nice finish.
Chilling and Flavor Infusion
Chill your trifle for at least 1 hour. Cover it with plastic wrap or a lid. If you have more time, chill it longer. The flavors blend better that way.
Refrigerating helps the ladyfingers absorb moisture from the pudding and strawberries. This makes every bite taste amazing! Plus, it keeps your trifle fresh and cool, perfect for a warm summer day.
Tips & Tricks
Best Practices for Perfect Trifle
To keep your trifle layers from turning soggy, use fresh, dry ladyfingers or sponge cake. Make sure to layer them quickly after preparation. You can also lightly toast the ladyfingers for added texture. This helps them hold their shape better.
To whip cream correctly, start with cold equipment. Cold bowls and beaters help the cream whip faster. Whip the cream at medium speed until soft peaks form. Stop as soon as the cream holds its shape. Overwhipping makes the cream grainy and hard.
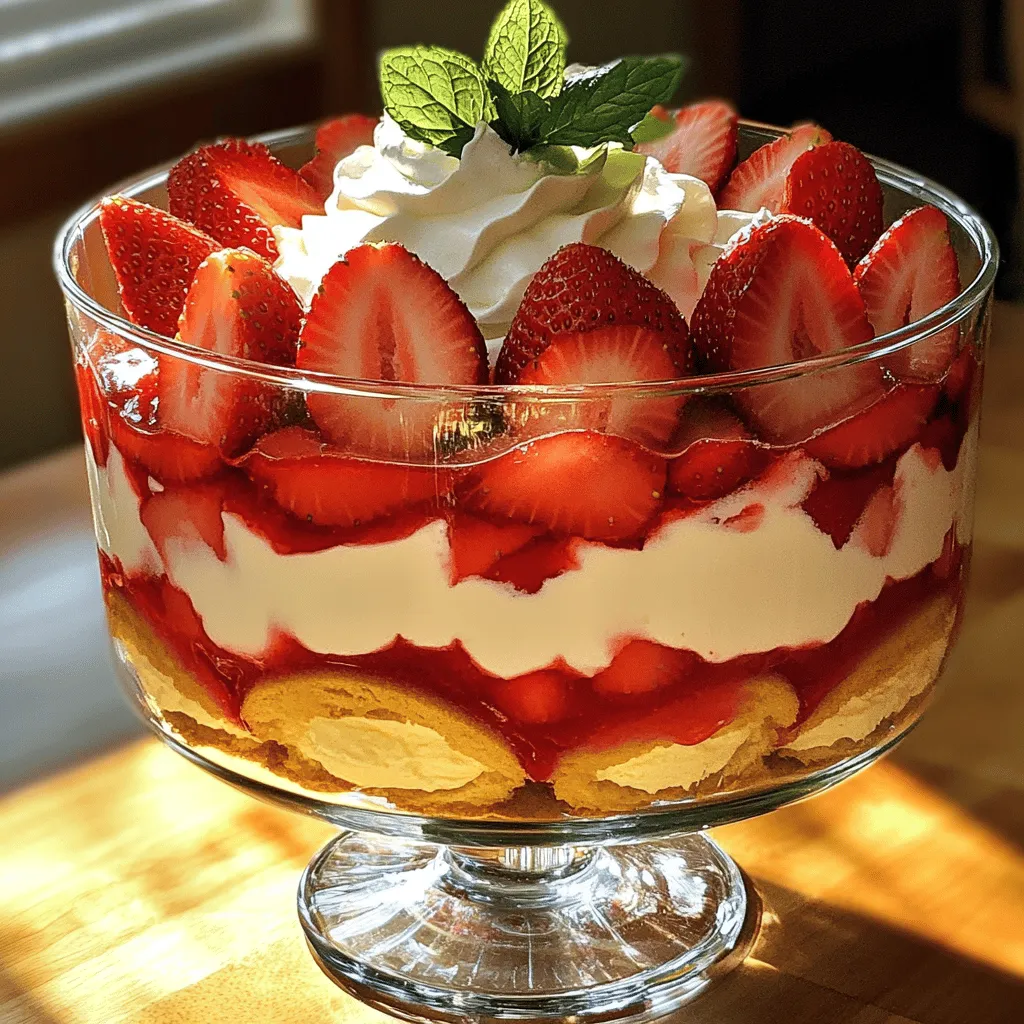
Presentation Ideas
Serve your trifle in a clear glass bowl to show off the layers. You can also use small jars for individual servings. This adds a fun touch for guests. For garnishes, fresh mint leaves or extra strawberry slices on top create a beautiful finish. You can also sprinkle some crushed cookies for crunch.
Common Mistakes to Avoid
One common mistake is not preparing ingredients well. Make sure your strawberries are hulled and sliced evenly. This ensures great flavor throughout. Layering inconsistently can lead to a messy trifle. Each layer should be even and flat. This keeps your trifle looking nice and appetizing.
Variations
Flavor Substitutions
You can change the fruit in your trifle to mix things up. Blueberries work great in place of strawberries. Peaches add a sweet twist, too. You can also try different pudding flavors. Chocolate pudding gives a rich taste, while banana adds a fun touch. Each swap gives your trifle a new vibe.
Dietary Adaptations
If you need gluten-free options, use gluten-free ladyfingers or sponge cake. Many stores sell these now. For a dairy-free version, use coconut cream instead of heavy cream. Dairy-free pudding is also easy to find. These swaps keep the trifle tasty for all diets.
Themed Versions
You can make themed trifles for special times of the year. For example, add pumpkin spice for fall or berries for a Fourth of July treat. You can also create fun trifle recipes for parties. Layer with seasonal fruits and colorful toppings for a festive look. This way, your trifle is always a showstopper.
Storage Info
Best Ways to Store Leftovers
To keep your trifle fresh, store it in the fridge. Use an airtight container to avoid unwanted smells. Cover the top with plastic wrap if you don’t have a lid. This helps keep the layers intact. It’s best to eat your trifle within three days. This way, you enjoy the best taste and texture. Avoid stacking heavy items on top of it, as this can cause squishing.
How Long It Lasts
Your stored trifle stays good in the fridge for up to three days. After this, the ingredients start to separate. If you see watery layers, it’s a sign that it’s no longer fresh. Trust your nose and eyes; if it smells off, it’s time to toss it. Always check for any strange colors or textures before diving in.
Freezing Options
You can freeze the trifle, but it changes the texture. Freeze only the layers separately for best results. Make sure to wrap each layer tightly in plastic wrap. When you’re ready to eat, thaw them in the fridge overnight. Avoid refreezing once it’s thawed, as it affects quality. For the best flavor and texture, enjoy your trifle fresh, but freezing can work in a pinch.
FAQs
How long does it take to make a strawberry shortcake trifle?
Making a strawberry shortcake trifle takes about 30 minutes of prep time. You will need an hour for chilling. This allows all the flavors to mix well and makes the trifle taste its best.
Can I make the trifle ahead of time?
Yes, you can make this trifle ahead of time! I suggest preparing it a few hours before serving. This gives the layers time to blend. Just keep it covered in the fridge until you are ready to serve.
What can I substitute for ladyfingers or sponge cake?
If you can’t find ladyfingers or sponge cake, you can use pound cake or angel food cake. Both options work well. Cut them into smaller pieces, just like the ladyfingers.
How do I prevent the trifle from becoming soggy?
To avoid sogginess, use less liquid in your layers. You can also layer quickly and serve soon after making it. If you chill it too long, the cake may soak up too much liquid.
Is there a gluten-free version of this trifle?
Yes! You can use gluten-free ladyfingers or sponge cake. Make sure to check the labels on all ingredients. Also, consider using gluten-free pudding mix for a fully gluten-free dessert.
Can I use frozen strawberries instead of fresh?
You can use frozen strawberries! Just thaw them first and drain excess liquid. This keeps your trifle layers from becoming too wet. Frozen strawberries still give a sweet flavor, making them a great substitute.
Now you know how to create a delicious strawberry shortcake trifle. We walked through each step, from fresh ingredients to layering tips. You learned how to prepare strawberries, whip cream, and avoid common mistakes. Remember to chill your trifle for maximum flavor. Feel free to try different fruits or flavors to make it your own. With careful preparation and creativity, your trifle will impress everyone. Enjoy serving this delightful dessert at your next gathering!


