Are you ready to elevate your dinner game? Stuffed Portobello mushrooms are not just delicious; they are also easy to make! This recipe packs in flavors and nutrients, making for a satisfying meal. With simple ingredients like quinoa, feta, and fresh veggies, you’ll impress everyone at the table. Let’s dive into this fun and tasty journey of making stuffed Portobello mushrooms that are sure to become a favorite!
Ingredients
Main Ingredients
– 4 large portobello mushrooms, stems removed
– 1 cup cooked quinoa
– 1 small zucchini, finely diced
Flavor Enhancers
– 1/2 cup feta cheese, crumbled
– 2 cloves garlic, minced
– 1 teaspoon dried oregano
Additional Ingredients
– 1 red bell pepper, finely diced
– 1 small red onion, finely chopped
– Fresh parsley, for garnish
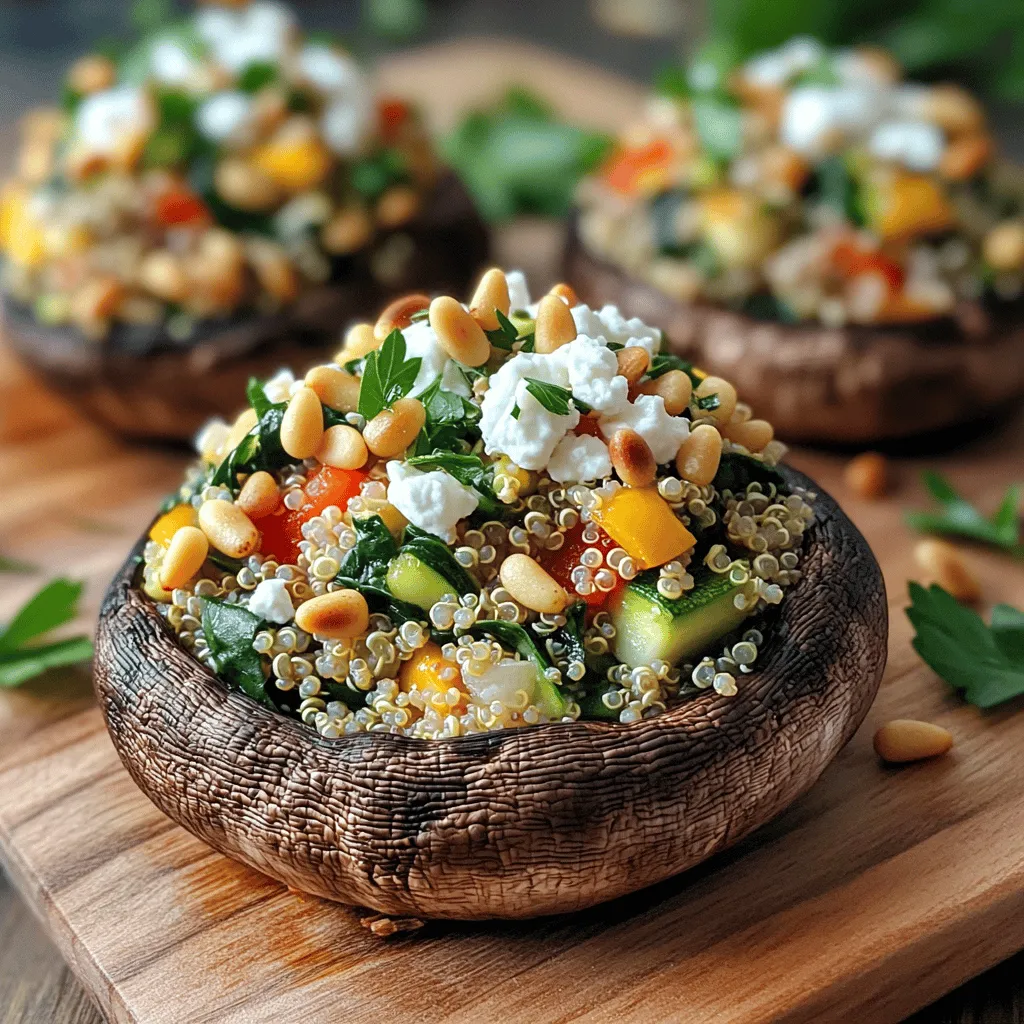
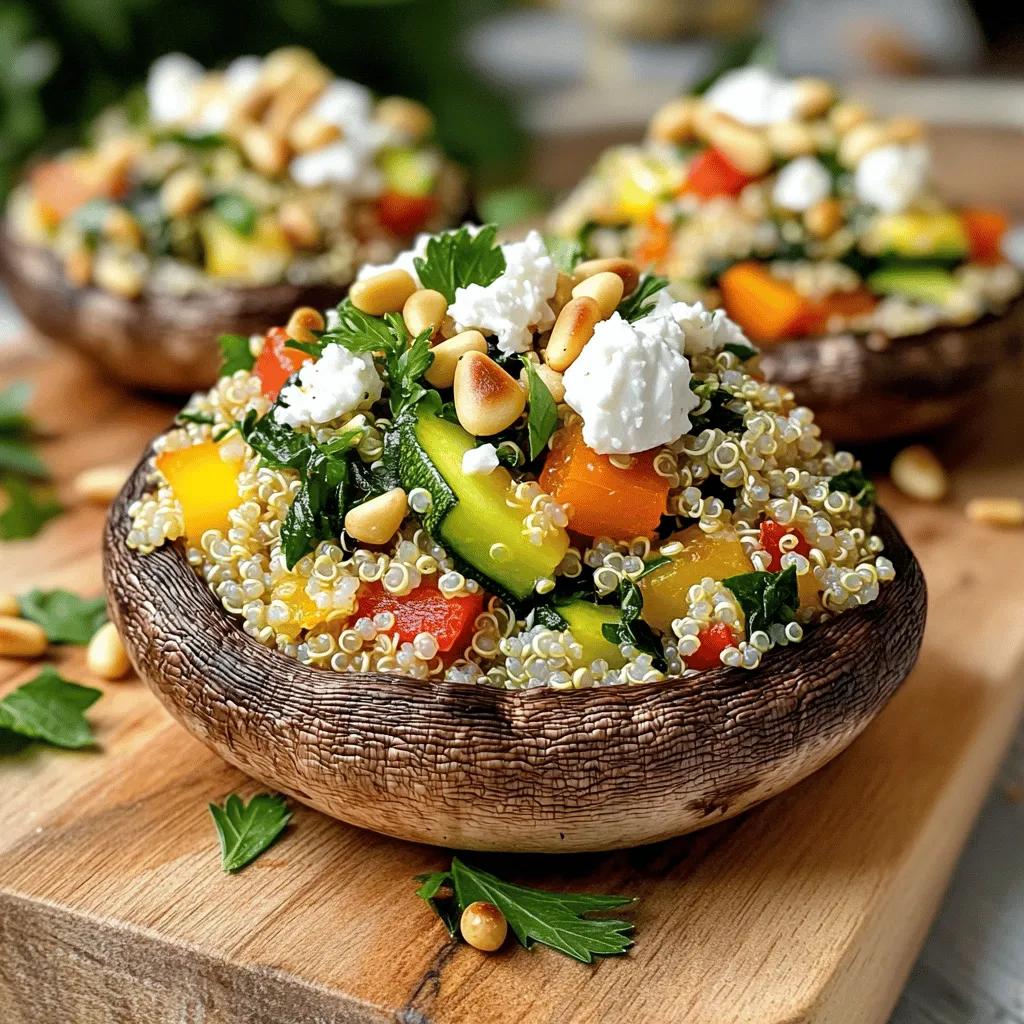
Using these ingredients, you will create a dish that is both tasty and simple. The portobello mushrooms serve as a perfect base. They have a meaty texture and a rich flavor. You will stuff them with a mix of cooked quinoa and fresh vegetables. The quinoa adds protein and texture, making this dish satisfying.
The feta cheese brings a creamy saltiness that balances the flavors. Garlic and oregano add depth. You can also add a red bell pepper and red onion for sweetness and crunch. Finishing with fresh parsley gives a burst of color and freshness.
This recipe is easy to follow and uses ingredients you can find at any grocery store. You can even customize it with your favorite veggies or cheese.
Step-by-Step Instructions
Prepping the Mushrooms
– Preheat oven to 375°F (190°C).
– Clean portobello mushrooms gently. Use a damp cloth to wipe off dirt. Place them gill-side up on a baking sheet. This helps with the filling later.
Cooking the Filling
– Sauté onions and garlic until translucent. Heat olive oil in a skillet over medium heat.
– Add zucchini and red bell pepper, sauté until softened. Stir for about five minutes.
– Incorporate fresh spinach until wilted. This takes about two minutes. The spinach adds flavor and color.
Assembling the Stuffed Mushrooms
– Mix quinoa and sautéed vegetables in a bowl. This is where the magic happens!
– Spoon mixture into the portobello mushrooms. Press down gently with a spoon for even filling.
– Bake for 25-30 minutes until golden. The mushrooms will get tender and delicious. Check them often to avoid overcooking.
Try this recipe for a tasty meal.
Tips & Tricks
Enhancing Flavor
To make your stuffed portobello mushrooms really pop, add fresh herbs. Basil and thyme work great. They bring a lovely aroma and zest. You can also try different cheeses. Goat cheese adds tang, while mozzarella offers creaminess. Each cheese gives a unique taste to the dish.
Serving Suggestions
When serving your stuffed mushrooms, think about fresh salads. A light, crisp salad pairs well. It balances the rich flavors of the mushrooms. You can also add some dipping sauces. Try a tangy vinaigrette or a garlic aioli. For presentation, place the mushrooms on greens like arugula. A drizzle of balsamic reduction looks fancy and adds flavor.
Common Mistakes to Avoid
One mistake is overcooking the mushrooms. They should be tender but not mushy. Keep an eye on the time as they bake. Another common error is not seasoning the filling. Adding enough salt and pepper makes a big difference. Taste as you go to find the right balance. Following these tips will help you create perfect stuffed portobello mushrooms.
Variations
Vegetarian Alternatives
You can make stuffed Portobello mushrooms even more exciting. Start by using different vegetables in your filling. Try using eggplant, asparagus, or carrots for unique tastes. Each veggie adds its own flavor and texture. You can also switch out quinoa for brown rice or couscous. Brown rice gives a nutty flavor, while couscous offers a fluffy texture. Both options work well in these stuffed mushrooms.
Meat Variations
If you want to add meat, you have great options. You can include cooked ground meat or sausage in your stuffing. This adds a savory richness that meat lovers will enjoy. Another choice is to use chicken or turkey for a protein boost. Cooked and shredded chicken offers a wonderful taste that pairs well with the mushrooms.
Dietary Modifications
For those with dietary needs, there are easy swaps. If you need gluten-free options, make sure to use gluten-free grains. Quinoa is already gluten-free, but you can also use rice. For vegan adaptations, simply omit the cheese. You can replace feta with a nut-based cheese or nutritional yeast for a cheesy flavor without dairy. These changes help everyone enjoy the dish!
Storage Info
Refrigeration
To keep your stuffed portobello mushrooms fresh, store leftovers in an airtight container. This helps seal in flavors and moisture. Place the container in the fridge. The mushrooms will stay good for about three days. To keep them tasty, don’t stack them too high. This prevents squishing the filling.
Freezing Tips
You can also freeze stuffed mushrooms for future meals. First, allow them to cool completely. Then, wrap each mushroom in plastic wrap and place them in a freezer bag. Make sure to remove as much air as possible. They can last for up to three months in the freezer. When you’re ready to eat, thaw them overnight in the fridge. This helps maintain texture.
Reheating Instructions
When it’s time to reheat, you have two good options: oven or microwave. For the oven, preheat it to 350°F (175°C). Place the mushrooms on a baking sheet and cover with foil. Heat for about 15 minutes. This ensures they warm evenly without drying out. If you use a microwave, place the mushrooms on a microwave-safe plate. Heat in short bursts of 30 seconds until warm. This method is quick but can make them a bit soggy. Enjoy your stuffed mushrooms just like they were fresh!
FAQs
How do I know when the stuffed mushrooms are done?
You can tell stuffed mushrooms are done when they feel tender. The tops should be lightly golden. If you see a nice brown color on top, that’s a good sign! The mushrooms will shrink slightly as they cook, so check for softness.
Can I prepare the stuffed mushrooms ahead of time?
Yes, you can prepare stuffed mushrooms ahead of time! Here’s how: Make the filling and stuff the mushrooms. Then, cover them and put them in the fridge. You can keep them there for a day or two. When you’re ready, just bake them as usual. This saves time on busy days!
What sides pair well with stuffed Portobello mushrooms?
Stuffed Portobello mushrooms go well with many sides. Here are some ideas:
– A light salad with mixed greens
– Roasted vegetables for extra flavor
– Quinoa or rice to match the filling
– A glass of white wine or sparkling water
Pair these to make your meal even better!
Stuffed portobello mushrooms are a tasty and healthy dish. We covered the main ingredients, like quinoa and feta cheese, to create a flavorful filling. I shared step-by-step instructions to guide you through prepping, cooking, and assembling. You also learned tips for enhancing flavor and avoiding common mistakes. Finally, we explored variations for different diets and storage methods. These mushrooms offer endless possibilities. Enjoy making them your way and savor the delicious results.


