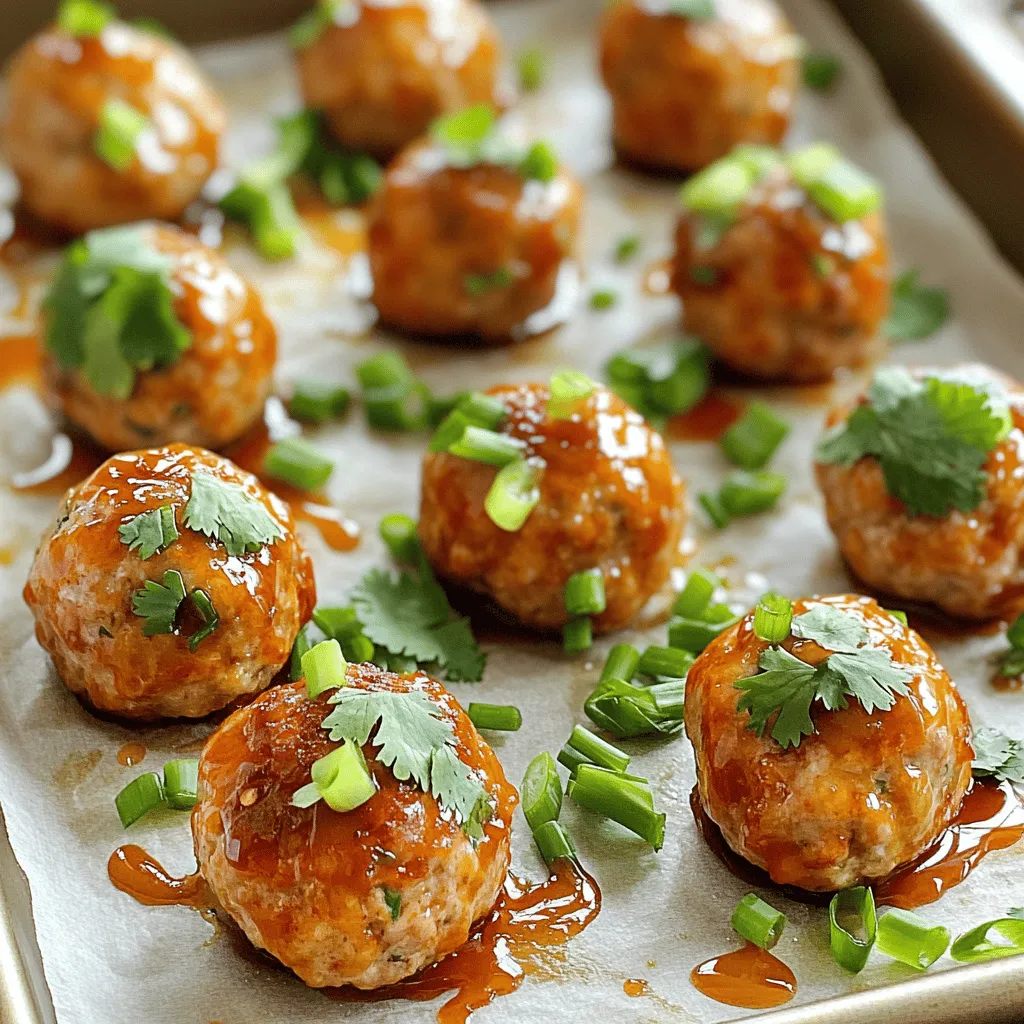
If you’re craving something tender and flavorful, these Sweet Chili Turkey Meatballs are your answer! Packed with fresh herbs and a sweet kick, they make a perfect meal or snack. I’ll show you how to combine simple ingredients into a dish that impresses. Follow my step-by-step guide, and you’ll create meatballs so good, they might just become your new favorite. Let’s dive into the delicious details!
“`markdown
H2 – Ingredients
To make sweet chili turkey meatballs, you will need the following ingredients:
– 1 pound ground turkey
– 1/2 cup breadcrumbs (preferably panko for extra crunch)
– 1/4 cup freshly grated Parmesan cheese
– 1 tablespoon chopped fresh cilantro
– 2 green onions, finely chopped (white and green parts)
– 1 large egg, lightly beaten
– 2 cloves garlic, minced
– 1 teaspoon fresh ginger, grated
– 1/4 teaspoon red pepper flakes (adjust to taste)
– Salt and pepper, to taste
– 1/2 cup sweet chili sauce
– 1 tablespoon low-sodium soy sauce
These ingredients work together to create a dish that is both tender and bursting with flavor. The ground turkey offers lean protein, while the breadcrumbs provide a satisfying texture. Fresh herbs like cilantro and green onions add bright notes to each bite. The garlic and ginger infuse the meatballs with warmth and depth.
Sweet chili sauce brings a sweet and spicy kick, while soy sauce adds umami. This mix of flavors makes your meatballs not just tasty but also a hit at any gathering.Enjoy cooking these delightful meatballs!
“`
Step-by-Step Instructions
Preparing the Meatball Mixture
To make these meatballs, start by gathering your ingredients. In a large mixing bowl, combine:
– 1 pound ground turkey
– 1/2 cup breadcrumbs (preferably panko for extra crunch)
– 1/4 cup freshly grated Parmesan cheese
– 1 tablespoon chopped fresh cilantro
– 2 green onions, finely chopped (white and green parts)
– 1 large egg, lightly beaten
– 2 cloves garlic, minced
– 1 teaspoon fresh ginger, grated
– 1/4 teaspoon red pepper flakes (adjust to taste)
– Salt and pepper, to taste
Using your hands or a spatula, mix everything until it’s well combined. Be sure not to overmix; this keeps the meatballs tender. Mixing by hand helps to keep the turkey light and fluffy.
Forming and Baking the Meatballs
Now it’s time to shape the meatballs. With slightly damp hands, take small amounts of the turkey mixture. Roll them into balls about 1-inch in size. Place each meatball on a baking sheet lined with parchment paper. Leave space between each one; this helps them cook evenly.
Preheat your oven to 400°F (200°C). While the oven heats, you can get the baking sheet ready. Bake the meatballs for about 20-25 minutes. Halfway through, carefully turn them for even cooking. You want them golden brown and cooked through.
Finishing and Serving
For the sauce, mix 1/2 cup sweet chili sauce with 1 tablespoon low-sodium soy sauce in a small bowl. This adds sweetness and a savory kick to the meatballs.
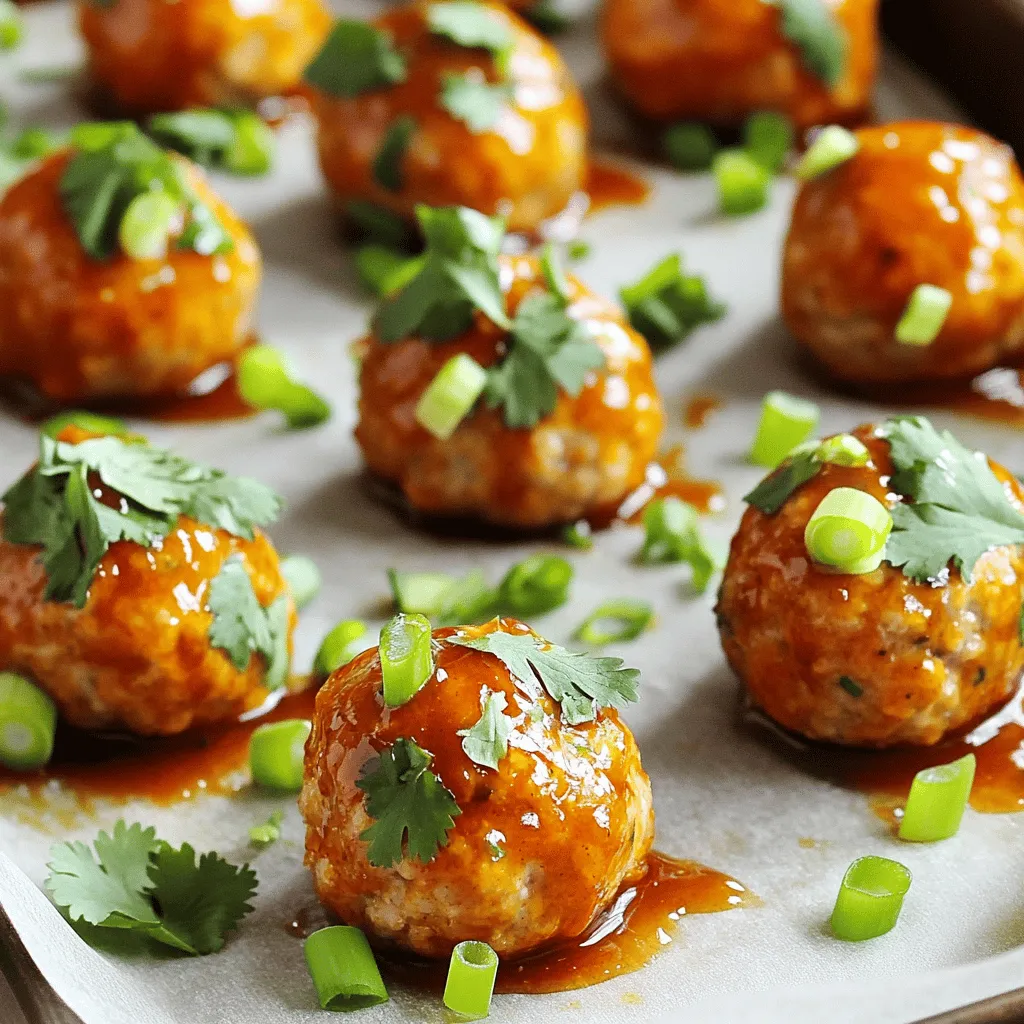
After baking, brush half of the sauce over the meatballs. Once they are out of the oven, drizzle the rest of the sauce on top. For a nice visual, arrange the meatballs on a colorful platter. Garnish with lime wedges and fresh cilantro. This makes them look as good as they taste! You can even serve extra sauce on the side for dipping.
Tips & Tricks
Cooking Tips
To make your meatballs moist, use ground turkey with some fat. This helps keep them juicy. Make sure not to overmix the meatball mixture. Overmixing can make them tough. Form your meatballs gently, using damp hands to prevent sticking. When baking, space them out on the sheet. This allows heat to circulate and cook them evenly.
For the perfect bake, preheat your oven to 400°F (200°C). Line your baking sheet with parchment paper. This reduces sticking and makes cleanup easy. Bake for 20-25 minutes, turning them halfway through. Look for a golden-brown color to know they’re ready.
Ingredient Substitutions
If you need alternatives for breadcrumbs, try crushed cornflakes or ground oats. Both options work well and add texture. You can also use almond flour for a gluten-free choice. If you don’t have Parmesan cheese, nutritional yeast gives a similar flavor.
For spice levels, red pepper flakes are adjustable. If you want it milder, use less. If you love heat, add more. Taste the mixture before baking to find your ideal heat level.
Serving Suggestions
Sweet chili turkey meatballs pair great with rice or a fresh salad. Steamed jasmine rice complements their sweet and savory taste. A crisp green salad adds freshness to your meal.
For creative serving ideas, consider dipping sauces. Serve extra sweet chili sauce on the side for those who want it sweeter. You can also try a tangy soy sauce blend. Arrange the meatballs on a vibrant platter for a nice presentation. For a fun twist, garnish with lime wedges and fresh cilantro. This adds color and flavor!
Variations
Asian-Inspired Meatballs
You can give your sweet chili turkey meatballs a twist by adding Asian flavors. Try mixing in sesame oil and hoisin sauce. This combo adds a rich taste and aroma. Use about one tablespoon of each. The sesame oil gives a nutty flavor, while hoisin adds a sweet, tangy touch. This mix will bring your meatballs to a whole new level.
Healthier Options
If you’re looking for a lighter dish, swap the ground turkey for ground chicken. You can also use turkey alternatives like lean beef or even plant-based meat. These options still keep the meatballs tasty. Just check that the ground meat has low fat. This way, you enjoy a healthier meal without losing flavor.
Meatball Skewers
Transform your meatballs into fun appetizers by making meatball skewers. Simply thread the cooked meatballs onto wooden or metal skewers. Add some colorful veggies, like bell peppers and cherry tomatoes. This makes for a great party treat. Serve them with extra sweet chili sauce for dipping. Your guests will love these easy-to-eat bites!
Storage Info
Storing Leftovers
To keep your sweet chili turkey meatballs fresh, store them in the fridge. Use an airtight container. This prevents odors and keeps them moist. They can last up to three days in the fridge. If you want to keep them longer, freeze the meatballs. Place them in a freezer-safe bag or container. Make sure to remove as much air as possible. This will help avoid freezer burn. Frozen meatballs can last up to three months.
Reheating Instructions
When you want to enjoy your leftovers, reheating is key. For the best texture, use the oven. Preheat your oven to 350°F (175°C). Place meatballs on a baking sheet and cover them with foil. Heat for about 15-20 minutes. This helps keep them juicy. You can also use a microwave, but it may make them a bit soggy. If you use the microwave, heat them in short bursts. Check often to avoid overcooking.
Shelf Life
In the fridge, sweet chili turkey meatballs last about three days. If stored properly in an airtight container, they stay fresh. In the freezer, they can last for up to three months. Always label your containers with the freeze date. This will help you keep track of how long they have been stored. Enjoy your meatballs within this time for the best taste and texture.
FAQs
How do you ensure turkey meatballs are juicy?
To keep turkey meatballs juicy, add moisture-rich ingredients. Ground turkey is lean, which can lead to dry meatballs. You can use breadcrumbs to help retain moisture. I prefer panko breadcrumbs for extra crunch. Adding grated Parmesan cheese also helps. It adds flavor and moisture. The egg acts as a binding agent that keeps them together.
Can I make these meatballs ahead of time?
Yes, you can make these meatballs ahead of time! Prepare the mixture and form the meatballs. Place them on a tray and freeze them. Once frozen, transfer them to a sealed bag. This way, you can keep them for up to three months. When ready to cook, bake them straight from the freezer. Just add a few extra minutes to the cooking time.
What dipping sauces pair well with sweet chili turkey meatballs?
Sweet chili turkey meatballs taste great with various dipping sauces. You can serve them with extra sweet chili sauce. It enhances the dish’s sweetness. Soy sauce mixed with a bit of lime adds a tangy kick. For a spicy twist, try sriracha or a spicy mayo. These sauces add fun flavors and make the meal more enjoyable.
In this blog post, we explored how to make delicious sweet chili turkey meatballs. You learned about the key ingredients, from ground turkey to fresh herbs. I showed you how to mix, shape, and bake the meatballs perfectly. We also covered tips for moisture, ingredient swaps, and serving ideas.
These meatballs are easy to prepare and fun to serve. Enjoy experimenting with flavors and make it your own! Happy cooking!


