Ready to elevate your grilling game? This Ultimate Garlic Butter Steak recipe is all about flavor. I’ll guide you through easy steps to achieve a juicy and tender steak, topped with rich garlic butter that will make your taste buds dance. Whether you’re a novice or a pro, you’ll find tips and tricks to impress your guests. Let’s dive into the world of tasty grilling that you won’t want to miss!
Why I Love This Recipe
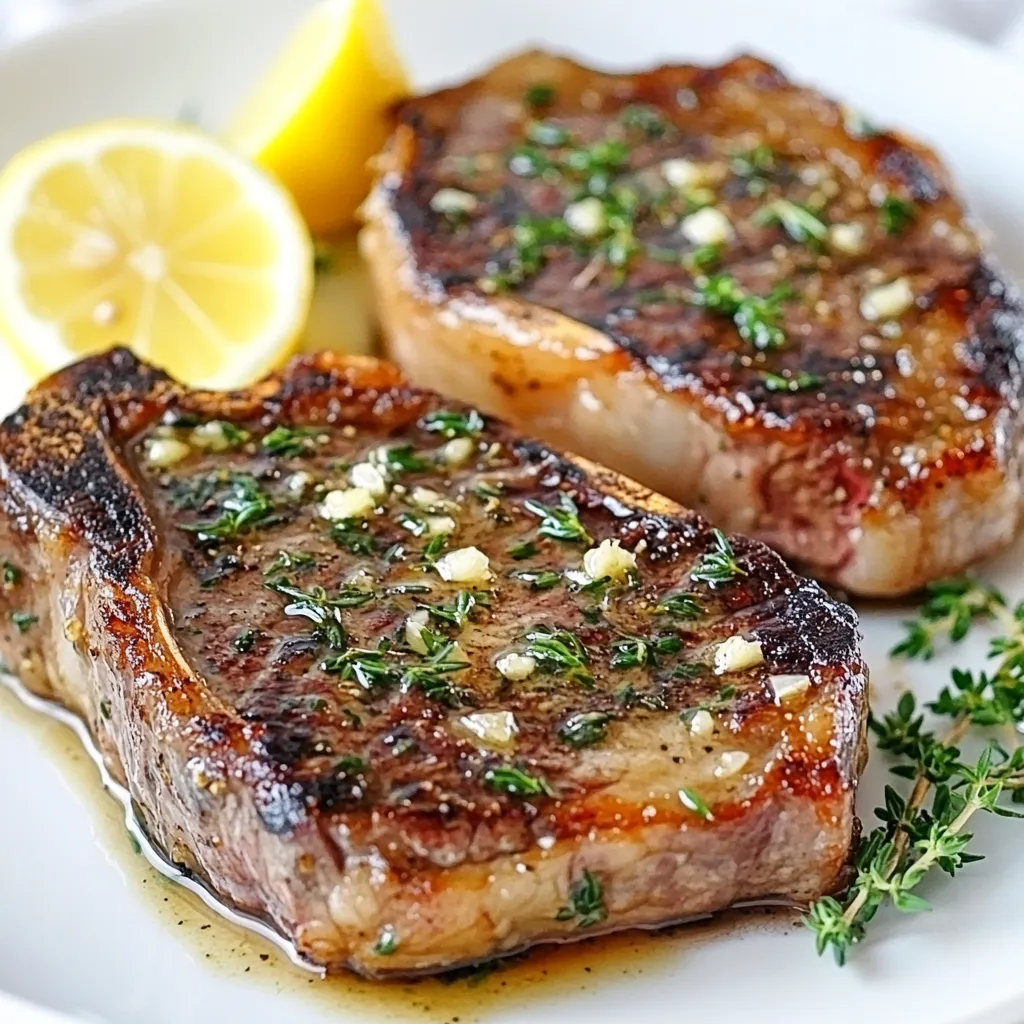
- Flavor Explosion: This steak is infused with a rich garlic butter that elevates the natural flavors of the ribeye, making every bite a decadent experience.
- Simple Ingredients: With just a few fresh herbs and staples, this recipe proves that you don’t need a long list of ingredients to create something truly delicious.
- Perfectly Cooked: The method ensures that the steaks achieve a beautiful crust while remaining tender and juicy inside, perfect for any steak lover.
- Impressive Presentation: Serving this dish with lemon wedges not only brightens the plate but also adds a delightful zing that complements the richness of the steak.
Ingredients
Essential Ingredients for Ultimate Garlic Butter Steak
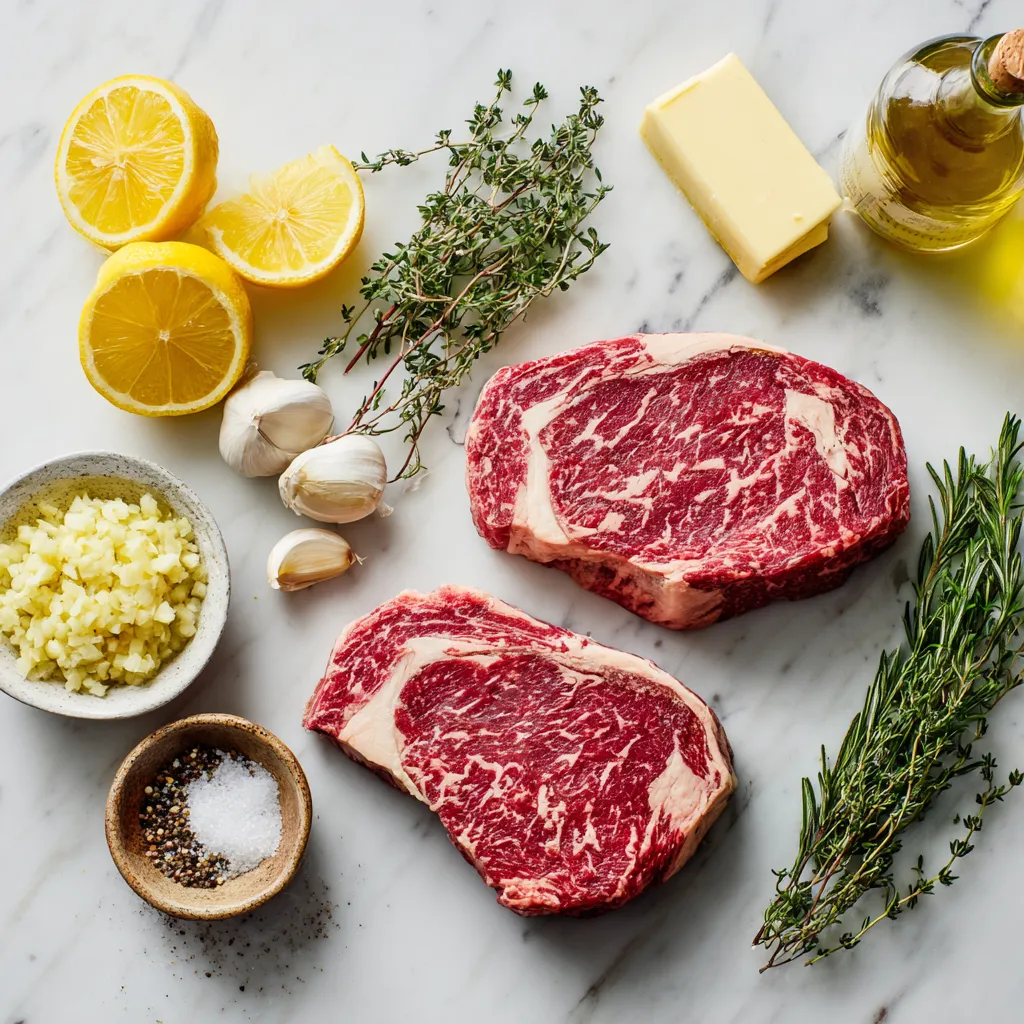
To make the best garlic butter steak, you need a few key ingredients. Here’s what you should gather:
– 2 ribeye steaks (approximately 1 inch thick)
– 4 tablespoons unsalted butter, divided
– 4 cloves garlic, finely minced
– 1 tablespoon fresh thyme leaves, chopped
– 1 tablespoon fresh rosemary leaves, finely chopped
– 1 teaspoon sea salt
– 1/2 teaspoon freshly cracked black pepper
– 1 tablespoon olive oil
– Lemon wedges, for serving
These ingredients work together to create a rich, savory flavor that elevates the steak.
Recommended Cuts of Steak
Ribeye steaks are my favorite for this recipe. They have a nice fat content that makes them tender and juicy. You can also use sirloin or filet mignon if you prefer. Just remember that different cuts may require slight changes in cooking time.
Fresh Herbs and Seasonings Needed
Fresh herbs make a big difference in flavor. Thyme and rosemary add a lovely aroma to the garlic butter. Sea salt and black pepper enhance the natural taste of the steak. Always use fresh herbs when possible for the best results.
Step-by-Step Instructions
Preparing the Steaks
Start by taking your ribeye steaks out of the fridge. Let them sit for about 30 minutes. This helps them cook evenly. While they rest, pat the steaks dry with paper towels. Drying helps form a nice crust when searing. Now, sprinkle sea salt and black pepper on both sides. This adds flavor right into the meat.
Searing Techniques for Perfect Steak
Next, grab a large skillet or cast iron pan. Heat it over medium-high heat and add olive oil. When the oil starts to shimmer, it’s ready. Carefully place the seasoned steaks in the pan. Do not move them for about 4-5 minutes. This allows a golden-brown crust to form.
After 4-5 minutes, use tongs to flip the steaks. Lower the heat to medium. Cook for another 4-5 minutes for medium-rare. Adjust the time if you want it more or less cooked.
Making the Garlic Butter Mixture
As the steaks cook, it’s time to prepare the garlic butter. Add 2 tablespoons of unsalted butter to the pan. Then, add minced garlic, thyme, and rosemary. Tilt the skillet a bit so the butter pools. Use a spoon to baste the steaks with the melted butter and herbs. Do this for about 1-2 minutes. This adds a rich flavor to the meat.
Once your steaks reach the desired doneness, remove them from the skillet. Place them on a plate and cover loosely with foil. Let them rest for 5-10 minutes. This step is key to a juicy steak. After resting, slice the steaks against the grain. Drizzle the remaining garlic butter over the slices. Serve with lemon wedges for a fresh twist. Enjoy your flavorful creation!
Tips & Tricks
Achieving the Perfect Doneness
To get the right doneness for your steak, use a meat thermometer. For medium-rare, aim for 130°F to 135°F. Insert the thermometer into the thickest part of the steak. Remember, the steak will continue to cook while it rests. Let it sit for 5-10 minutes after cooking. This keeps it juicy and flavorful.
Best Cooking Tools for Searing Steak
Using the right tools makes a big difference. Here are my top picks:
– Cast Iron Skillet: It holds heat well and gives a great sear.
– Tongs: Use these to flip the steak easily without piercing it.
– Meat Thermometer: This tool helps you check the doneness quickly.
These tools simplify the process and help you achieve a perfect steak.
Enhancing Flavor with Basting Techniques
Basting adds rich flavor to your steak. Here’s how to do it well:
1. Use Garlic Butter: In the last few minutes of cooking, add butter, minced garlic, thyme, and rosemary to the pan.
2. Tilt the Skillet: This allows the butter to pool.
3. Spoon the Mixture: Drizzle the melted butter over the steak repeatedly. This infuses it with aroma and taste.
Basting makes your steak more delicious and visually appealing. Give it a try!
Pro Tips
- Resting is Key: Allow the steaks to rest after cooking. This helps the juices redistribute, making the meat more tender and juicy.
- Use a Meat Thermometer: For perfect doneness, invest in a meat thermometer. Aim for 130°F (54°C) for medium-rare, adjusting according to your preference.
- High Heat for Searing: Ensure your pan is very hot before adding the steaks. A good sear locks in flavors and gives a delicious crust.
- Experiment with Herbs: Feel free to mix different herbs like oregano or basil for varied flavor profiles in the garlic butter.
Variations
Alternative Cuts of Steak You Can Use
If you want to switch it up, try different cuts of steak. Ribeye is rich and tender, but many other options work well. Here are some great alternatives:
– Sirloin: A leaner cut, it offers great flavor and is more affordable.
– Filet Mignon: This cut is very tender and has a mild taste.
– T-bone: A classic choice, it has both tenderloin and strip steak.
– Flank Steak: A flavorful cut, it’s best when marinated and sliced thin.
Each cut brings its own texture and taste. Choose based on what you enjoy or have on hand.
Spices and Flavors to Experiment With
You can play with spices and flavors to create your perfect garlic butter steak. Here are some ideas to inspire you:
– Smoked Paprika: Adds a smoky depth to the steak.
– Cumin: Offers a warm, earthy flavor that pairs well with garlic.
– Chili Powder: For a bit of heat and spice.
– Lemon Zest: Brightens the dish and adds a fresh twist.
Feel free to mix and match. Cooking is about finding what you love!
Serving Suggestions and Side Dishes
When serving your garlic butter steak, consider these tasty side dishes:
– Grilled Asparagus: A simple and elegant side.
– Garlic Mashed Potatoes: Creamy potatoes balance the steak’s rich flavor.
– Caesar Salad: The crisp greens add freshness.
– Corn on the Cob: Sweet corn is a classic summer side.
These sides not only complement the steak but also create a complete meal. Enjoy mixing and matching to find your favorite pairings!
Storage Info
How to Store Leftover Steak
To store leftover steak, let it cool first. Wrap the steak tightly in plastic wrap or foil. You can also place it in an airtight container. Make sure to get rid of any air to keep it fresh. Store it in the fridge for up to three days. If you want to keep it longer, freezing is a great option.
Reheating Tips for Maximum Flavor
When it’s time to reheat your steak, avoid the microwave if possible. The microwave can make it tough. Instead, use a skillet. Heat a little olive oil over medium heat. Place the steak in the pan and cover it with a lid. This method keeps the moisture in and heats it evenly. Heat for about 3-4 minutes on each side. For added flavor, you can melt some garlic butter and drizzle it over the steak while reheating.
Freezing Suggestions and Methods
To freeze leftover steak, wrap it tightly in plastic wrap. Then place it in a freezer bag or airtight container. Make sure to label the bag with the date. The steak can stay in the freezer for up to three months. When you are ready to eat it, thaw it in the fridge overnight. After thawing, follow the reheating tips for the best taste. This way, your Ultimate Garlic Butter Steak will still be delicious!
FAQs
How to know if the steak is cooked properly?
To check if your steak is cooked right, use a meat thermometer. Insert it into the thickest part of the steak. Here’s a simple guide for doneness:
– Rare: 125°F (52°C)
– Medium Rare: 135°F (57°C)
– Medium: 145°F (63°C)
– Medium Well: 150°F (66°C)
– Well Done: 160°F (71°C)
If you don’t have a thermometer, you can use the touch test. Press the steak with your finger. A rare steak feels soft, while a well-done steak feels firm.
Can I make garlic butter in advance?
Yes, you can make garlic butter ahead of time. Mix the butter, minced garlic, and herbs together. Then, place it in an airtight container. You can store it in the fridge for up to a week. For longer storage, freeze it in small portions. Just cut a slice when you need it.
What can I substitute for fresh herbs?
If you don’t have fresh herbs, dried herbs work well. Use 1/3 of the amount since dried herbs are more potent. Try these substitutes:
– Thyme: Use dried thyme.
– Rosemary: Use dried rosemary.
You can also use Italian seasoning as a quick mix. Remember, fresh herbs add bright flavors, but dried herbs still give a nice taste.
In this post, I covered how to make the perfect garlic butter steak. I shared key ingredients, from steak cuts to fresh herbs. You learned step-by-step instructions for preparing and searing your steak. I included tips for doneness and flavor enhancements. Don’t forget to explore variations and how to store leftovers properly.
Cooking steak can be simple and tasty. Enjoy experimenting to find your favorite flavor combinations. Each bite can be a flavorful adventure. Happy cookin


